


The world now depends on virtual meetings for work, learning, and daily communication. As more apps offer real-time video, users expect effortless and fast connections. At this time, video conferencing APIs make it easy to add live video features to any app or platform. Hence, this article will help you explore what it is, along with the best tools to build your own video calling experience.
Build real-time video calling into your app with 10,000 free minutes to get started.
ZEGOCLOUD provides a complete video conferencing API with cross-platform support, clear audio, screen sharing, and low latency performance.
Whether you’re building for education, remote work, or live events, ZEGOCLOUD helps you launch fast with easy-to-use SDKs and reliable infrastructure.
What is a Video Conferencing API?
Basically, the video conferencing API helps you add live video and voice chat features to your website or mobile app. It gives you ready-made functions to start instant meetings inside your platform. Moreover, this API connects with various software components, allowing them to communicate and exchange data easily. This tool supports various features, including screen sharing and integration with calendars or login systems.
Furthermore, many developers use video chat API to create custom meeting tools that match their app’s look and feel. So, apart from making a complete video platform, you can plug in this API and start video meetings in minutes. Also, it works well across different devices and platforms, which lets users connect with PCs, mobiles, or even the web effortlessly.
Benefits of Using a Video Conferencing API
Using a video conferencing API brings many practical advantages for developers and businesses. Below, we will discover a few key benefits that clearly explain its benefits:
- Inherent Security: Most APIs provide secure data processing through encryption and other means to safeguard the privacy of the users. Hence, this helps you follow the safety rules and build users’ trust without needing to make your security features.
- Affordable: It eliminates the need for expensive servers or complex infrastructure built from scratch. So, you pay only for what you use, which helps you manage your budget while scaling your services smoothly.
- Quick Performance: Most APIs utilize global servers that maintain stable video quality, even when many users join from various locations. Concisely, the choice of the appropriate video conferencing API allows developers to create secure and smooth video meeting capabilities in their application.
- Platform Support: You can offer video calls on mobile devices and desktops using the same video conferencing API. Thus, it ultimately means users can join meetings from any device with no extra software or setup needed.
- Scalability: A dedicated video call API will enable small and large meetings, and your app can be extended without any significant changes. Whether there are 10 or 1,000 users, you obtain a seamless video experience without the performance or speed degradation.
- Inherent Security: Most APIs provide secure data processing through encryption and other means to safeguard the privacy of the users. Hence, this helps you follow the safety rules and build users’ trust without needing to make your security features.
Must-Have Video Chat API Features for Video Conferencing
Before opting for any video calling API service, many developers are uncertain about which tool best suits their needs. So, this section covers some essential key features that you should look for in an effortless and rich video calling experience:
- Screen Sharing: Adding this feature will enable participants to share their screens during meetings or group presentations during calls. Hence, it facilitates collaboration by letting others view files or slides directly within the meeting window.
- Group Calling: An advanced video conference API must support multiple people on a single call with clear video and smooth voice quality. Thus, this allows teams or families to meet easily, without delays or connection issues, regardless of location.
- Call Recording: Being able to record meetings helps users review lessons, save crucial talks, or share updates later on. Therefore, your API should clearly support this feature, with storage options for teams or users who frequently need to record.
- Quality Video and Audio: The API must support HD or better video and clear voice, even on weak or unstable internet connections. Additionally, it should automatically adjust quality, allowing users to enjoy reliable calls without buffering or significant delays.
- Secure: Your API must have secure encryption and must act according to the privacy laws, e.g., GDPR or HIPAA. This eventually secures data and makes meetings confidential; hence, gaining user trust and fulfills the legal requirements of the world.
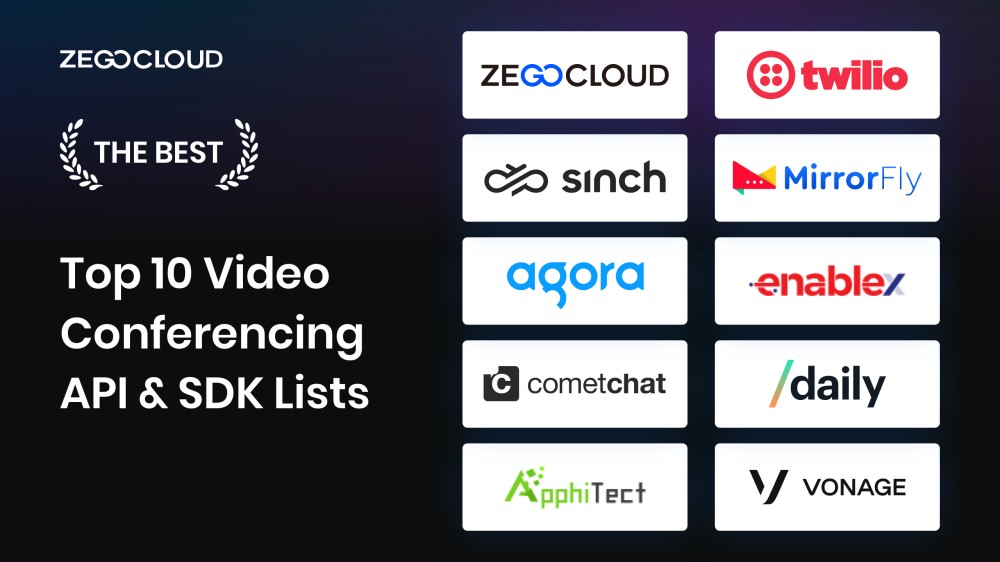
Top 10 Video Conferencing APIs & SDKs
Discover the top 10 video chat APIs and SDKs for video conferencing, each offering unique features to enhance your virtual meeting experiences. From high-definition video to seamless integration capabilities, these tools are essential for efficient online communication.
1. ZEGOCLOUD
ZEGOCLOUD video call SDK offers a complete suite of building blocks of a video conferencing system, including real-time voice chat, real-time video, interactive live streaming, cloud recording, screening sharing, whiteboard, etc. On top of that, the company also provides robust backend monitoring and an analytic dashboard for overall performance optimization.
ZEGOCLOUD free video conferencing API is a highly recommended video calling API for developers looking to build video conferencing applications. The ease of use, cross-platform compatibility, and range of features make it a reliable and effective solution. Moreover, they have pre-built low-code UIKits that are still an excellent choice for many developers for building a video conferencing app within only a few lines of code.
Features of ZEGOCLOUD Video Conference APIs:
- A complete suite of real-time communication functions such as voice, video, and live streaming.
- A unified real-time data transmission network that allows real-time communication and CDN distribution.
- A rich set of add-on features, including beautification, AR stickers, voice changing, avatar, screen sharing, document sharing, in-app chat, etc.
- Incredible advancements in metaverse technology allow video conferencing in a virtual world with more interactions, including 3D voice, face expression synchronization on avatars, etc.
- Fantastic user experiences include less than 300 ms ultra-low latency, 4K or 1080P extra-high definition, and 60 FPS playback smoothness.
Pros:
- Supports group video calls and direct calls.
- Live video streaming is a possibility.
- Screen sharing is possible during live video conferences.
Con:
- Only has English customer support.
Pricing:
| Usage | Aggregate Resolutions | Pricing (US$/1,000 participant minutes) |
| Audio | – | 0.99 |
| Video HD | 1280 × 720 | 3.99 |
| Video Full HD | (1280 × 720) to (1920 × 1080) | 8.99 |
| Video 2K | (1920 × 1080) to (2560 × 1440) | 15.99 |
| Video 4K | (2560 × 1440) to (4096 × 2160) | 35.99 |
2. Vonage Video Chat API
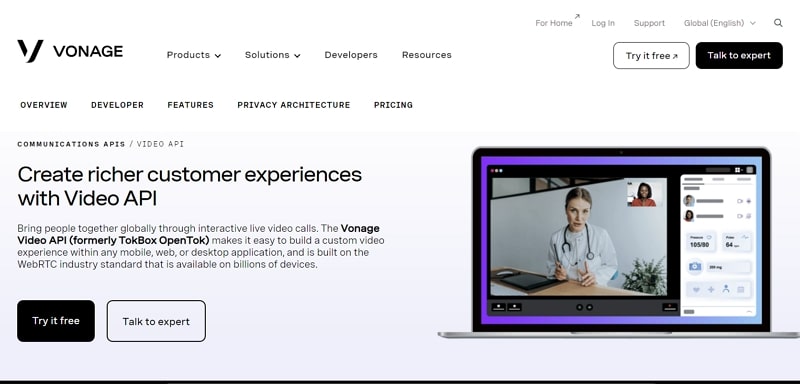
Formerly known as TokBox OpenTok, Vonage Video conferencing API is another great option when it comes to choosing a video conference API. Moreover, it enables you to create a tailored video experience for any mobile, web, or desktop application with ease. Vonage’s video chat APIs offer rich features for Android, iOS, and the web. Furthermore, it leverages WebRTC standards to ensure high data streaming quality.
Features of Vonage video API:
- Works using WebRTC
- Support AES-128 and AES-256 encryption
- GDPR and HIPPA compliance
- HLS and RTMP streaming
- SIP Interconnect
Pros :
- Video group chats and one-on-one chats are possible.
- Customization of video streams can be done.
- Calls are encrypted with AES-128 and AES-256.
Cons:
- Free trial not available.
- Call quality may not be good.
Pricing:
- $0.00395/per participant/per minute
3. Twilio Video Chat API
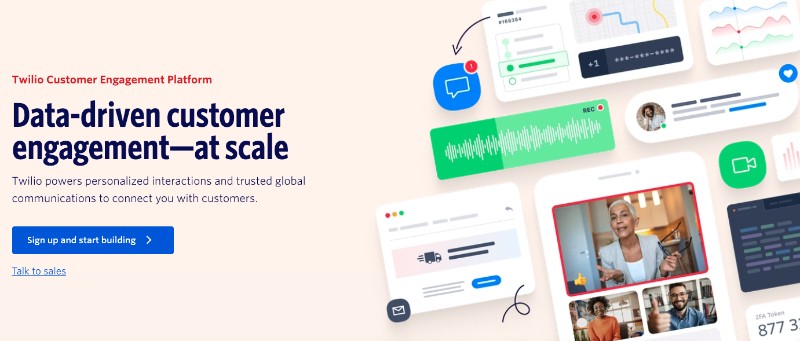
Twilio video conferencing API is fully customized and scalable. This is completely flexible for usage. This tool constructs the applications and the connectivity. It allows chats, video, and programmable chats based on real-time communication with scalability and video calling API. This is a perfect fit for enterprises from small to wide. This helps the organization engage its users in every step of the journey. This is a flexible video calling API for any channel with built-in intelligence and global infrastructure support.
Features of Twilio APIs:
- It gives free trial credits for video groups and video P2P.
- Cloud recording facility with workflow integration.
- 24-hour support through the mail and chat.
- Get endless features with an intuitive interface.
Pros:
- Backed with WebRTC video protocol.
- Allows up to 50 participants in a video call.
- APIs for both mobile and desktop applications.
Cons:
- No analytical support is available.
- It does not have a user-friendly interface.
Pricing:
| Video P2P | Video Groups |
| Starting at $0.0015 per participant per minute | Starting at $0.004 per participant per minute |
You may also like: Twilio to ZEGOCLOUD Video Migration Guide
4. Sinch Live Video Call API
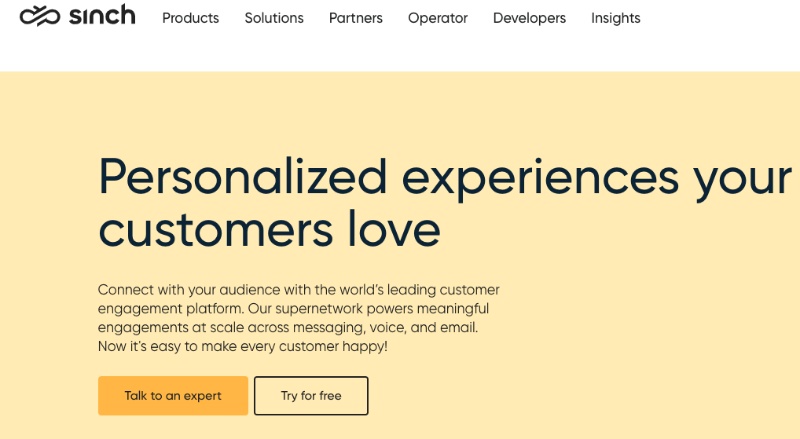
Sinch is another best video call API that manages different video conference APIs through messaging and calling facilities. Anyone can receive video calls, SMS verification, voice calls, and other engagement platforms. Various industries receive an extensive solution from this, including health, telecommunications, retail, media, and entertainment. Through this, many operators get opportunities for monetizing the wholesale and getting rid of fraud and other activities.
This video conferencing API offers an instant messaging SDK and API to iOS, Android, and Web Applications. It gives complete freedom to the users for customization and supports SIP, VoIP, and PSTN.
Features of Sinch video conferencing APIs :
- It offers high-quality videos.
- Get Personalized Messaging with Voice Calling service.
- Live Broadcasting.
- Personalized communication with advanced setup.
- 600+ operator connections globally.
- Amazing easy & intuitive interface with endless possibilities.
Pros:
- Allows live broadcasting facility.
- Provides 24/7 connection availability.
- Cross-platform support.
Cons:
- No free trial is offered.
Pricing:
- Need to contact the sales team.
5. Agora.io Video Conferencing API

Agora offers a complete video conference API. Meanwhile, it provides real-time voice and video chat API that can be used to build a video conference system. It works on user engagement by delivering the video call service with real-time voice, recording and messaging, and live streaming products. The company is working towards building real-time connections in the virtual world.
Features of Agora.io API for Video Conferencing:
- The tool offers an intelligent network that will help to connect automatically in real-time analysis.
- Select the efficient routing path with 200+ data centers.
- Enterprise support Platforms.
- Minimal Battery Consumption.
- It can withstand even a sudden spike in traffic.
- Extensive API selection with customizable UI extension.
Pro:
- Monitor call quality through Agora analytics.
- Call recording is a possibility.
- With AI noise suppression, hear clear sounds and voices.
Cons:
- Lack of API and webhooks.
- The provided documentation is complex.
Pricing:
| Video HD | Video Full HD |
| $3.99 /1,000 minutes | $8.99 /1,000 minutes |
6. Enablex
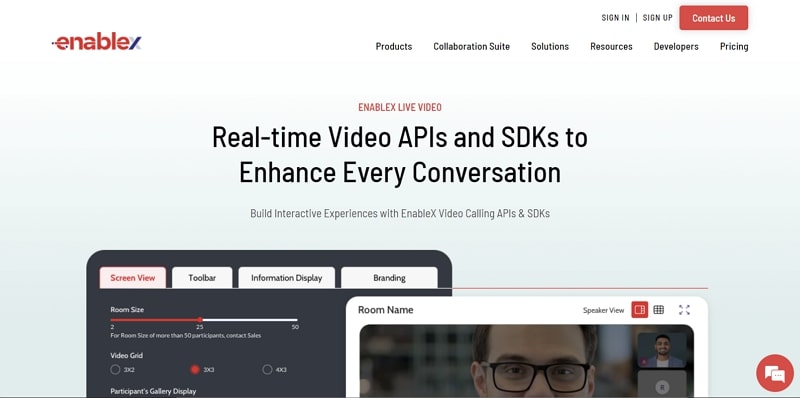
Enablex live video calling API is another decent choice for free HIPAA-compliant video conferencing for integrating video conferencing capabilities into your app. Moreover, it features remarkable video chat SDKs that enable one-to-one video chats and group video calls, providing users with an extensive video chat experience. With its live interactive broadcast feature, you can broadcast diverse content through devices directly on social media platforms.
Key Features:
- Up to 100 participants in collaboration mode
- Over 3000 participants for webinars
- Built on WebRTC
- End-to-end encryption
- Live annotation and screen sharing
Pros:
- The video API is fully customizable.
- Built-in on WebRTC protocol for a seamless call.
- Add 100 participants to a video call session.
Cons:
- Less learning features are available.
- Difficult user interface.
Pricing:
- $0.004 per participant per minute (50 participants)
7. CometoChat
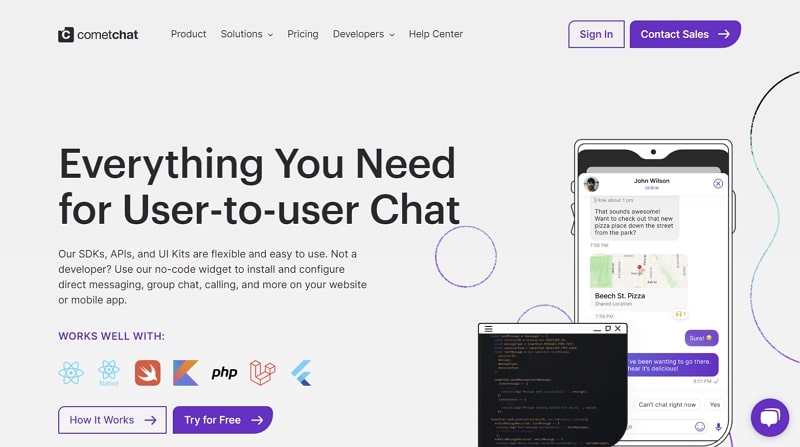
Providing text, voice, and video chatting capabilities, CometoChat is a great choice for video conferencing API. Furthermore, it offers APIs and SDKs that simplify integrating video calls with rich and detailed documentation, demos, and easy-to-understand code. Moreover, CometChat’s video conferencing API supports voice and video calling, scalable in-app messaging, and cross-platform compatibility.
Key Features:
- Online presence indicators
- Webhooks and bots
- Support for Single Sign-on (SSO)
- Typing and reading indicators
- Rich media attachments
Pros:
- UI kits are available for extensive user interfaces.
- It’s possible to send rich media attachments.
- Solutions are available for multiple sectors.
Cons:
- Slow customer service.
- Becomes inefficient sometimes due to bugs.
Pricing:
| Essentials (26 – 1000 MAUs) | Pro (26 – 1000 MAUs) |
| $379/month | $529/month |
8. Daily.co Video Conferencing SDK & API
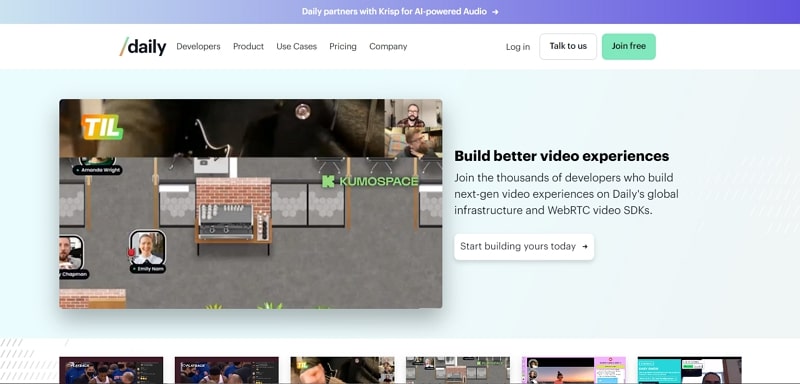
Daily.co offers the best scalable video conferencing API and aims to provide the best video call solution. With this live video call API, users can easily add live audio and video experiences to their products, using either the pre-built user interface or creating custom layouts. Furthermore, the tool supports high-quality 1080p HD video and screen sharing for calls on any device. Moreover, it offers flexible recording options, including transcriptions.
Key Features:
- Up to 1000 active participants per video call
- Live stream with up to 25 participants and 100,000 viewers
- Provides Android and iOS video conferencing SDKs
- Customizable video call UI/UX
- Video quality auto-tuning
Pros:
- The first 10,000 minutes are free per month.
- Email and chat support are available for queries.
- Live streaming and cloud recording are among the possibilities.
Cons:
- Pricing is a bit costly for new startups.
- The sound quality is not stable during the call.
Pricing
- $0.0015 per participant per minute
9. Apphitect Video Chatting API
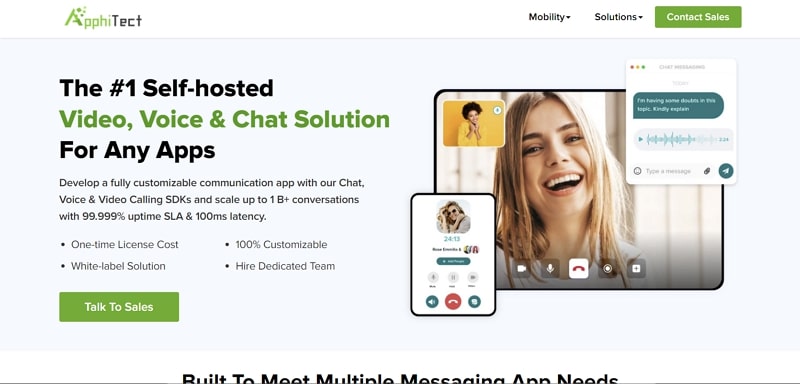
Apphitect provides video conference API for SMEs and enterprises and is considered one of the industry’s leaders. Using WebRTC APIs, Apphitect offers exceptional video-calling experiences across various devices and platforms. Moreover, it comes with 100% customization support meaning you can easily tailor it to suit your and your app’s needs.
Key Features:
- White-label solution
- High scalability
- Interactive live broadcasting
- Conference scheduling
- Screen sharing
Pros:
- Easy to use interface.
- Offers high scalability and customization in API.
- Provides interactive live broadcasting solutions.
Cons:
- Call quality is not stable because of lags.
Pricing:
- Contact the sales team
10. Mirrorfly
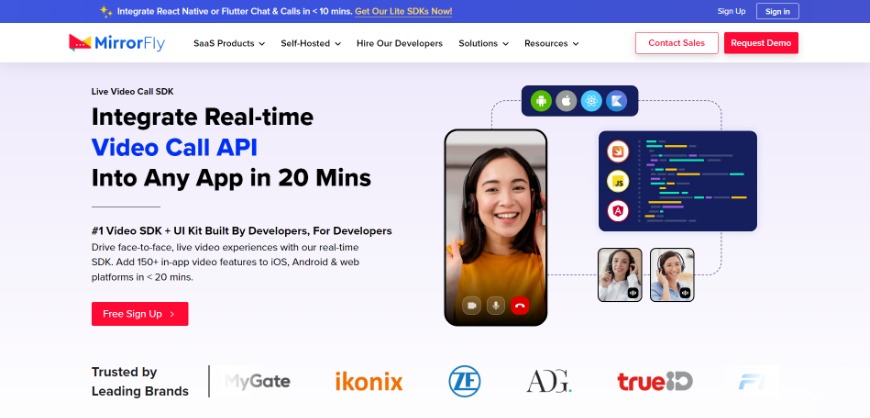
MirrorFly is the leading SaaS and SaaP-based video call API provider among enterprises and developers. They offer SDKs with robust security features and safeguard user data privacy.
Their APIs and SDKs are fully customizable and offer lifetime ownership of SDKs and source codes.
Moreover, their SDKs are enriched with 150+ modern chat, voice, and video communication features, pre-built UI kits, low-code SDKs, Lite-chat apps, and so on. They do offer extended support for iOS, Android, Web, and desktop.
Features of MirrorFly APIs:
- Integration in < 20 mins
- Topic-based chat
- One-to-one or group chat and calls
- Large file sharing
- Video conferencing
- Multi-platform compatibility
Pros:
- Compatible with user privacy regulation laws HIPAA, GDPR, and OWASP
- End-to-end encryption
- 99.999% uptime SLA
- On-cloud/on-premise hosting infrastructure
Cons:
- There is no live recording feature.
Pricing:
| Essentials (5k Monthly Active Users) | Premium (5k Monthly Active Users) |
| $0.08/user/month | $0.2/user/month (minimum 5k active users) |
How to Integrate Video Call to Your Website/App
Making applications from scratch can consume a lot of your time, as well as resources. In this regard, using ZEGOCLOUD video chat API/SDK is ideal because it provides both instant solutions to integrate video chat functions in existing applications in just 15 minutes and 100% customized video call SDK to build an Immersive video experience. Simultaneously, this shortens the time to market an application, giving it a competitive edge over competitors. Moreover, the developers don’t have to put hard effort into coding everything.
ZEGOCLOUD video calling API has essential features like push notifications, direct and group calls, camera switching, call muting, screen sharing, and more. There also exist advanced features like video frame capture, custom call metadata, P2P call connections, recording notifications, call event webhooks, call quality scoring, etc. In fact, you will also enjoy dashboard features like call logs, admin calls, automated billing, user notification settings, and call metadata retrieval.
Not to forget, ZEGOCLOUD also comes with best-in-class security features like user authentication and media stream encryption. There is also a compliance functionality of HIPAA with BAA.
How to Integrate ZEGOCLOUD Video Calling SDK with Step-by-step Guide
Let’s take iOS video conferencing SDK as an example to experience the convenience brought by UIKits SDK step by step.
Add video chat SDK to the project
Introduce ZegoUIKitPrebuiltCall SDK through the pod as follows, add pod ZegoUIKitPrebuiltCall in the Podfile file. Then execute the command pod install in Terminal. For detailed operation, please refer to Quick Access Documentation.
target 'ZegoCallDemo' do
  use_frameworks!

  # Pods for ZegoCallDemo
  pod 'ZegoUIKitPrebuiltCall'

end
Import iOS video calling SDK to your project
In the file that needs to be called the SDK interface, import the SDK through import.
import ZegoUIKitSDK
import ZegoUIKitPrebuiltCall
// YourViewController.swift
class ViewController: UIViewController {
    //Other code...
}
Show the ZegoUIKitPrebuiltCallVC in your project
Next, you only need to display ZegoUIKitPrebuiltCallVC in the module that needs to start the video call to complete the SDK access.
Before entering the page, three steps need to be done:
- Go to ZEGOCLOUD Admin Console, get the appID and app Sign of your project.
- Specify the userID and userName for connecting the Call Kit service.
- Create a callID that represents the call you want to make.
// YourViewController.swift
class ViewController: UIViewController {
    // Other code...
    var userID: String = <#UserID#>
    var userName: String = <#UserName#>
    var callID: String = <#CallID#>

    @IBAction func makeNewCall(_ sender: Any) {

        let config: ZegoUIkitPrebuiltCallConfig = ZegoUIkitPrebuiltCallConfig()
        let audioVideoConfig: ZegoPrebuiltAudioVideoViewConfig = ZegoPrebuiltAudioVideoViewConfig()
        let menuBarConfig: ZegoBottomMenuBarConfig = ZegoBottomMenuBarConfig()
        config.audioVideoViewConfig = audioVideoConfig
        config.bottomMenuBarConfig = menuBarConfig
        let layout: ZegoLayout = ZegoLayout()
        layout.mode = .pictureInPicture
        let pipConfig: ZegoLayoutPictureInPictureConfig = ZegoLayoutPictureInPictureConfig()
        pipConfig.smallViewPostion = .topRight
        layout.config = pipConfig
        config.layout = layout


        let callVC = ZegoUIKitPrebuiltCallVC.init(yourAppID,
                                                  appSign: yourAppSign,
                                                  userID: self.userID,
                                                  userName: self.userName,
                                                  callID: self.callID,
                                                  config: config)


        callVC.modalPresentationStyle = .fullScreen
        self.present(callVC, animated: true, completion: nil)
    }
}
Configure your project
Finally, you only need to add the camera and microphone permission to the iOS configuration file Info.plist, and then you can start to experience the audio and video call function.
<key>NSCameraUsageDescription</key>
<string>We require camera access to connect to a call</string>
<key>NSMicrophoneUsageDescription</key>
<string>We require microphone access to connect to a call</string>
Custom prebuilt UI
ZEGOCLOUD Call Kit provides a wealth of custom interfaces that you can modify according to your needs. For example, on the call page, we can achieve the following effects:
Display my view when my camera is off
If you want to still show your own video view when the camera is turned off, just set the showMyViewWithVideoOnly parameter in ZegoUIkitPrebuiltCallConfig to true to achieve this.
Hide my view when my camera is off
If you want to hide your own video view when closing the camera, just set the showMyViewWithVideoOnly parameter in ZegoUIkitPrebuiltCallConfig to false to hide it.

Dragging Small View
If you want to implement the function of dragging Video view, just set the isSmallViewDraggable parameter in ZegoUIkitPrebuiltCallConfig.
Switch the content of two video views
If you want to switch the content of two Video views, just set the switchLargeOrSmallViewByClick parameter in ZegoUIkitPrebuiltCallConfig.

Here is the reference code:
class ViewController: UIViewController {

    let selfUserID: String = "userID"
    let selfUserName: String = "userName"
    let yourAppID: UInt32 = YourAppID; // Fill in the appID that you get from ZEGOCLOUD Admin Console.
    let yourAppSign: String = YourAppSign; // Fill in the appSign that you get from ZEGOCLOUD Admin Console.

    @IBOutlet weak var userIDLabel: UILabel! {
        didSet {
            userIDLabel.text = selfUserID
        }
    }
    @IBOutlet weak var userNameLabel: UILabel! {
        didSet {
            selfUserName = String(format: "zego_%@", selfUserID)
            userNameLabel.text = selfUserName
        }
    }
    override func viewDidLoad() {
        super.viewDidLoad()
        // Do any additional setup after loading the view.
    }
    @IBAction func makeNewCall(_ sender: Any) {

        let config: ZegoUIkitPrebuiltCallConfig = ZegoUIkitPrebuiltCallConfig()

        let layout: ZegoLayout = ZegoLayout()
        layout.mode = .pictureInPicture
        let pipConfig: ZegoLayoutPictureInPictureConfig = ZegoLayoutPictureInPictureConfig()
        pipConfig.showMyViewWithVideoOnly = false;
        pipConfig.isSmallViewDraggable = true;
        pipConfig.switchLargeOrSmallViewByClick = true;
        layout.config = pipConfig
        config.layout = layout

        let callVC = ZegoUIKitPrebuiltCallVC.init(yourAppID, appSign: yourAppSign, userID: selfUserID, userName: self.selfUserName ?? "", callID: "100", config: config)
        callVC.modalPresentationStyle = .fullScreen
        self.present(callVC, animated: true, completion: nil)
    }
}
ZEGOCLOUD is providing a powerful and easy video call SDK solution of real-time communication technology. Just sign up to get 10,000 free minutes to build your video app now!
Ready to Build Your Video Meeting App with Video Conferencing API?
When developers are still confused about choosing the best API provider, we highly recommend using ZEGOCLOUD. It offers 20+ customizable UIKits for effortless development and plugin integration without starting from scratch. Moreover, it has ultra-HD displays that support up to 4K video resolutions and a low latency of 300ms, making it rich.
During a conference, it enables the participants to share their whole screen or an application, as they prefer. Furthermore, users get to add virtual backgrounds during calls by using this video chat SDK provider. ZEGOCLOUD can also handle up to 10,000 participants in a single video call session, making it a standout platform.
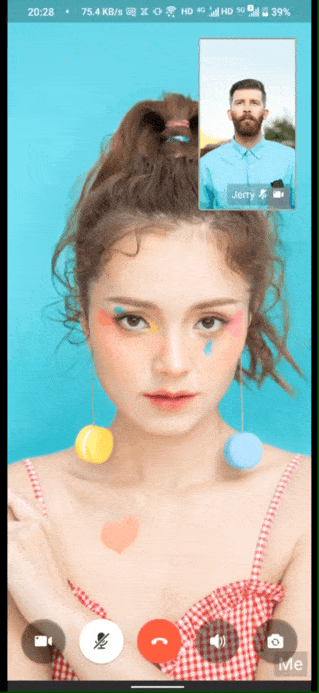
It even allows you to broadcast streams to multiple platforms, such as YouTube, and others, simultaneously. Moreover, you can apply beauty filters during live streams with features like skin smoothing and face retouching. For live streaming, ZEGOCLOUD supports over 10 million concurrent viewers in a single live streaming session.
Developers need to use 1 SDK to cover various live streaming needs and reach an audience in 212 countries. ZEGOCLOUD also eliminates the background noise and retains only the human voice to enhance clarity even in a loud environment. Moreover, you can record voice calls to review them in the future, which is ideal in meetings and customer service.
Conclusion
To sum up, selecting the appropriate video conferencing API enables developers to incorporate secure and seamless video meeting capabilities into their applications. It ultimately saves time, reduces costs, and works seamlessly across devices. Additionally, if you want to create a video calling platform with dedicated features, you should use ZEGOCLOUD. It lets you build your video conferencing app with rich features and easy setup.
Read more:
- How to Build A Video Conferencing Zoom Clone App
- 5 Best Video Call Background Options for Video Conferencing
FAQ
Q1: What is the best video conferencing SDK?
The best video conferencing SDK depends on your product needs. For custom meeting or communication apps, developers usually choose SDKs that offer stable real-time audio and video, low latency, and flexible UI customization.
Q2: What are the alternatives to Zoom SDK?
Zoom SDK is commonly used for standard meetings, but many developers look for alternatives when they need more control over the user experience. Other video SDKs often provide greater flexibility for building in-app meetings and tailored video solutions.
Q3: Which video API platform is best for live meetings?
A good video API platform for live meetings should support low-latency communication, stable multi-user connections, and consistent performance across regions. Ease of integration and scalability are also important factors.
Q4: What is a video SDK?
A video SDK is a set of APIs and tools that helps developers add real-time video and audio features to applications, such as video calls, live meetings, and screen sharing, without building everything from scratch.
Let’s Build APP Together
Start building with real-time video, voice & chat SDK for apps today!
