


When you can’t meet in person, there are numerous messaging apps to keep us all connected. Group video chat apps are the best at this, allowing us to see and hear a large group of friends, family, or coworkers all at once. There are group video call apps for business, entertainment, gaming, and collaboration. In this article, we’ll learn how to build a group video chat app using ZEGOCLOUD.
What is Group Video Chat?
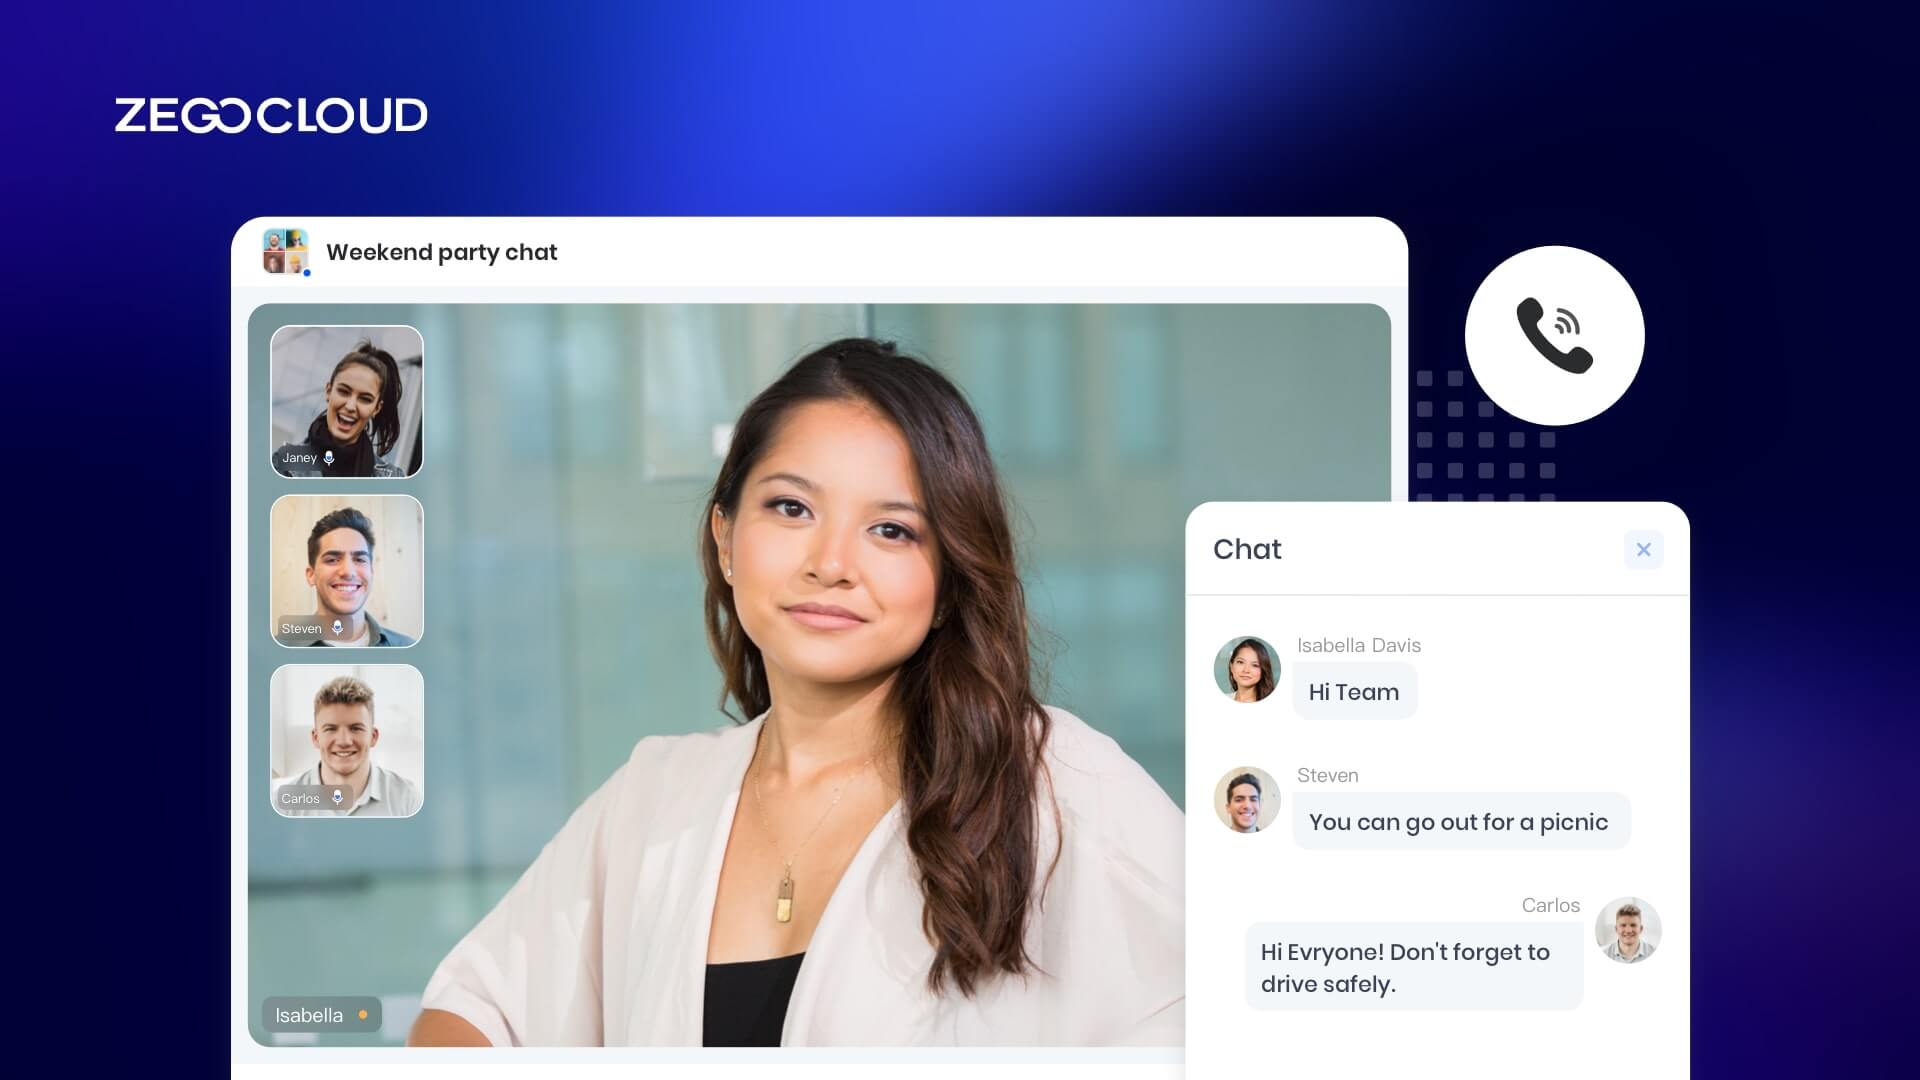
Group video chat is a feature of some communication and collaboration software that allows multiple people to participate in a video call together. In a group video chat, each participant can see and hear all the other participants and can speak and share audio and video with the group. This can be a useful tool for remote teams, allowing them to collaborate and communicate in real-time as if they were all in the same physical location.
Group video chat can also be used for social purposes, allowing friends and family members to connect and interact with each other face-to-face, even if they are physically separated. Some popular examples of group video calling applications include Skype, Google Hangouts, and Zoom.
How to Make Video Group Calls with ZEGOCLOUD API/SDK
Group video chat is an excellent way to communicate with a large number of people at the same time. In this section, we’ll create a basic video group chat application using ZEGOCLOUD video call API.
The video call API is a powerful tool for adding real-time video and audio capabilities to your mobile, desktop, and web apps. With its wide range of features and potential applications, this software development kit (SDK) can help you quickly and easily build video call and video conferencing capabilities that are reliable, efficient, and engaging.
Some of the many potential uses for this SDK/API include one-on-one and group video conversations, online education, live video streaming for entertainment, and more.
Why Use ZEGOCLOUD’s Video Call SDK for Group Video Chat
ZEGOCLOUD’s Video Call SDK offers many advantages that make it a valuable tool for building group video chat or group video conferencing. Some of its key features include:
1. Real-time video communication: The SDK allows you to quickly and easily build an app that enables video calls, allowing you to stay in touch with friends and family no matter where they are located.
2. Global access: ZEGOCLOUD’s services are available in over 200 countries, so you can use the SDK regardless of your location.
3. Video and audio improvement: The SDK includes professional enhancement tools that can be used to improve the quality of your video and audio.
4. Strong network management: The SDK uses optimized algorithms to manage network traffic, ensuring that your video calls are stable and reliable.
How to Make Video Calls with Multiple Users
- ZEGOCLOUD Developer Account —Signup
- IDE or text editor.
- Computer with internet connectivity and audiovisual support.
- Web development basics
Follow these steps to integrate the Video Call SDK for the group video call app:
Create a new project.
- Make two files with the names
index.html, andindex.js, and add them to your project.
├── index.html
├── js
│   └── index.js
└── css
└── index.css- Include the following code in
index.html:
<html>

<head>
    <meta charset="UTF-8">
    <title>Zego Express Video Call</title>
    <style type="text/css">
        * {
            font-family: sans-serif;
        }

        h1,
        h4 {
            text-align: center;
        }

        #local-video, #remote-video {
            width: 400px;
            height: 300px;
            border: 1px solid #dfdfdf;
        }

        #local-video {
            position: relative;
            margin: 0 auto;
            display: block;
        }

        #remote-video {
            display: flex;
            margin: auto;
            position: relative !important;
        }
    </style>
</head>

<body>
    <h1>
        Zego RTC Video Call
    </h1>
    <h4>Local video</h4>
    <div id="local-video"></div>
    <h4>Remote video</h4>
    <div id="remote-video"></div>
   </body>

</html>
3. Test app on a local web server.
To test your app on a local web server, you can use the life-server add-on. If you haven’t already installed life-server, you can do so now. Once installed, you can run your app on a local web server by using the following command:
This will start the local web server and allow you to access your app in a web browser at the URL http:<em>//localhost:3000</em>. You can then test your app and make any necessary changes before deploying it to a live web server.
Note: the exact command and URL may vary depending on how you have set up and configured life-server on your system.
Run the code below to install life-server if you don’t have it on your machine:
npm i live-server -gImport the SDK
Completed the task of developing the project! Let’s include the software development kit in our project. To accomplish this, please proceed as outlined below:
- To install the necessary dependencies for your project, you will need to run the following command:
npm install zego-express-engine-webrtcThis command will install the zego-express-engine-webrtc package and any other necessary dependencies.
- To add the Video call SDK to your project, you will need to import it into your
index.js file. To do so, add the following line at the top of your file:
var ZegoExpressEngine = require('zego-express-engine-webrtc').ZegoExpressEngineThis line will import the ZegoExpressEngine class from the zego-express-engine-webrtc package. You can then use this class to create an instance of the SDK and access its features and functionality.
Implement a Basic Voice Call
Now that you have added the Video call SDK to your project, you can continue implementing the feature of video calls. The SDK allows you to easily add group video chat functionality to your app so that users can communicate with each other using audio and video.
To use the SDK to video chat, you can follow these steps:
Initialize ZegoExpressEngine
It is necessary to initialize the ZegoExpressEngine SDK prior to A and B being able to publish and play streams. After you have a ZegoExpressEngine object created, you will need to provide in the Server URL as well as your AppID. The ZEGOCLOUD Admin Console is where the credentials are saved for later use.
// A project's unique AppID, which is of the Number type. You can get it from the ZEGOCLOUD Admin Console.
let appID = ;

// Access the server address, which is a String. You can get it from the ZEGOCLOUD Admin Console. (See Prerequisites for more information on how to obtain it.)

let server = "";

// Instance initialization
const zg = new ZegoExpressEngine(appID, server);
Check if Browser is Compatible with WebRTC.
The Video Call SDK is compatible with a wide variety of today’s browsers. To determine whether or not yours is supported, please run the following codes:
const result = await zg.checkSystemRequirements();

// The [result] shows whether or not it is compatible.

console.log(result);
Log in to a room
We have finished putting together a new instance of the ZegoExpressEngine. It is now okay to enter a room by yourself. Simply call the loginRoom function to accomplish this.
let userID = Util.getBrow() + '_' + new Date().getTime();
let userName = "user0001";
let roomID = "0001";
let token = ;

// Listen for callback events like a user logging in or out, room connection status updates, and stream publishing status updates before you log in to a room so you don't miss any notifications.

zg.on('roomStateChanged', async (roomID, reason, errorCode, extendedData) => {

})
zg.loginRoom(roomID, token, { userID, userName: userID }, { userUpdate: true }).then(result => {
     if (result == true) {
        console.log("login success")
     }
});
roomStateUpdate displays the connection state of the currently logged in user.
zg.on('roomStateUpdate', (roomID,state,errorCode,extendedData) => {
    if (state == 'DISCONNECTED') {
        // Disconnected from the room
    }

    if (state == 'CONNECTING') {
        // Connecting to the room
    }

    if (state == 'CONNECTED') {
        // Connected to the room
    }
})
roomUserUpdate is utilized in order to obtain user status updates.
 // Callback for updates on the status of the users in the room.
zg.on('roomUserUpdate', (roomID, updateType, userList) => {
    console.warn(
        `roomUserUpdate: room ${roomID}, user ${updateType === 'ADD' ? 'added' : 'left'} `,
        JSON.stringify(userList),
    );
});
roomStreamUpdate is responsible for getting updated information regarding the room’s streams.
zg.on('roomStreamUpdate', async (roomID, updateType, streamList, extendedData) => {
    if (updateType == 'ADD') {
        // Added stream

} else if (updateType == 'DELETE') {
        // deleted stream, stops playing
}
});
Publishing Streams
Use createStream to generate an audio/video stream on your local machine. The function, when called, will automatically record both audio and video.
//Wait for the ZEGOCLOUD server to return the local stream object after calling CreateStream.

const localStream = await zg.createStream({camera :{audio:true,video:true}});
// Get the audio tag.
const localAudio = document.getElementById('local-video');

//A MediaStream object is what makes up the local stream. You can make audio play by setting the srcObject property of video or audio to the local stream.

localVideo.srcObject = localStream;
Utilizing the startPublishingStream command will get you started with sending a local audio and video stream to remote viewers.
- The value of the
StreamIDparameter isStreamIDitself. - The media stream object was obtained by
localStreamin the step before this one.
zg.startPublishingStream(streamID, localStream)Playing Streams
Previously, we were able to broadcast live video. Simply providing the stream’s ID as the value for startPlayingStream's streamID parameter will cause it to begin playing.
const remoteStream = await zg.startPlayingStream(streamID);

// The remoteVideo object is the <video> or <audio> element on your webpage.
remoteVideo.srcObject = remoteStream;
Stop publishing streams
By using stopPublishingStream and passing the stream ID as its argument, you can put an end to the broadcasting of a local video stream.
zg.stopPublishingStream(streamID)Destroy Stream
destroyStream is used to terminate a local media stream.
zg.destroyStream(localStream)Stop playing stream
Call stopPlayingStream with the stream ID to stop a remote video feed from playing.
zg.stopPlayingStream(streamID)Log out of a room
Calling logoutRoom with the room ID is required in order to log out.
zg.logoutRoom(roomID)Please see the Video Call SDK documentation for more information on how to create video call for multiple users using ZEGOCLOUD’s Video Call SDK.
Run a demo
You can download a sample demo source code to use as a starting point when developing group video chat applications.
Conclusion
Group video chat applications have great potential in the future, as many organizations and institutions are now embracing remote work and learning environments. There’s no better time to start building the best group video call app than now! You can always use ZEGOCLOUD’s Video Call SDK to make the process a whole lot easier. If you are looking for pre-built UIKits and UI Components, ZEGOCLOUD also has it that allows you to build a group video calling App in 10 minutes.
Our technical support team is available 24/7 to provide any assistance you may need in using any of our products.
Let’s Build APP Together
Start building with real-time video, voice & chat SDK for apps today!
