


Looking to build a video chat app using React Native? With its cross-platform capabilities, React Native is an excellent choice for creating high-quality video chat apps that work seamlessly across different devices. In this guide, we’ll walk you through the process of building a React Native video call app from start to finish with ZEGOCLOUD. Get ready to learn how to create a top-notch video calling app!
How Building a Video Call App is Simplified with React Native?
Building a video call app with React Native is considered easier due to its cross-platform nature, allowing developers to write code once and deploy it on both iOS and Android platforms. This significantly reduces development time and effort, as there’s no need to maintain separate codebases for each platform. React Native’s extensive library of pre-built components, including those for video calling features, further streamlines the development process. Developers can easily integrate advanced functionalities like real-time video streaming, without delving into the complexities of native code for each platform.
Moreover, React Native benefits from a large and active community, providing access to a wealth of resources, tools, and third-party plugins. This community support means developers can find solutions to common problems quickly and leverage existing libraries to add features like video call recording or screen sharing with minimal effort. The framework’s hot-reload feature also allows for instant feedback on code changes, making the development and debugging process more efficient. All these factors combined make React Native an appealing choice for building sophisticated video call apps with ease.
Best Features to Add to Your React Native Video Calling App
Adding the right features to your React Native app can significantly enhance its functionality, user engagement, and overall success. Here are some of the best features to consider:
- Push Notifications: Vital for engaging users with personalized updates, reminders, or offers to increase app usage and retention.
- Social Media Integration: Allows users to sign in through social media accounts, share content, and connect with friends, enhancing the user experience and app visibility.
- Geolocation Services: Enables location-based features, such as finding nearby places, location tracking, or personalized content, adding immense value to user interactions.
- Offline Mode: Offers users access to certain app functionalities even without an internet connection, improving accessibility and convenience.
- Live Video Streaming: Supports real-time video content, making your app more interactive and engaging for users who seek live information or entertainment.
- Chat/Messaging: Facilitates communication within the in-app messaging, whether for customer support, user-to-user interactions, or community engagement.
- Payment Gateway Integration: Essential for e-commerce or service-based apps, allowing secure and convenient in-app purchases or transactions.
- Dark Mode: A popular feature that offers a dark color scheme to reduce eye strain in low-light conditions and save battery life on OLED/AMOLED screens.
- Biometric Authentication: Enhances security by allowing users to log in using fingerprint scanning or facial recognition, offering a seamless and secure experience.
- Analytics and Feedback System: Collects data on how users interact with your app and gathers direct feedback, crucial for ongoing improvement and personalization.
Incorporating these features into your React Native app can create a more engaging, convenient, and valuable experience for your users, setting your app apart in the competitive app market.
Why Do You Need ZEGOCLOUD to Build a React Native Video Chat App?
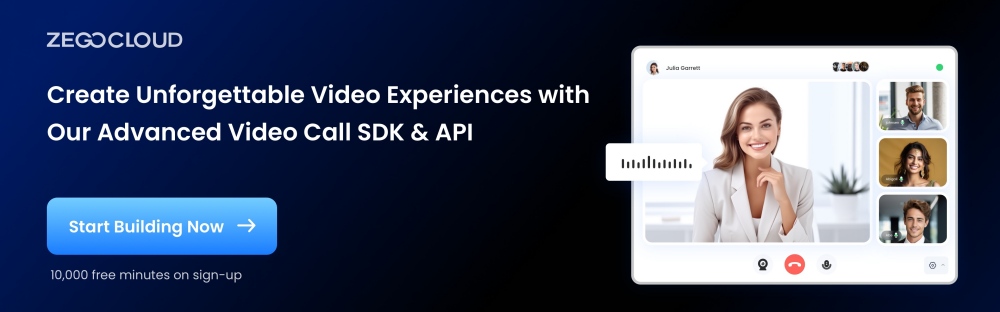
ZEGOCLOUD is a video communication platform that provides a fully customized video chat API for React Native developers to integrate video call functionality into their React Native applications. Developers can easily build cross-platform video communication apps for iOS and Android. It provides pre-built UIKits to its users for effective building, which allows developers to make their app development easier and faster within a few minutes.
As you have assessed the need to create a video call app for your system, taking ZEGOCLOUD’s help is effective. Using React native UIKits for video communication would simplify the complete design. Rather than hiring individuals, this turns out to be the best way to execute the process in no time.
When Do You Need UIKits for Video Chat with React Native
The benefits of using UIKits cannot be overstated. There is definitely no doubt that it is the best video call SDK out there. It is mighty for many reasons.
1. Build apps faster and easier.
This is one of the primary reasons for the React Native development of UIKits. It lets you get your video call apps up and running with a few lines of code. You don’t have to worry about the core implementation, as everything is taken care of behind the scenes. UIKits also supports many frameworks, so you don’t have to learn any frameworks to use them. For instance, we will implement a video call feature using React Native video SDK. If you are unfamiliar with React Native, you can use other development tools such as Flutter or Web.
2. Customize the UI and features as needed.
UIKits is highly customizable, unlike other UIKit tools out there. You can easily customize the look and improve the features of your video call app as per your needs by simply tweaking the code. There’s no doubt that the UIKits SDK has all the functionality you could ever need in a call app.
Apart from the two features mentioned above, below are some powerful features that UIKits SDK offers out of the box:
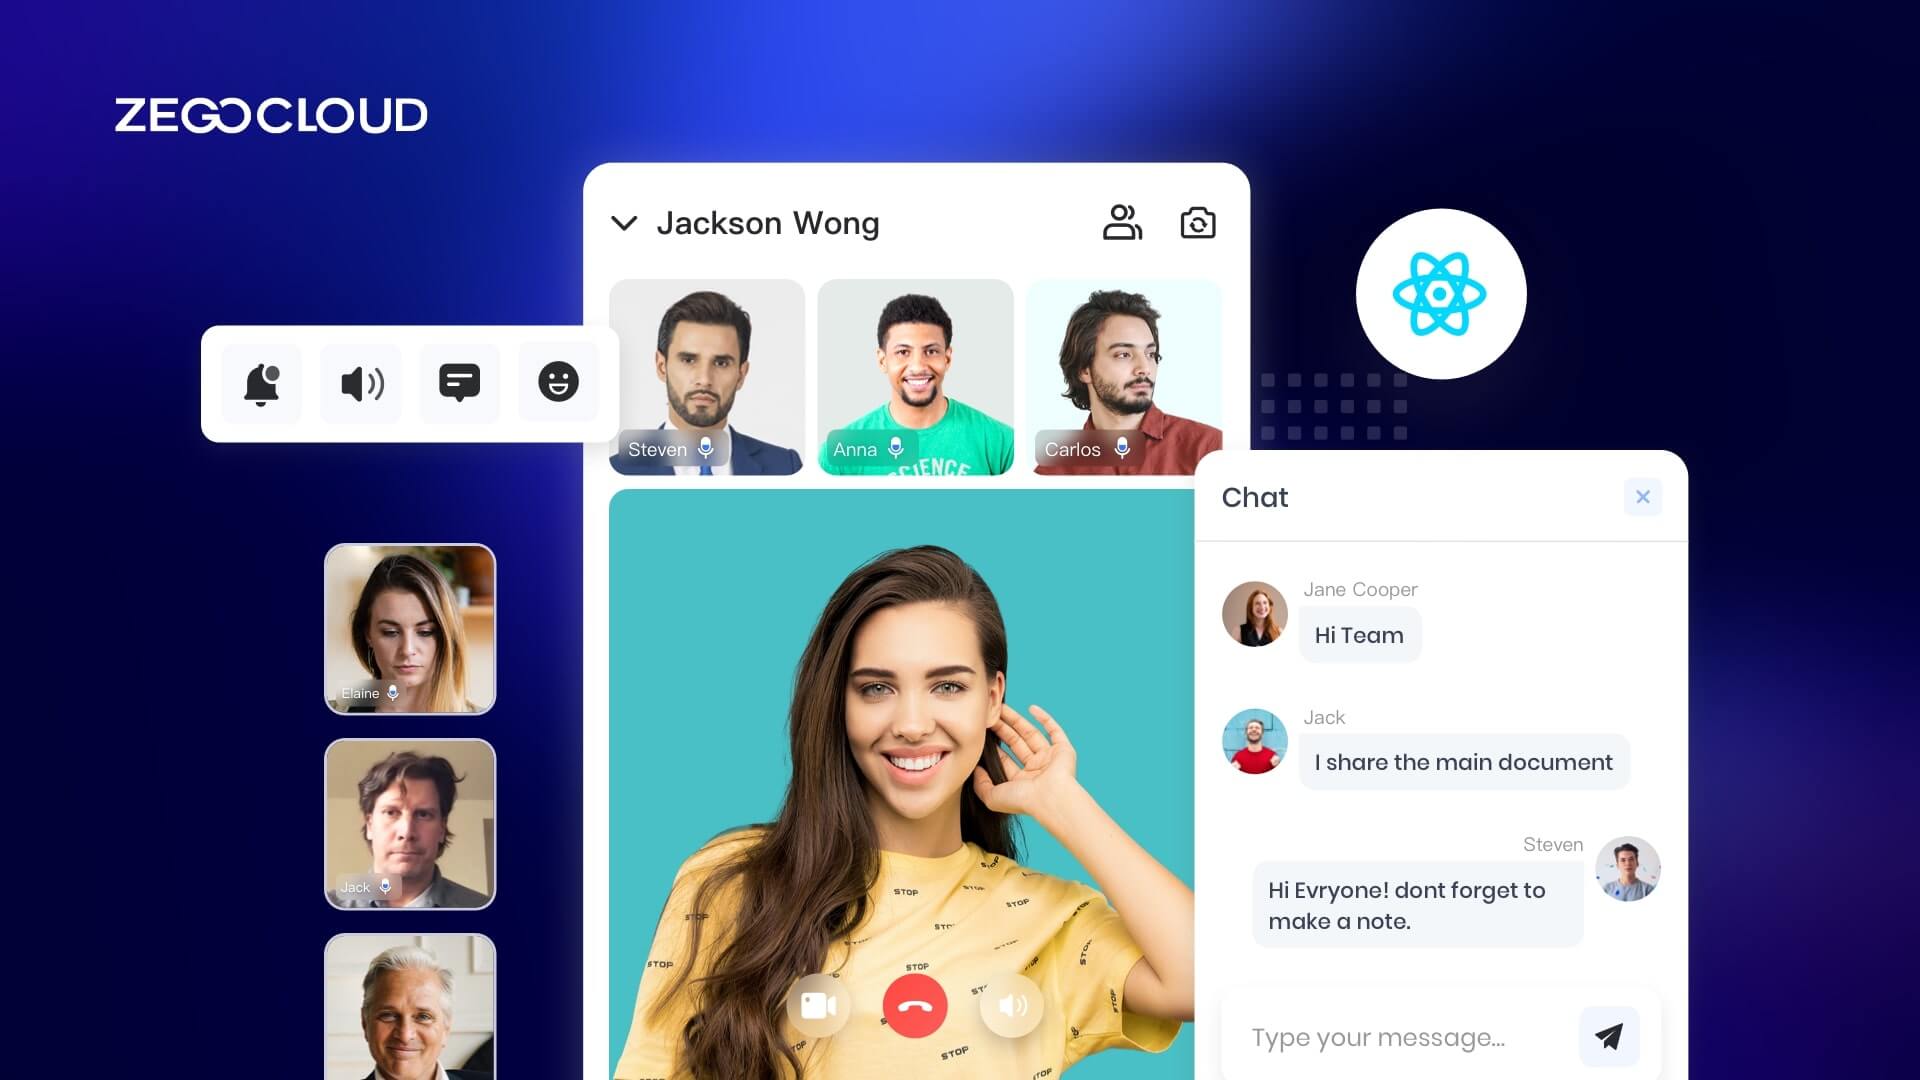
- Ready-to-use 1-on-1/group calls
- Customizable UI styles
- Real-time sound waves display
- Device management
- Switch views during a 1-on-1 call.
- Extendable menu bar
- Participant list
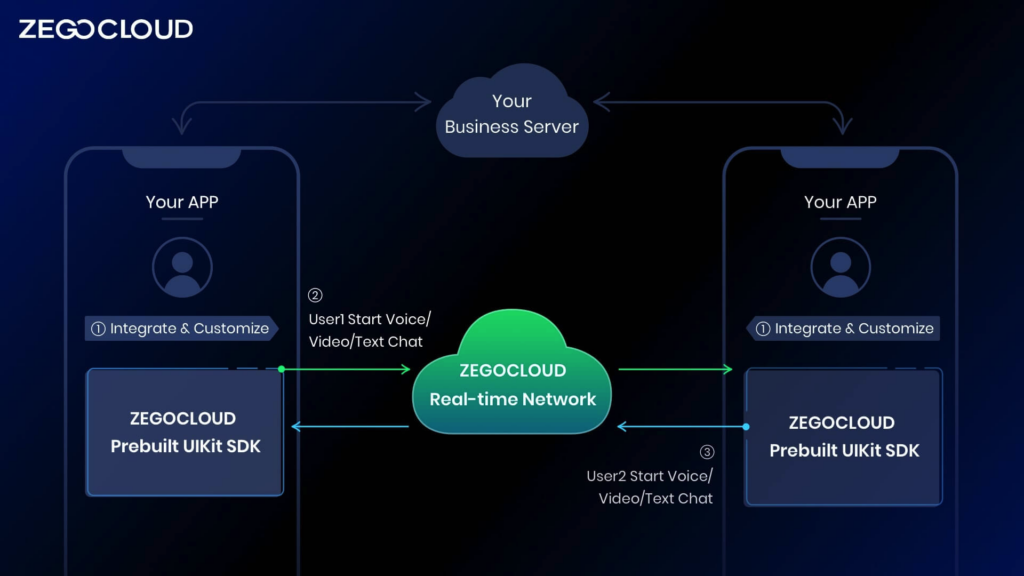
As shown in the figure, React Native UIKit SDK from ZEGOCLOUD is responsible for processing audio and video calls and the logic related to text chat. Include:
- UI and interaction of the calling module
- call status management
- Audio and video data transmission
You only need to implement business-related logic. For example:
- User login registration
- Friends List Management
- Call billing recharge
Preparation
- A ZEGOCLOUD developer account–Sign up
- React Native 0.60.0 or later
- Basic understanding of React Native development
Steps to Implement Video Call for React Native App
1. Create Project
First, You need to run the following code to create a new project.
npx react-native init call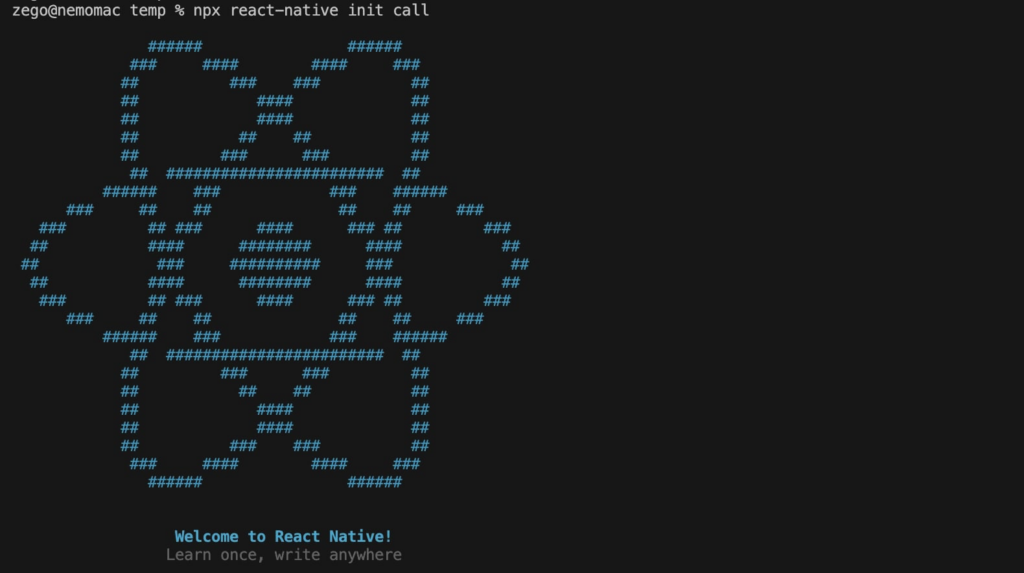
2. Add React Native UIKit SDK dependencies
Next, you need to open the package.json file in the root directory and add the React Native UIKit SDK dependencies.
"@react-navigation/native": "^6.0.13",
"@react-navigation/native-stack": "^6.9.1",
"@zegocloud/zego-uikit-prebuilt-call-rn": "^1.2.1",
"@zegocloud/zego-uikit-rn": "^1.2.0",
"react-delegate-component": "^1.0.0",
"react-native-gesture-handler": "^2.8.0",
"react-native-safe-area-context": "^4.4.1",
"react-native-screens": "^3.18.2",
"react-navigation": "^4.4.4",
"zego-express-engine-reactnative": "^0.21.0"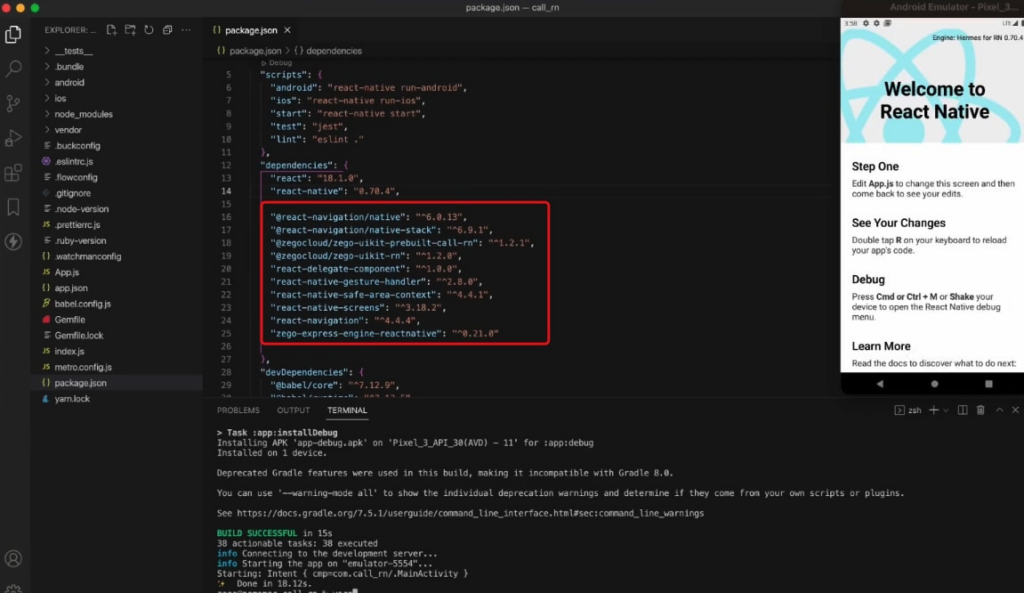
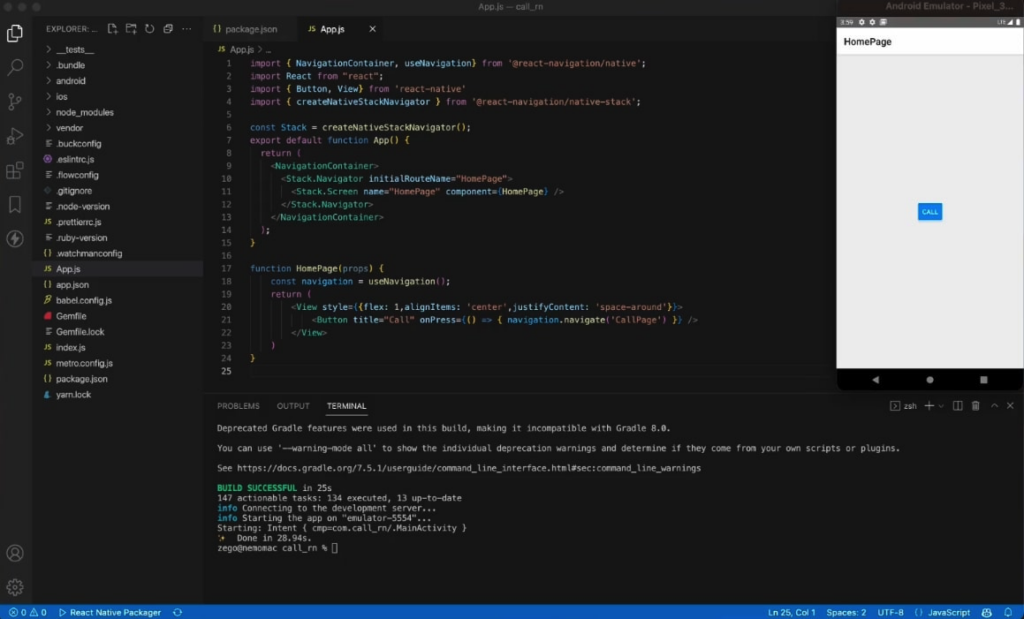
3. Add a call button
import { NavigationContainer, useNavigation} from '@react-navigation/native';
import React from "react";
import { Button, View} from 'react-native'
import { createNativeStackNavigator } from '@react-navigation/native-stack';

const Stack = createNativeStackNavigator();
export default function App() {
  return (
    <NavigationContainer>
      <Stack.Navigator initialRouteName="HomePage">
        <Stack.Screen name="HomePage" component={HomePage} />
      </Stack.Navigator>
    </NavigationContainer>
  );
}

function HomePage(props) {
    const navigation = useNavigation();
    return (
        <View style={{flex: 1,alignItems: 'center',justifyContent: 'space-around'}}>
            <Button title="Call" onPress={() => { navigation.navigate('CallPage') }} />
        </View>
    )
}
4. Add Video Call page
Use ZegoUIKitPrebuiltCall to easily build a Call page
import ZegoUIKitPrebuiltCall, {GROUP_VOICE_CALL_CONFIG} from '@zegocloud/zego-uikit-prebuilt-call-rn';
function CallPage(props) {
  randomUserID = String(Math.floor(Math.random() * 100000))
  return (
      <View style={{flex: 1}}>
          <ZegoUIKitPrebuiltCall
            appID={1484647939}
            appSign='Your App Sign'
            userID={randomUserID}
            userName={'user_'+randomUserID}

            config={{
              ...GROUP_VOICE_CALL_CONFIG,
              onHangUp: () => {props.navigation.navigate('HomePage')},
            }}
          />
      </View>
  )
}
Now, you can make a new call by navigating to this CallPage.
5. Add Device permission
Android:
- Open the
my_project/android/app/src/main/AndroidManifest.xmlfile and add the permission:
<uses-permission android:name="android.permission.ACCESS_WIFI_STATE" />
<uses-permission android:name="android.permission.RECORD_AUDIO" />
<uses-permission android:name="android.permission.INTERNET" />
<uses-permission android:name="android.permission.ACCESS_NETWORK_STATE" />
<uses-permission android:name="android.permission.CAMERA" />
<uses-permission android:name="android.permission.BLUETOOTH" />
<uses-permission android:name="android.permission.MODIFY_AUDIO_SETTINGS" />
<uses-permission android:name="android.permission.WRITE_EXTERNAL_STORAGE" />
<uses-permission android:name="android.permission.READ_PHONE_STATE" />
<uses-permission android:name="android.permission.WAKE_LOCK" />
- Open the
my_project/android/app/proguard-rules.profile and add the following:
-keep class **.zego.** { *; }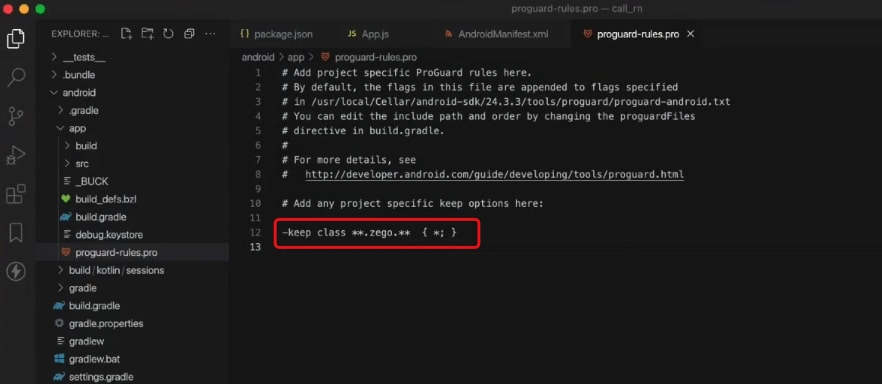
iOS:
Open the my_project/ios/my_project/Info.plist file and add the following:
<key>NSCameraUsageDescription</key>
<string>We need to use the camera</string>
<key>NSMicrophoneUsageDescription</key>
<string>We need to use the microphone</string>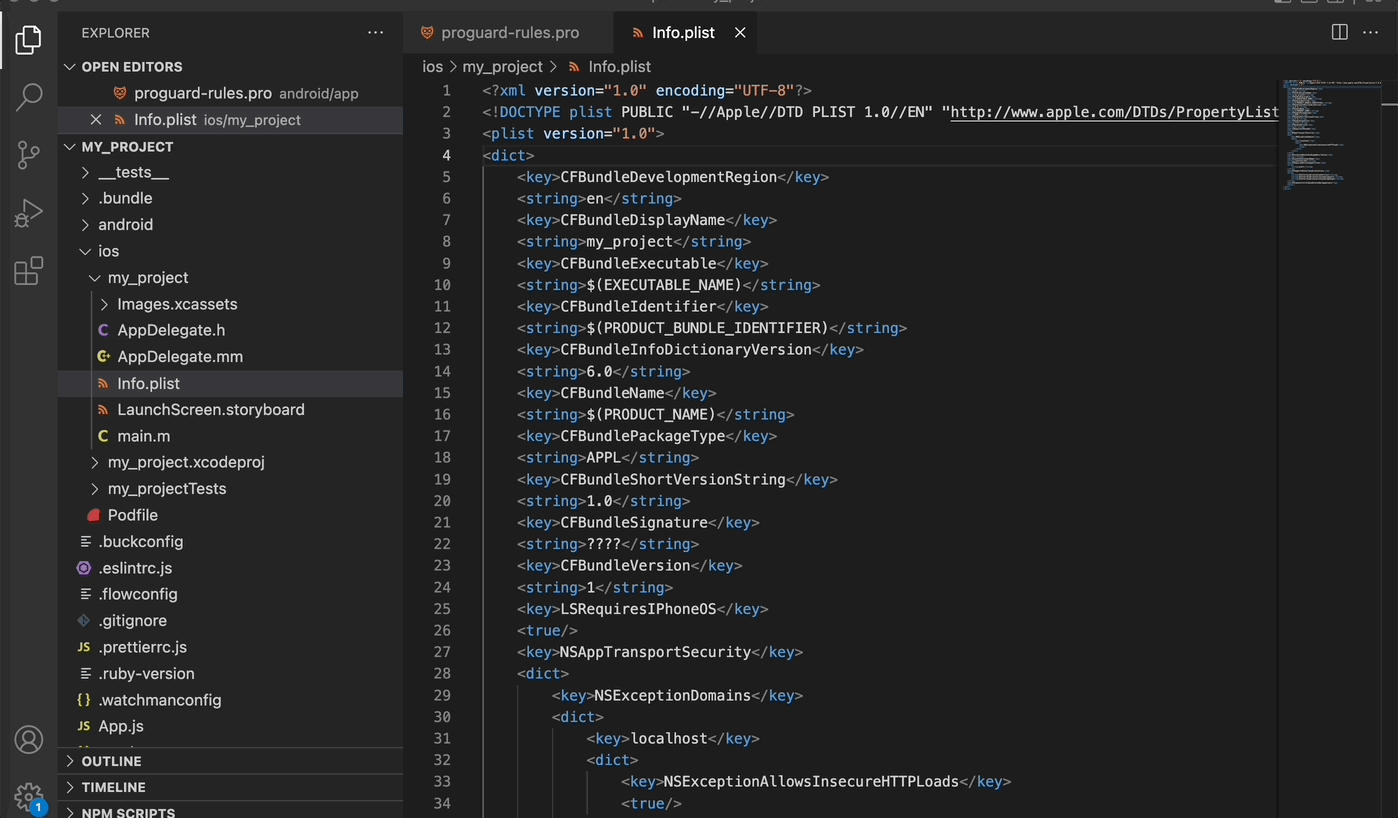
Run a demo
Thanks to a rising need for more dependable and dynamic communication, the growth of video streaming apps doesn’t appear to be slowing down. As a result, plenty of businesses concentrated on creating social apps, video conferencing, and video calling.
We have you covered if you want to enter the video conferencing market, whether you want to start out small by integrating one of our chat widgets or go all in with one of our SDKs.
You can download the sample demo source code of this article.
Conclusion
In summary, the best way to create a video call app is with ZEGOCLOUD. However, for enhanced viewing aesthetics, the need for a complete UIKit can make things easier. For this, ZEGOCLOUD provides a complete react native UIKit to utilize. While it saves time, it can be cost-effective for the users in many ways.
Instead of hiring a massive team of developers, using ZEGOCLOUD can be effective for you in all ways. Furthermore, the results would conclude in better speeds with a quality that will surpass expectations.
Read More:
FAQ
Q1: Can React Native be used to build a fully functional video chat app?
React Native can be used to create a fully functional video chat app. With the help of libraries like WebRTC for real-time communication and react-native-webrtc, developers can implement video calling features effectively across both iOS and Android platforms.
Q2: What are the main libraries needed for adding video chat functionality in a React Native app?
The key libraries for adding video chat functionality in a React Native app include react-native-webrtc for handling real-time video streaming, and for signaling, libraries like socket.io or Firebase can be used. Additionally, react-navigation might be used for managing app navigation.
Q3: How does React Native handle permissions for accessing the camera and microphone in a video chat app?
React Native handles permissions for accessing the camera and microphone using native modules and libraries like react-native-permissions. Developers need to request permissions at runtime, especially for Android 6.0 (API level 23) and above, to ensure users grant access before the app uses these features.
Q4: Is it possible to support both one-on-one and group video calls in a React Native video chat app?
It is possible to support both one-on-one and group video calls in a React Native video chat app. This can be achieved by implementing appropriate WebRTC configurations and using a scalable signaling server to manage multiple connections and data streams efficiently.
Q5: What are the challenges of developing a video chat app with React Native, and how can they be overcome?
Some challenges include handling real-time communication efficiently, ensuring cross-platform compatibility, managing app performance, and dealing with device-specific limitations. These can be overcome by using optimized libraries like react-native-webrtc, conducting thorough testing on different devices, optimizing data transmission, and leveraging native modules for performance-critical components.
Let’s Build APP Together
Start building with real-time video, voice & chat SDK for apps today!
