


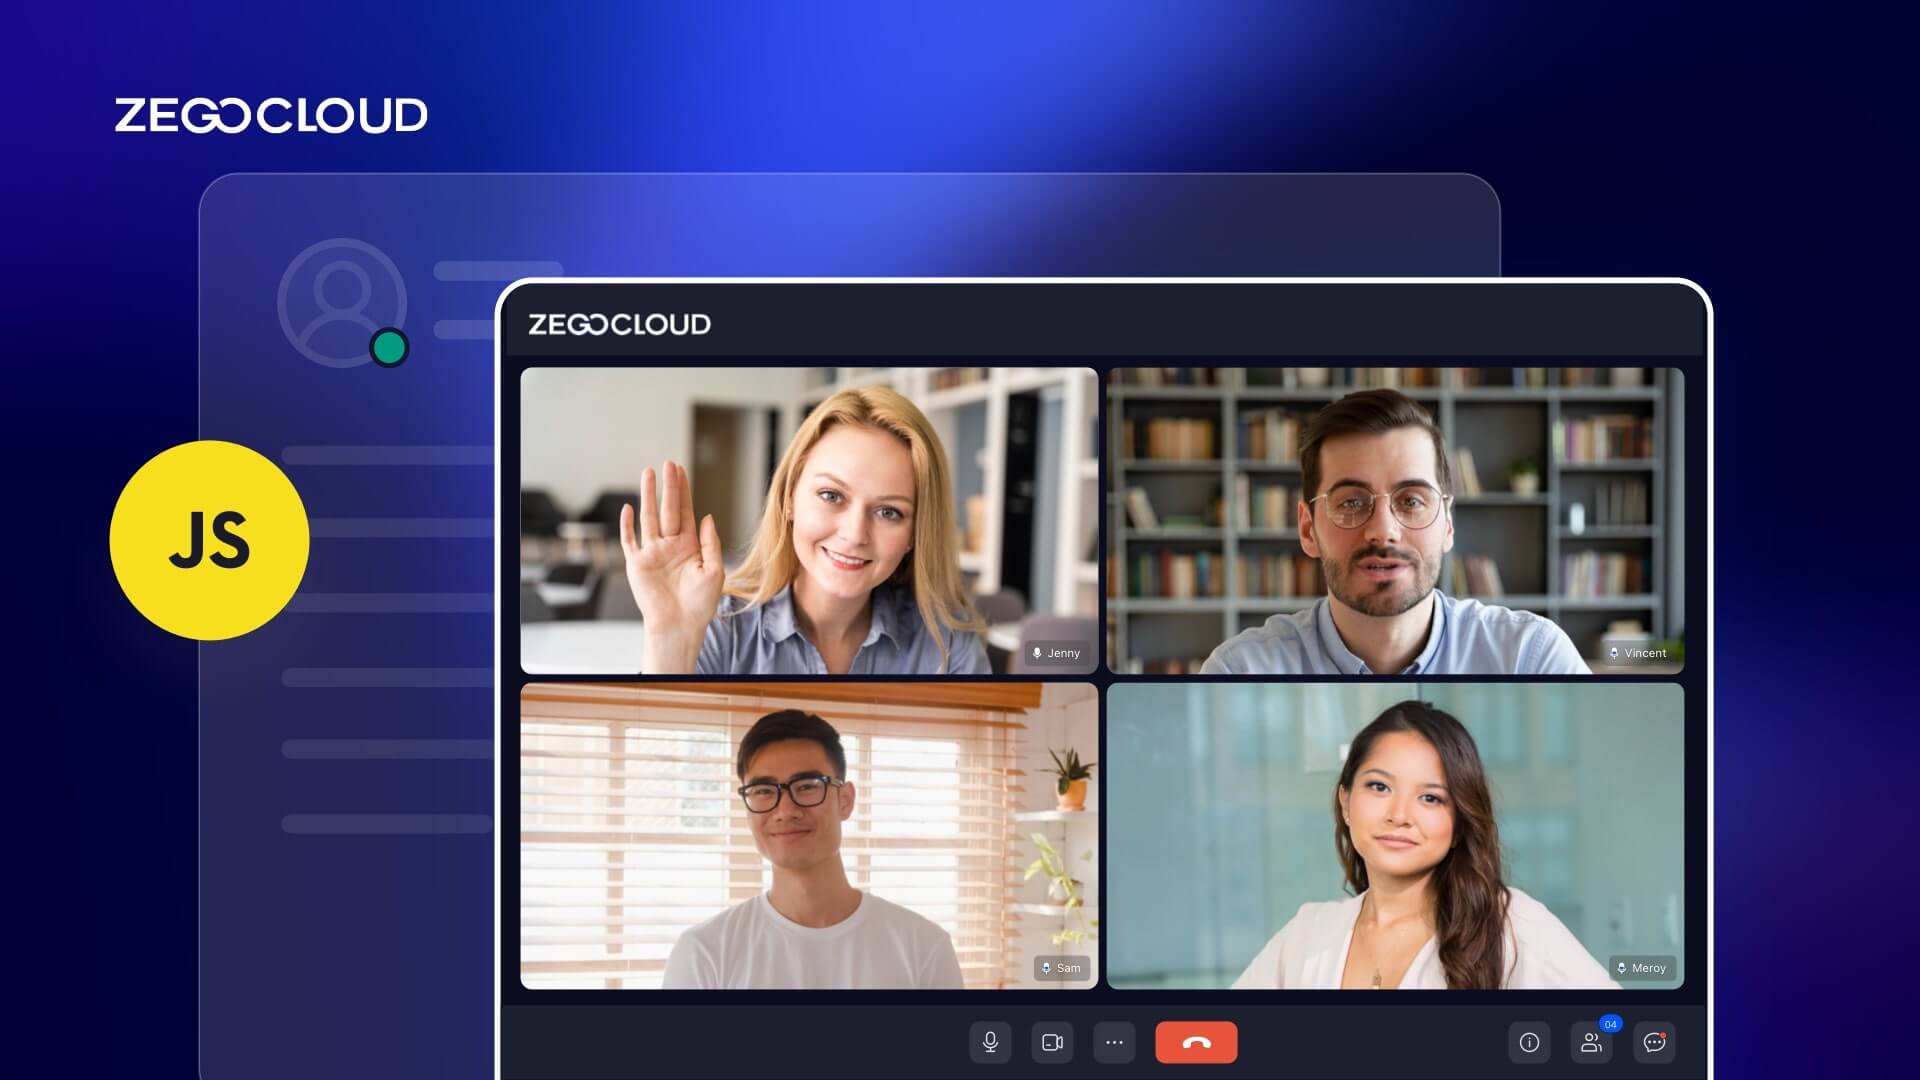
Web Video Chat has become an increasingly popular way to communicate and connect with others online. Wondering how to do a video chat on the web? Several options for implementing video chat on the web are available, including using third-party libraries or SDKs such as ZEGOCLOUD Video Chat SDK.
How to Make Web Video Chat with ZEGOCLOUD
ZEGOCLOUD Video Chat SDK is a powerful tool for developers looking to provide real-time video and audio, interactive services to their users. Express Video SDK’s low latency and high concurrency features provide smooth, high-definition audio and video services across numerous platforms.
It is a comprehensive software development kit allowing developers to easily add video call features to their apps. Therefore, developers may utilize this sophisticated tool to take advantage of various perks and features to improve their applications’ user experience and functioning.
Major features of ZEGOCLOUD Video Chat SDK include:
1. Simple integration
The Video Call SDK provides a simple and straightforward interface thus allowing developers to easily add voice call features to their apps, regardless of the platform for which they are developing.
2. Security at the enterprise level
It contains several security measures to safeguard users’ privacy and security, such as encryption.
3. High-definition multimedia
High-definition audio and visual outputs with low latency and outstanding sound quality are provided, thus making it perfect for applications that rely on real-time speech and video communications.
4. Video and audio effects
Developers may increase user engagement with the Video Call SDK by including engaging audio and effects such as face and voice beautification and shifting.
Overall, the ZEGOCLOUD Video Call SDK is an excellent resource for developers wishing to integrate voice chat and video calling into their projects.
Preparation
- A ZEGOCLOUD developer account – sign up
- Computer with internet connectivity, audio and video support
- Development tool of choice (VS Code recommended)
- Knowledge of web development
- Check browser compatibility.
Steps to Make a Video Chat Web App
Step 1: Create a project
Follow these steps to create a web project for ZEGOCLOUD Express Video SDK:
1. Set up the necessary tools.
A text editor or integrated development environment (IDE) to write and edit code, as well as a web browser to test and view your project, are required to create a web project. Visual Studio Code, Sublime Text, and WebStorm are some popular choices.
2. Create your project directory.
Make a new folder on your computer for your project files. Then, make a file called index.html and another called style.css in this directory. These files will contain the HTML and CSS code for your project.
3. Install ZEGOCLOUD Express Video SDK.
Add the ZEGOCLOUD Express Video SDK to your project directory after downloading it. The SDK can then be included in your HTML file by including a script tag in the head of your HTML file, as shown below:
<head>
  <script src="/path/to/zegocloud-express-video-sdk.js"></script>
</head>
4. Write the code for your HTML and CSS
Write the HTML and CSS code for your project in your text editor or IDE. You can therefore add video and audio features to your project with the SDK, like the ability to play and pause a video or change the volume.
Here’s what it should look like:
<html>

<head>
    <meta charset="UTF-8">
    <title>Zego Express Video Call</title>
    <style type="text/css">
        * {
            font-family: sans-serif;
        }

        h1,
        h4 {
            text-align: center;
        }

        #local-video, #remote-video {
            width: 400px;
            height: 300px;
            border: 1px solid #dfdfdf;
        }

        #local-video {
            position: relative;
            margin: 0 auto;
            display: block;
        }

        #remote-video {
            display: flex;
            margin: auto;
            position: relative !important;
        }
    </style>
</head>

<body>
    <h1>
        Zego RTC Video Call
    </h1>
    <h4>Local video</h4>
    <div id="local-video"></div>
    <h4>Remote video</h4>
    <div id="remote-video"></div>
    <script> // The JS code in the tutorial can be pasted into this <script> tag

    // const zg = new ZegoExpressEngine(appID, server);
    </script>
</body>

</html>
5. Test your project
Open your index.html file in a web browser to test your project. Hence, make sure that the multimedia functionality is working as expected.
Step 2: Create a ZegoExpressEngine instance
Here’s an example of how to set up the ZegoExpressEngine instance:
const zg = new ZegoExpressEngine(appID, server);You must include your AppID and Server URL as parameters in appID and server. These are available from the ZEGOCLOUD Admin Console.
Step 3: Log in to a room
To log in to a room, you must call the loginRoom method on an instance of the ZegoExpressEngine class and pass in the required values.
const result = await zg.loginRoom(roomID, token, {userID, userName}, {userUpdate: true});Use these callbacks to see the status of the room:
The roomStateUpdate callback gets updates on the room connection.
// Callback for info on the current user's room connection status.
zg.on('roomStateUpdate', (roomID, state, errorCode, extendedData) => {
    if (state == 'DISCONNECTED') {
        // Disconnected from the room
    }

    if (state == 'CONNECTING') {
        // Connecting to the room
    }

    if (state == 'CONNECTED') {
        // Connected to the room
    }
});
Callback function roomUserUpdate gets user updates.
// Callback for info on the status of the users in the room.
zg.on('roomUserUpdate', (roomID, updateType, userList) => {
    console.warn(
        `roomUserUpdate: room ${roomID}, user ${updateType === 'ADD' ? 'added' : 'left'} `,
        JSON.stringify(userList),
    );
});
Then, the roomStreamUpdate callback gets new information about streams in a room.
// Callback for info on the status of the streams in the room.
zg.on('roomStreamUpdate', async (roomID, updateType, streamList, extendedData) => {
    if (updateType == 'ADD') {

    } else if (updateType == 'DELETE')

    }
});
Step 4: Publish streams
In order to create a local audio and video stream, call createStream with the audio and video configuration object. To produce a stream with audio and video, pass { camera: { audio: true, video: true } }
createStream delivers a Promise that resolves to a local MediaStream object. Assigning this stream to a video element’s srcObject property renders video.
// Create a local stream with audio with video
const localStreamPromise = zg.createStream({ camera: { audio: true, video: true } });

// Wait for the local stream to be returned by the ZEGOCLOUD server
const localStream = await localStreamPromise;

// Get the video element
const localVideo = document.getElementById('local-video');

// Render the video by assigning the local stream to srcObject property
localVideo.srcObject = localStream;
Proceed calling the startPublishingStream method to begin publishing a local audio and video stream to remote users.
// localStream is the MediaStream object created after calling creatStream method.
zg.startPublishingStream(streamID, localStream)
Use the following callbacks to find out what’s going on with a published stream:
The publisherStateUpdate callback gets updates on the status of stream publishing.
zg.on('publisherStateUpdate', result => {
    // Callback for info on stream publishing status.
})
Stream publishing quality is reported in the publishQualityUpdate callback.
zg.on('publishQualityUpdate', (streamID, stats) => {
    // Callback for information on stream publishing quality.
})
Step 5: Playing Streams
Play a published audio stream by calling startPlayingStream with the stream ID. When the srcObject property of an audio element is set to the resulting MediaStream object, the audio is played.
const remoteStreamPromise = zg.startPlayingStream(streamID);
const remoteStream = await remoteStreamPromise;
const remoteVideo = document.getElementById('remote-video');
remoteVideo.srcObject = remoteStream;
Event handlers for stream status and quality changes are available in ZEGO SDK. You can get updates on how the stream is being played by using the playerStateUpdate and playQualityUpdate callbacks.
zg.on('playerStateUpdate', result => {
  // Callback for info on stream playing status
});

zg.on('playQualityUpdate', (streamID, stats) => {
  // Callback for info on stream quality
});
Step 6: Stop publishing streams
Call stopPublishingStream with the stream ID to stop sending an audio or video stream from a local computer to remote users. This will stop other users from being able to publish and watch the stream.
zg.stopPublishingStream(streamID)Step 7: Destroy Stream
A local media stream is destroyed by the destroyStream method. Therefore, this stops the water and lets it use its resources again.
zg.destroyStream(localStream)Step 8: Stop playing stream
To stop a remote audio or video stream, call stopPlayingStream with the stream ID
zg.stopPlayingStream(streamID)Step 9: Log out of a room
Log out using logoutRoom with the room ID.
zg.logoutRoom(roomID)Run a demo
Conclusion
In conclusion, ZEGOCLOUD is a useful tool for making video chats on the web, iOS, Android, Flutter, and React Native. It offers a range of features, including real-time audio and video communication, screen sharing, and virtual backgrounds to enhance the user experience. To use ZEGOCLOUD for video chat, you will need to create an account and install the appropriate software on your device.
Read More:
FAQ
Q1: What is web-based video chat?
Web-based video chat allows users to communicate through live audio and video directly in a web browser without downloading any software, often powered by WebRTC technology.
Q2: How does video chat work on the web?
It works by using WebRTC (Web Real-Time Communication), which enables browsers to transmit audio, video, and data between users in real time.
Q3: What are the benefits of using web-based video chat?
It’s accessible, requires no installation, supports cross-platform communication, and is easy to integrate into websites or applications.
Q4: What technologies are commonly used for building video chat on the web?
Developers typically use WebRTC APIs, JavaScript frameworks (like React or Vue), and RTC SDKs such as ZEGOCLOUD, which simplify integration and improve performance.
Q5: Can I build my own web video chat app?
Yes. You can build a custom web video chat app using WebRTC or integrate ready-made SDKs like ZEGOCLOUD, which provide low-latency, cross-browser video call capabilities.
Let’s Build APP Together
Start building with real-time video, voice & chat SDK for apps today!
