


In today’s mobile-first world, building apps for iPhones and iPads is a crucial part of reaching millions of Apple users globally. iOS app development refers to the process of creating software applications that run on Apple’s iOS operating system, which powers devices like the iPhone, iPad, and iPod Touch. Whether you’re developing a utility app, a mobile game, or a business platform, understanding how iOS development works is the first step to bringing your idea to life on the App Store.
What is iOS App Development?
iOS app development means creating apps that work on Apple devices like the iPhone, iPad, and iPod Touch. These devices use the iOS operating system. To build iOS apps, you need to know programming languages like Swift and Objective-C. You also need to use Xcode, Apple’s app development program, and the iOS software development kit.
The goal of iOS app development is to make fun, easy-to-use apps. Developers have to think about things like screen size, resolution, and touch capability when designing iOS apps. You can use Xcode to make prototypes of app interfaces. Simulators can test how the app looks on real devices.
To put iOS apps in the App Store, developers must join the Apple Developer Program. Overall, iPhone app development lets you make apps for millions of iPhone and iPad users. Whether you’re building games, tools, or business apps, there is a big potential market. With good coding and design, you can make successful iOS apps that people find valuable. Well-optimized iOS apps can rank highly in the App Store’s search results.
Tools You’ll Need Before You Begin
Before diving into coding your first iOS app, it’s important to ensure you have the right tools in place. Here’s what you’ll need to get started:
- A Mac computer with the latest version of macOS installed
- Xcode, Apple’s official development environment, available for free on the Mac App Store
- An Apple Developer account, which requires an annual $99 subscription
These three components form the foundation of iOS development. Since Xcode only runs on macOS, and app distribution is limited to verified Apple Developer accounts, having a Mac is essential. Also, only apps signed and submitted via Xcode are accepted on the App Store.
The good news? Xcode is more than just a publishing tool—it comes packed with features that support the entire development lifecycle, including a built-in code editor, visual interface builder, testing tools, simulators, and asset management. With everything in one place, it’s never been easier to create high-quality iOS apps from start to finish.
Select an iOS Programming Language
When starting iOS app development, one of the first decisions you’ll make is choosing a programming language. Apple officially supports two main languages:
- Swift – Swift is Apple’s modern programming language designed for speed, safety, and ease of use. It’s the go-to choice for most new iOS projects and is known for its clean syntax and powerful performance.
- Objective-C – This is the older, more established language used in many legacy iOS apps. While still supported, it’s less commonly used for new projects today.
For most developers—especially beginners—Swift is the best option. It’s actively maintained by Apple, has strong community support, and is integrated seamlessly with Xcode and modern iOS APIs. Unless you’re working with an existing Objective-C codebase, Swift offers the best balance of performance, readability, and future scalability.
You may also like: Swift vs. Objective-C: iOS Programming Languages Comparison
Popular iOS Development Frameworks and Tools
There are many tools and frameworks out there to help you make iOS apps. Here, we have listed 4 of the best ones that make building awesome apps a breeze.
1. Xcode
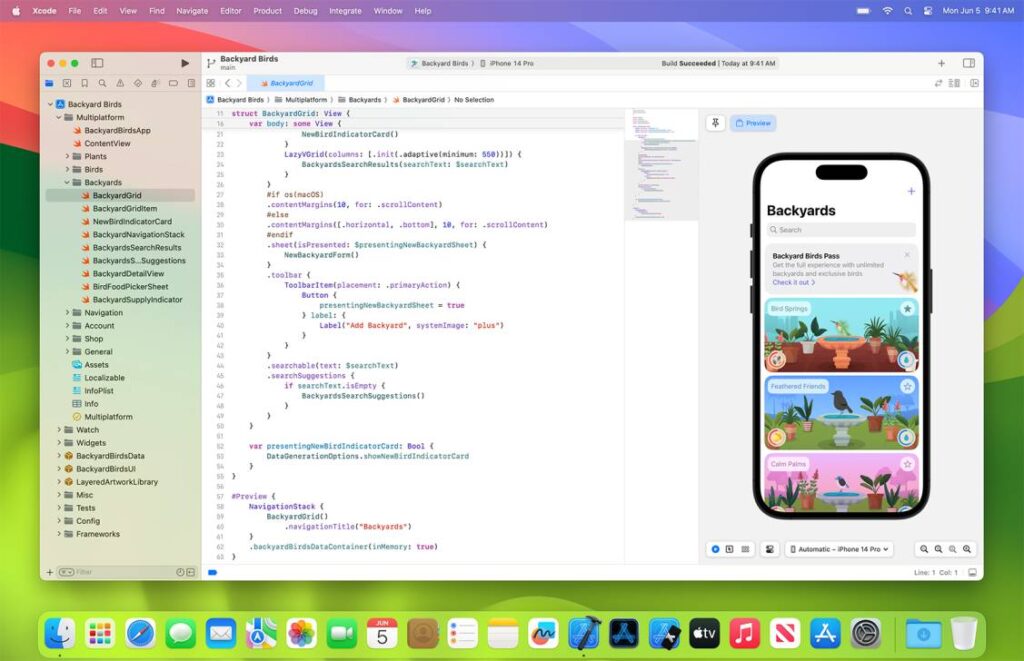
Xcode is a one-stop shop provided by Apple for people who want to create apps for iOS devices. Even if you’re not a pro at coding, Xcode makes it easier with tools that help you with each step of the creation process — from writing code to testing how well the app works. It even allows you to design your app visually, which means you can drag and drop elements to create your app’s interface. You can use it to write code in Swift and Objective-C languages, and it comes with features like:
- Testing Tools: To make sure your app works without any glitches.
- Debugging Tools: To find and fix any issues in your code.
- Optimization Tools: To make sure your app runs smoothly and quickly.
- Simulator: This helps you test your app as if it were running on an actual iOS device.
2. CocoaPods
CocoaPods is a helper tool for people making iOS apps. It helps you easily add and manage third-party libraries and frameworks, which are basically pre-made chunks of code that can add features to your app without you having to write the code from scratch. With CocoaPods, you have access to a massive library of over 200,000 open-source ‘pods’ or code packages, saving you a lot of time and effort in the development process.
3. React Native
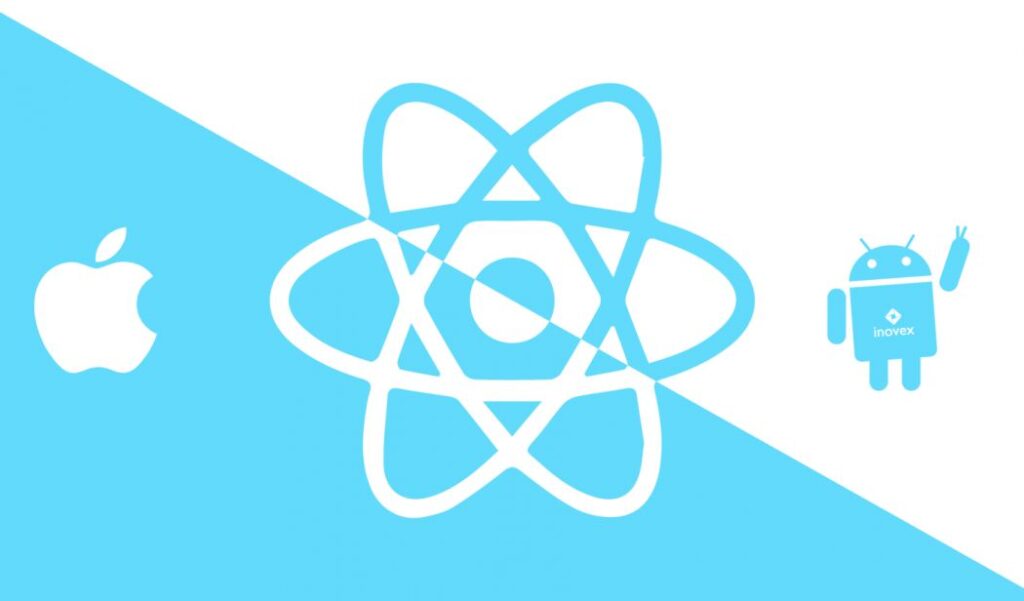
React Native is a framework that lets you create iOS apps using the React and JavaScript languages. The best part? You write the code once, and it can work on both iOS and Android platforms, meaning you can create apps for both types of devices faster and more efficiently. It also offers near-native performance, which means your app will work almost as smoothly as if it were built with native tools.
4. SwiftUI
SwiftUI is another tool from Apple that helps you create beautiful user interfaces for your iOS apps. It’s known for its simple and readable code, which means you can easily see and understand how the visual elements of your app are built. Compared to its predecessor, UIKit, SwiftUI speeds up the process of creating prototypes and reduces the amount of code you need to write, making the whole process less complicated and more streamlined.
Boost Your App with APIs and Prebuilt Libraries
To speed up development and add powerful features to your app, iOS developers commonly rely on built-in Apple APIs and third-party libraries.
Some examples include:
- MapKit & CoreLocation – Add map views and location tracking
- AVFoundation – Handle video recording, audio playback, and more
- UserNotifications – Set up local and push notifications
- Alamofire – A popular third-party library for networking in Swift
- Firebase – Google’s mobile platform for analytics, crash reporting, user authentication, and more
- Lottie by Airbnb – Easily add smooth animations to your app
By leveraging pre-built APIs and open-source libraries, you can significantly reduce development time and deliver a richer user experience without reinventing the wheel.
Enhance Your App with Cloud Services
While iPhones are capable devices, some features—like data syncing, real-time analytics, and push notifications—are best handled in the cloud. By integrating cloud services through APIs, you can manage storage, backend logic, and even offload compute-heavy tasks like AI processing. Tools like Firebase, AWS, and Apple’s own iCloud APIs are widely used, and Swift frameworks like Vapor and Hummingbird make building iOS-ready backends more accessible than ever.
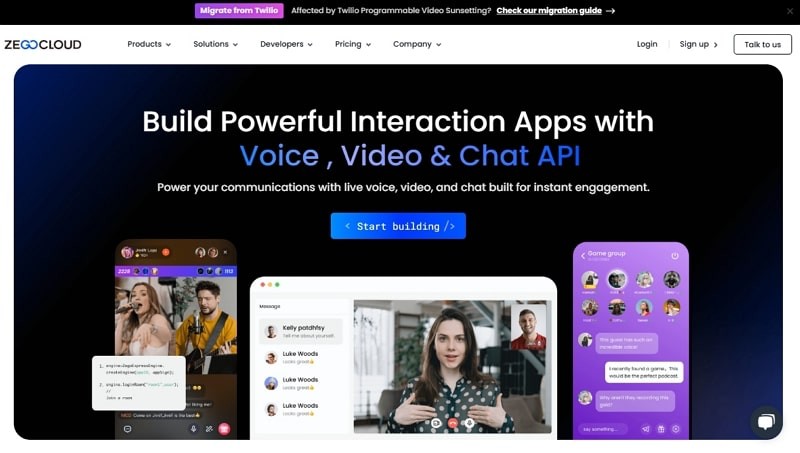
And if your app requires real-time communication—such as live streaming, video calls, or interactive voice chat—ZEGOCLOUD offers robust SDKs that integrate seamlessly with your iOS app.
With global low-latency coverage, built-in beauty filters, noise suppression, and in-app messaging, ZEGOCLOUD enables developers to deliver high-quality, real-time user experiences. Whether you’re building a social platform, telehealth app, or e-commerce live stream, you can bring your app to life with reliable and scalable audio/video capabilities — all with minimal integration effort and excellent developer support.

Build Confidence with Real-World App Testing
Even the best-written code can behave unexpectedly once it runs on real devices. That’s why testing is an essential part of the iOS development lifecycle. Fortunately, Apple’s ecosystem makes this process streamlined and efficient.
Start with Xcode’s built-in testing tools, which include unit testing for logic validation and automated UI testing that simulates real user interactions with your app interface. These tools help catch bugs early and ensure your features work as expected across devices and use cases.
To go beyond simulators, Apple provides TestFlight, a robust platform that enables developers to distribute beta versions of their app to internal teams or external testers. Internal testing can include up to 25 team members on multiple devices, while external testing supports up to 10,000 users. This makes it easy to collect feedback, identify bugs in real usage scenarios, and fine-tune your app before launch.
TestFlight also supports A/B testing and allows you to segment testers into groups. You can push different builds to each group, test new features safely, and collect insights through usage data and user-submitted feedback—all before the app reaches the App Store.
Publish Your App to the App Store
Once testing is complete, it’s time to submit your app via Xcode and App Store Connect. Be prepared for a review process that may involve several rounds of feedback and revisions. Once approved, your app will be listed in the App Store for millions of users to download. Keep in mind that Apple charges a 30% commission on paid apps and in-app purchases, in addition to the annual developer fee.
The Common Challenges for Developing iOS Apps
When learning how to make an iOS app, you can run into some challenges. Here are some usual problems that people who make these apps often run into:
1. Getting the green light from the App Store
Apple checks apps very carefully before they allow them on their App Store. People who make apps need to follow Apple’s rules about what’s in the app, how safe it is, how fast it runs, and more. If an app doesn’t pass the check, it can take longer to get it out to the public.
2. Making the app work with many iOS versions
Every year, new iOS versions come out. People who make apps need to design them to work well with the new features and also with the old versions that are still being used. This can make making and checking the app take longer.
3. Adjusting to various screen sizes
There are lots of different iPhone and iPad models now, so people who make apps need to make sure the apps work well on both big and small screens. It takes a lot of work to check the apps on all these devices.
4. Using special iOS tools
To make the apps feel real and work well, creators have to use special tools that are only for iOS. Learning how to use these tools can take some time, especially when compared to making apps that work on many platforms.
5. Handling big app sizes
Apps with lots of features and media can become very big. Creators need to make sure the size of the app doesn’t get too big, especially for people who don’t have a lot of data to spare.
Knowing about these usual problems helps creators plan their time better and make good-quality apps for iOS more quickly. With careful planning and hard work, they can get past the tough parts of making iOS apps.
Ready to Add Real-Time Features to Your iOS App?
From 1-on-1 video calls to large-scale live streaming, ZEGOCLOUD helps developers build high-quality, low-latency real-time experiences into iOS apps — without the complexity.
- Fully customizable SDKs
- Seamless Swift & Objective-C integration
- 10,000 free trial minutes to get started
Conclusion
Developing an iOS app may seem complex at first—but with the right tools, frameworks, and a clear understanding of each stage, the process becomes much more manageable. From setting up your iOS app development environment to choosing the right programming language, integrating cloud services, testing with real users, and finally publishing to the App Store, every step is essential to building a successful app.
Whether you’re creating a simple utility or a feature-rich platform, following best practices will not only help you avoid common pitfalls but also improve performance, user experience, and long-term maintainability.
And if your app involves real-time interaction—such as video calling, live streaming, or voice chat—ZEGOCLOUD makes it easy to integrate high-quality audio and video features into your iOS app.
Read more:
FAQ
Q1: How can I develop an iOS app?
To develop an iOS app, you need a Mac computer with the latest version of macOS, Xcode (Apple’s official IDE), and an Apple Developer account. Once set up, choose a programming language (Swift is most recommended), design your app interface, write and test the code, and submit it to the App Store through App Store Connect.
Q2: How to become an iOS app developer?
Start by learning Swift and familiarizing yourself with Xcode. You can take online courses, follow Apple’s official documentation, and build simple projects to gain hands-on experience. Joining the Apple Developer Program also gives you access to testing tools, beta versions of iOS, and the ability to publish apps on the App Store.
Q3: Which framework is best for iOS app development?
SwiftUI is a modern and beginner-friendly framework by Apple for building iOS apps. For more advanced or legacy projects, UIKit is also widely used. If you want to build cross-platform apps for both iOS and Android, frameworks like React Native or Flutter are great alternatives.
Q4: Is iOS app development free?
Yes and no. You can start learning and developing iOS apps using Xcode for free. However, to test apps on real devices or publish them to the App Store, you’ll need to enroll in the Apple Developer Program, which costs USD 99/yea.
Let’s Build APP Together
Start building with real-time video, voice & chat SDK for apps today!
