


Wondering how to build your own video meeting app with react native? Nowadays, video Meeting is a great way to connect with people and make them feel like they are in the same room as you. But video meeting has disadvantages as it is difficult to schedule and coordinate video meetings. So if you want to avoid these disadvantages and build your own video conferencing app with react native with ZEGOCLOUD might be a good idea for you!
Why ZEGOCLOUD Video Conferencing SDK for Video Meeting App
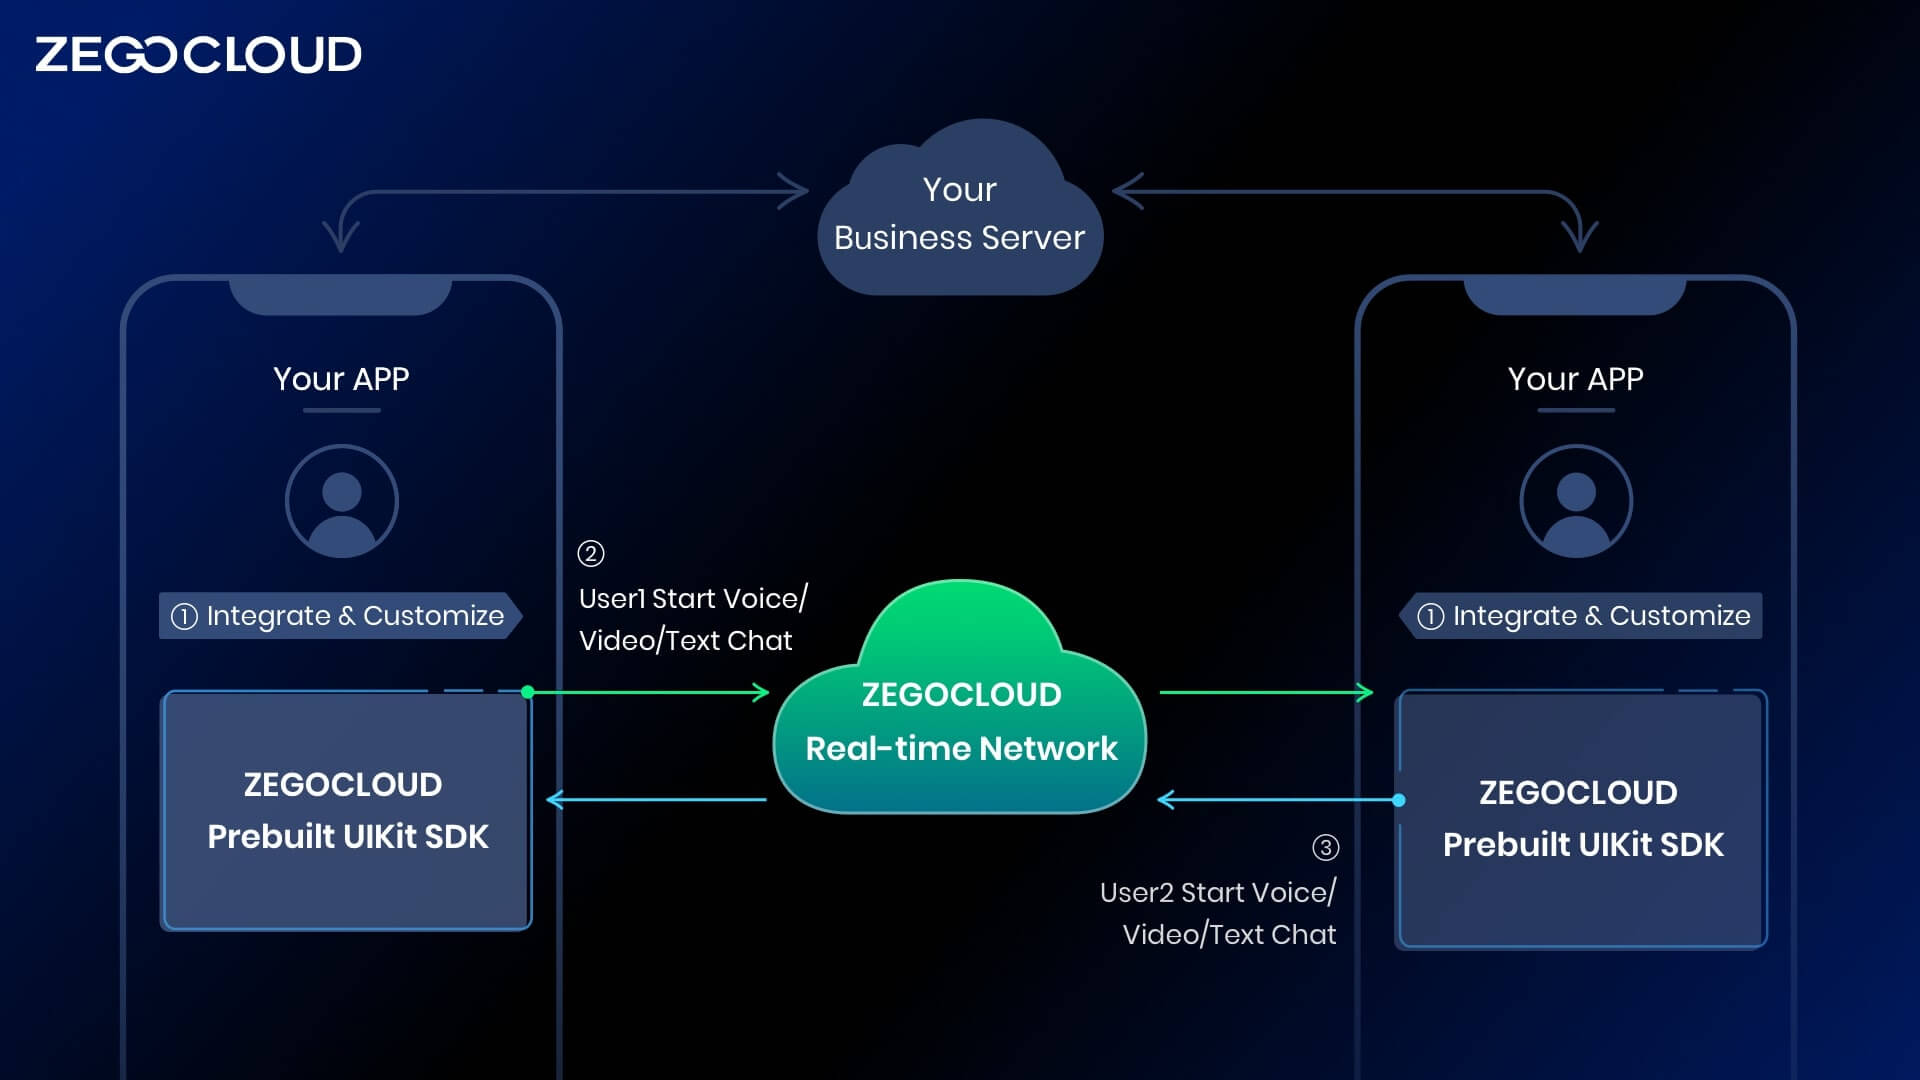
ZEGOCLOUD is dedicated to providing the most developer-friendly video conferencing SDK/API for app-building. Its pre-built UIKits allow you to build powerful video meeting apps easily and quickly.
UIKits is a powerful tool that allows you to easily add video meetings with react native to your app. With it, you can add video meeting capabilities to your app with just a few lines of code. Plus, the kit is easy to use and integrates seamlessly with React Native.
So if you’re looking for a way to add video conferencing to your React Native app, the React Native video conferencing kit is a great option.
As shown in the figure, the functions provided by the video conference kit include:
- Multi-user audio/video meeting
- Adaptive video layouts
- Real-time sound waves display
- Customizable UI styles
- Device management
- Extendable top/bottom menu bar
- Customizable conference title
- Member List
- Conference join/leave notifications
Preparation
- A ZEGOCLOUD developer account-Sign up.
- React Native 0.60.0 or later.
- Basic understanding of React Native development.
How to Make Video Meeting App with React Native
Create project
Creating a new React Native project is simple. First, make sure you have the React Native CLI installed. Then, create a new directory for your project and run the following command:
npx react-native init video_conference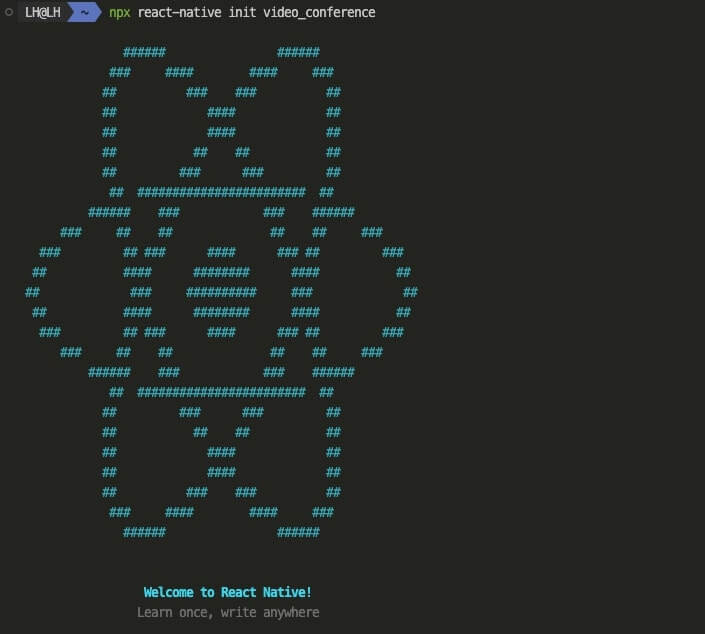
Add ZegoUIKitPrebuiltVideoConference as dependencies
Adding ZegoUIKitPrebuiltVideoConference as dependencies to your project is simple and straightforward. Just Add the following dependencies in the package.json file.
"@react-navigation/native": "^6.1.0",
"@react-navigation/native-stack": "^6.9.5",
"@zegocloud/zego-uikit-prebuilt-video-conference-rn": "^1.0.0",
"@zegocloud/zego-uikit-rn": "^1.4.2",
"react-delegate-component": "^1.0.0",
"react-native-safe-area-context": "^4.4.1",
"react-native-screens": "^3.18.2",
"zego-express-engine-reactnative": "^3.0.3"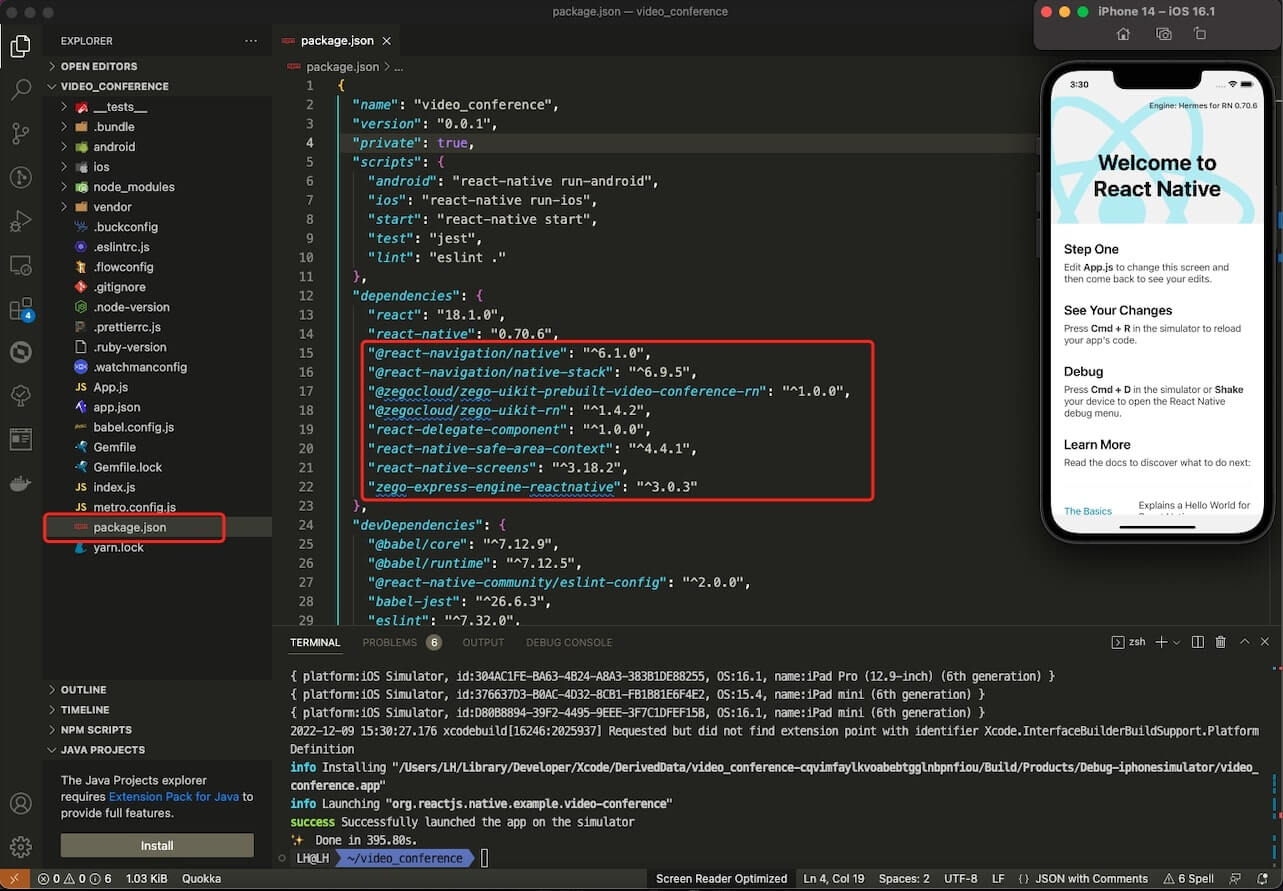
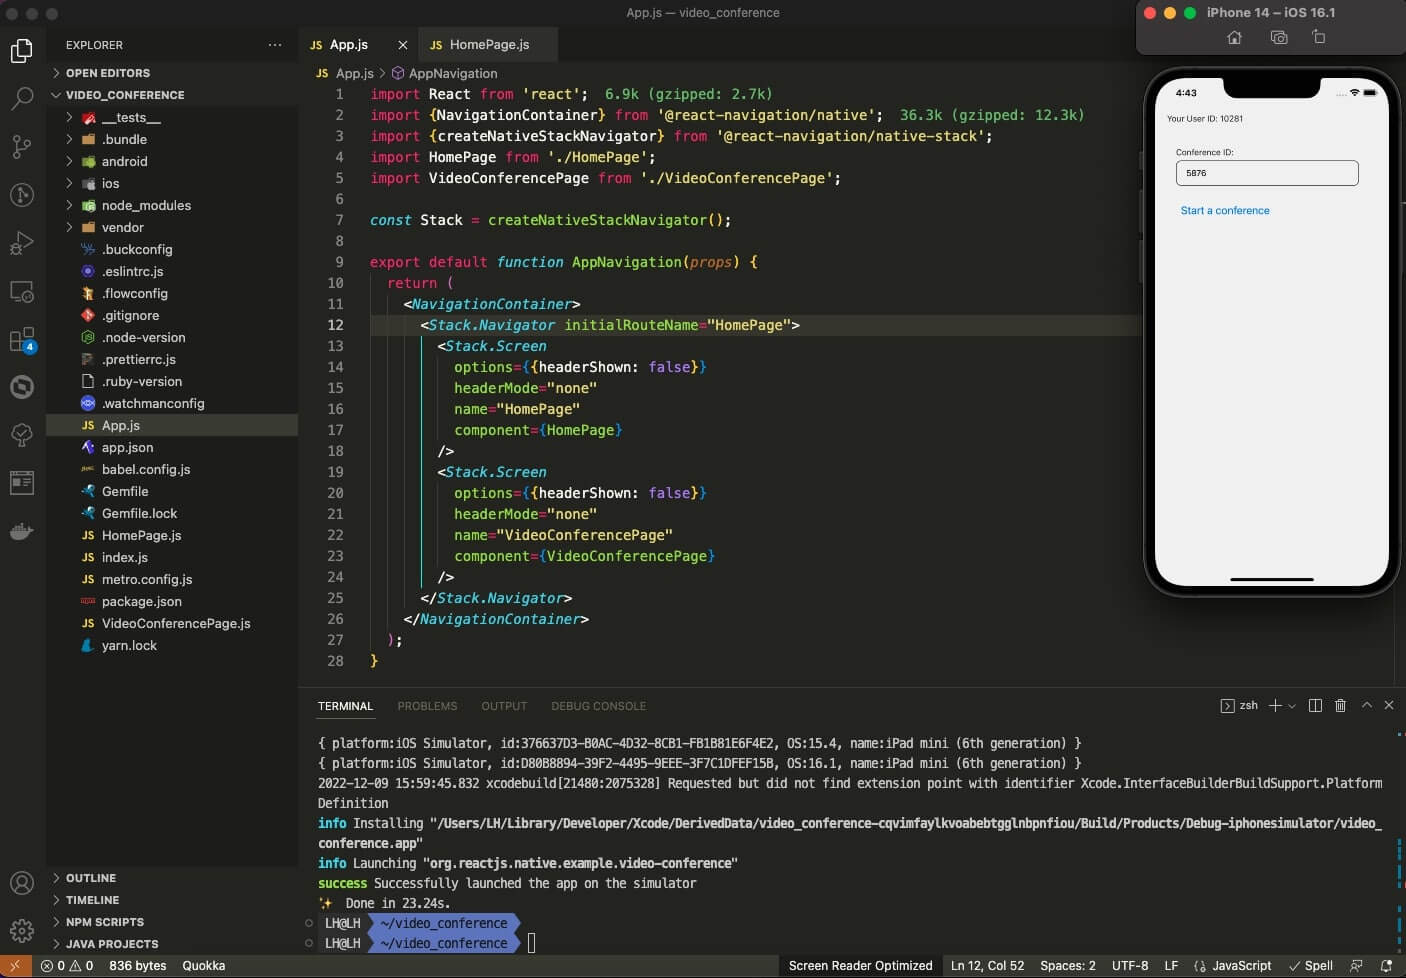
Add Video meeting Button
You’ll need to create a button that visitors can click on to start a video meeting.
// App.js
import React from 'react';
import {NavigationContainer} from '@react-navigation/native';
import {createNativeStackNavigator} from '@react-navigation/native-stack';
import HomePage from './HomePage';

const Stack = createNativeStackNavigator();

export default function AppNavigation(props) {
  return (
    <NavigationContainer>
      <Stack.Navigator initialRouteName="HomePage">
        <Stack.Screen
          options={{headerShown: false}}
          headerMode="none"
          name="HomePage"
          component={HomePage}
        />
      </Stack.Navigator>
    </NavigationContainer>
  );
}
// HomePage.js
import React, {useEffect, useState} from 'react';
import {Button, View, StyleSheet, Text, TextInput} from 'react-native';
import {useNavigation} from '@react-navigation/native';
import {useSafeAreaInsets} from 'react-native-safe-area-context';
export default function HomePage(props) {
const navigation = useNavigation();
const onJoinConferencePress = () => {
navigation.navigate('VideoConferencePage', {
userID: userID,
userName: userID,
conferenceID: conferenceID,
});
};
const [userID, setUserID] = useState('');
const [conferenceID, setConferenceID] = useState('');
useEffect(() => {
setUserID(String(Math.floor(Math.random() * 100000)));
setConferenceID(String(Math.floor(Math.random() * 10000)));
}, []);
const insets = useSafeAreaInsets();
return (
<View
style={[
styles.container,
{paddingTop: insets.top, paddingBottom: insets.bottom},
]}>
<Text style={styles.userID}>Your User ID: {userID}</Text>
<Text style={[styles.conferenceID, styles.leftPadding]}>
Conference ID:
</Text>
<TextInput
placeholder="Enter the Conference ID. e.g. 6666"
style={[styles.input]}
onChangeText={text =>
setConferenceID(text.replace(/[^0-9A-Za-z_]/g, ''))
}
maxLength={4}
value={conferenceID}
/>
<View style={[styles.buttonLine, styles.leftPadding]}>
<Button
disabled={conferenceID.length === 0}
style={styles.button}
title="Start a conference"
onPress={() => {
onJoinConferencePress();
}}
/>
</View>
</View>
);
}
const styles = StyleSheet.create({
container: {
flex: 1,
justifyContent: 'flex-start',
alignItems: 'flex-start',
},
buttonLine: {
flexDirection: 'row',
justifyContent: 'space-between',
alignItems: 'center',
height: 42,
},
buttonSpacing: {
width: 13,
},
input: {
height: 42,
width: 305,
borderWidth: 1,
borderRadius: 9,
borderColor: '#333333',
paddingLeft: 16,
paddingRight: 16,
paddingTop: 10,
paddingBottom: 10,
marginLeft: 35,
marginBottom: 20,
},
userID: {
fontSize: 14,
color: '#2A2A2A',
marginBottom: 27,
paddingBottom: 12,
paddingTop: 12,
paddingLeft: 20,
},
conferenceID: {
fontSize: 14,
color: '#2A2A2A',
marginBottom: 5,
},
simpleCallTitle: {
color: '#2A2A2A',
fontSize: 21,
width: 330,
fontWeight: 'bold',
marginBottom: 27,
},
button: {
height: 42,
borderRadius: 9,
backgroundColor: '#F4F7FB',
},
leftPadding: {
paddingLeft: 35,
},
});
Implement video meeting page
Next, you need to build a video meeting page using ZegoUIKitPrebuiltVideoConference.
// VideoConferencePage.js
import React from 'react';
import {StyleSheet, View} from 'react-native';
import ZegoUIKitPrebuiltVideoConference from '@zegocloud/zego-uikit-prebuilt-video-conference-rn';

export default function VideoConferencePage(props) {
  const {route} = props;
  const {params} = route;
  const {userID, userName,conferenceID} = params;
  return (
    <View style={styles.container}>
      <ZegoUIKitPrebuiltVideoConference
        appID={1234}
        appSign='yourAppSign'
        userID={userID}
        userName={userName}
        conferenceID={conferenceID}
        config={{
          onLeave: () => {
            props.navigation.navigate('HomePage');
          },
        }}
      />
    </View>
  );
}

const styles = StyleSheet.create({
  container: {
    flex: 1,
    alignItems: 'center',
    justifyContent: 'center',
    zIndex: 0,
  },
});
Configure your video meeting project
Android:
- Open the ‘my_project/android/app/src/main/AndroidManifest.xml’ file and add the following code:
<uses-permission android:name="android.permission.ACCESS_WIFI_STATE" />
<uses-permission android:name="android.permission.RECORD_AUDIO" />
<uses-permission android:name="android.permission.ACCESS_NETWORK_STATE" />
<uses-permission android:name="android.permission.CAMERA" />
<uses-permission android:name="android.permission.BLUETOOTH" />
<uses-permission android:name="android.permission.MODIFY_AUDIO_SETTINGS" />
<uses-permission android:name="android.permission.WRITE_EXTERNAL_STORAGE" />
<uses-permission android:name="android.permission.READ_PHONE_STATE" />
<uses-permission android:name="android.permission.WAKE_LOCK" />
- Open the
my_project/android/app/proguard-rules.profile and add the following code:
-keep class **.zego.** { *; }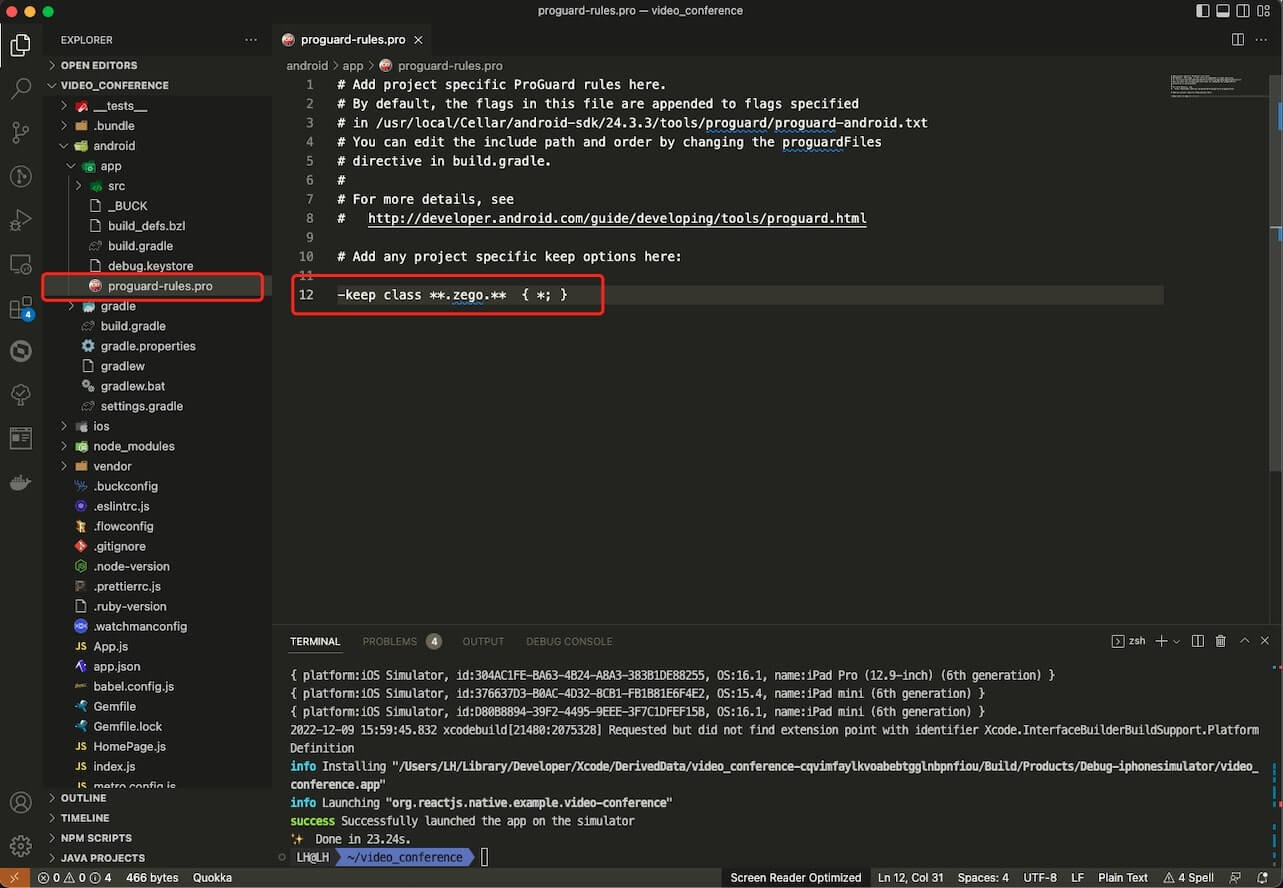
iOS:
Open the my_project/ios/my_project/Info.plist file and add the following code:
<key>NSCameraUsageDescription</key>
<string>We need to use the camera</string>
<key>NSMicrophoneUsageDescription</key>
<string>We need to use the microphone</string>
Run a demo
After completing all the above tasks, you can start running your project and experience the video meeting function. Take action now, You can download the sample demo source code of this article to make a video meeting app with react native.
You may also like: Top 10 Video Conferencing API & SDK
Conclusion
This kit is ideal for developers who are looking to create a video meeting app. React Native Video Conferencing Kit is a complete solution that includes everything you need to get started. With this kit, you’ll be able to develop a video meeting app with react native quickly and easily, without having to worry about platform compatibility. If you are looking for a deeper requirement for your video conferencing app building with react native, ZEGOCLOUD provides a fully customized video call SDK as well. Try it for free 10000 minutes now!
Read more:
Let’s Build APP Together
Start building with real-time video, voice & chat SDK for apps today!
