


Building a live streaming app with React Native is a great way to deliver interactive, real-time experiences to your users. React Native’s cross-platform capabilities and rich ecosystem of libraries make it an excellent choice for developing streaming applications. Whether you’re planning to stream live events, host virtual meetings, or create a platform for content creators, this guide will show you how to get started.
Why ZEGOCLOUD is the Best Choice?
When it comes to React Native live streaming, ZEGOCLOUD stands out as the top choice due to its seamless integration, robust features, and proven reliability. Developers can quickly incorporate high-quality live streaming capabilities into their React Native applications, thanks to ZEGOCLOUD’s well-documented SDK and straightforward APIs.
Key Benefits of Using ZEGOCLOUD:
- Low-Latency Streaming: ZEGOCLOUD provides ultra-low latency for live streams, ensuring smooth, real-time interactions without lag.
- Scalability and Stability: The platform is designed to handle large audiences and heavy traffic without compromising performance.
- Rich Audio-Visual Features: From adaptive bitrate streaming to advanced audio effects, ZEGOCLOUD enhances the overall viewing and broadcasting experience.
- Cross-Platform Support: Although optimized for React Native, ZEGOCLOUD’s solutions also work seamlessly across other platforms, making it easier to maintain consistent streaming quality.
- Comprehensive Documentation and Support: Developers benefit from clear, detailed guides and responsive technical support, reducing the learning curve and speeding up implementation.
How to Build a React Native Live Streaming App
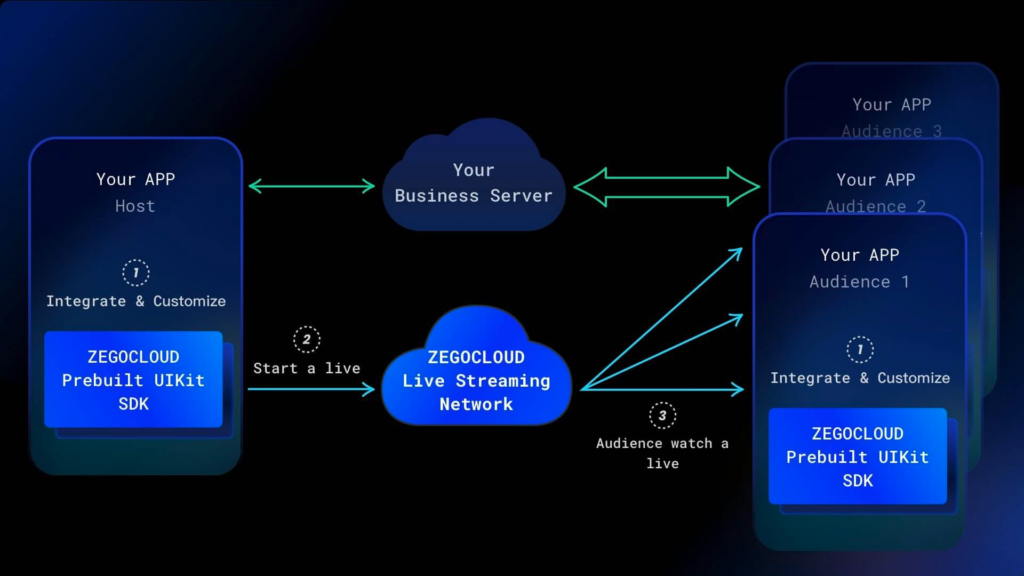
ZEGOCLOUD provides a cloud-based live streaming service that offers developers live streaming APIs and SDKs to easily integrate live streaming capabilities into their applications with React Native. Its live streaming service provides a range of features including low latency, high-definition video, real-time interaction, and cross-platform support.
ZEGOCLOUD live streaming API also supports a wide range of platforms including iOS, Android, and the web, making it a versatile solution for developers. Moreover, it provides pre-built UIKits that include a live streaming kit, and a low-code live streaming SDK to allow developers to complete the development of the live streaming app within 10 minutes.
React Native Live Streaming Kit handles all the logic and UI of the streaming function. Include:
- UI and interaction of the video live Streaming module
- Message sending and display
- Audio and video data transmission
- Camera and microphone management
- Live Viewer Statistics
You only need to implement business-related logic. For example:
- User login registration
- Live List Management
- Top up and send gifts, etc.
How to Implement Live Streaming in React Native app
Preparation
- A ZEGOCLOUD developer account–Sign up
- React Native 0.60.0 or later
- Basic understanding of React Native development
Create Project
Run the following code to create a new project.
npx react-native init live_streaming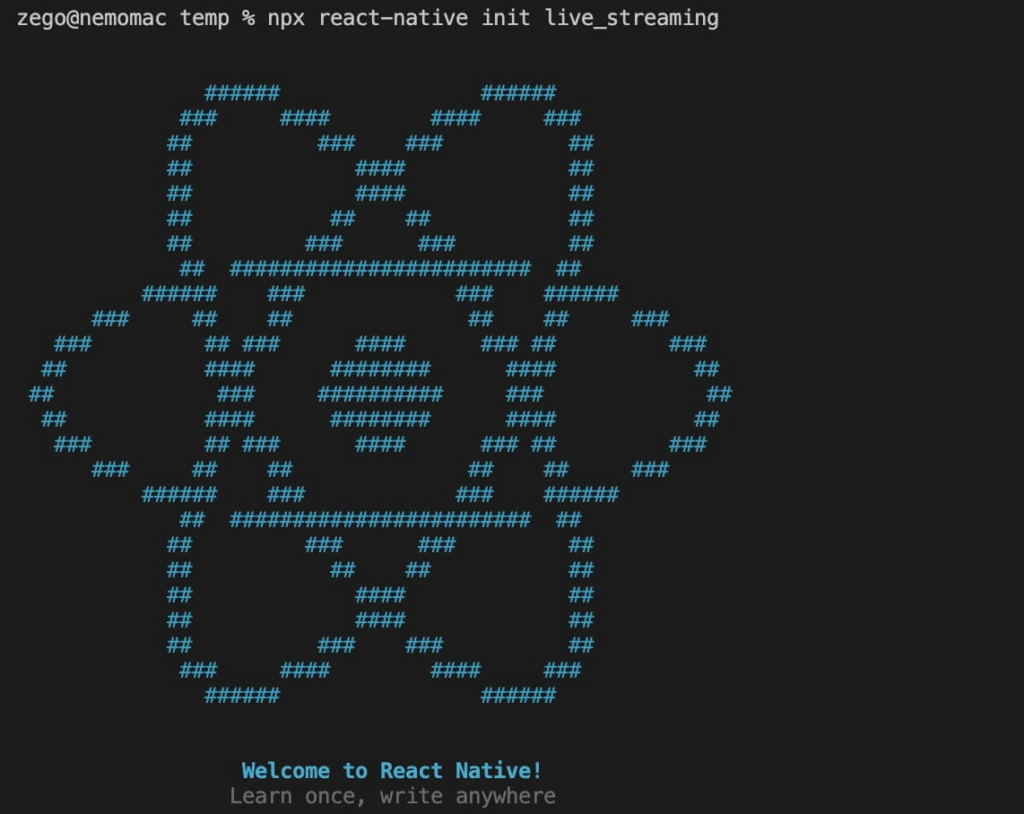
Set ZegoUIKitPrebuiltLiveStreaming as a dependency
Add the following dependencies in package.json
"@react-navigation/native": "^6.0.13",
"@react-navigation/native-stack": "^6.9.1",
"@zegocloud/zego-uikit-prebuilt-live-streaming-rn": "1.0.7",
"@zegocloud/zego-uikit-rn": "^1.2.0",
"react-delegate-component": "^1.0.0",
"react-native-gesture-handler": "^2.8.0",
"react-native-safe-area-context": "^4.4.1",
"react-native-screens": "^3.18.2",
"react-navigation": "^4.4.4",
"zego-express-engine-reactnative": "^3.0.1"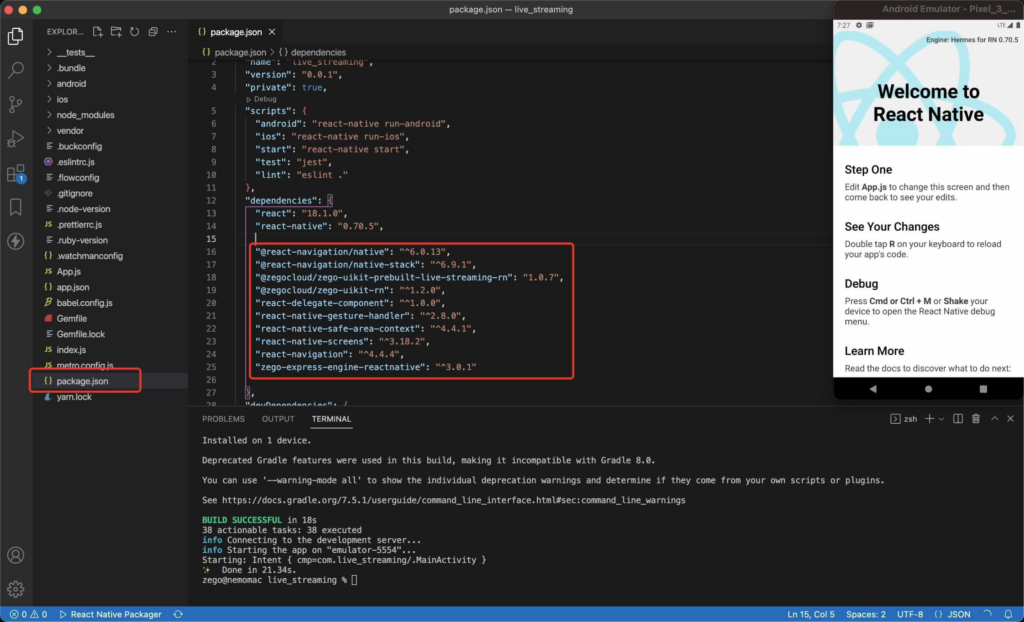
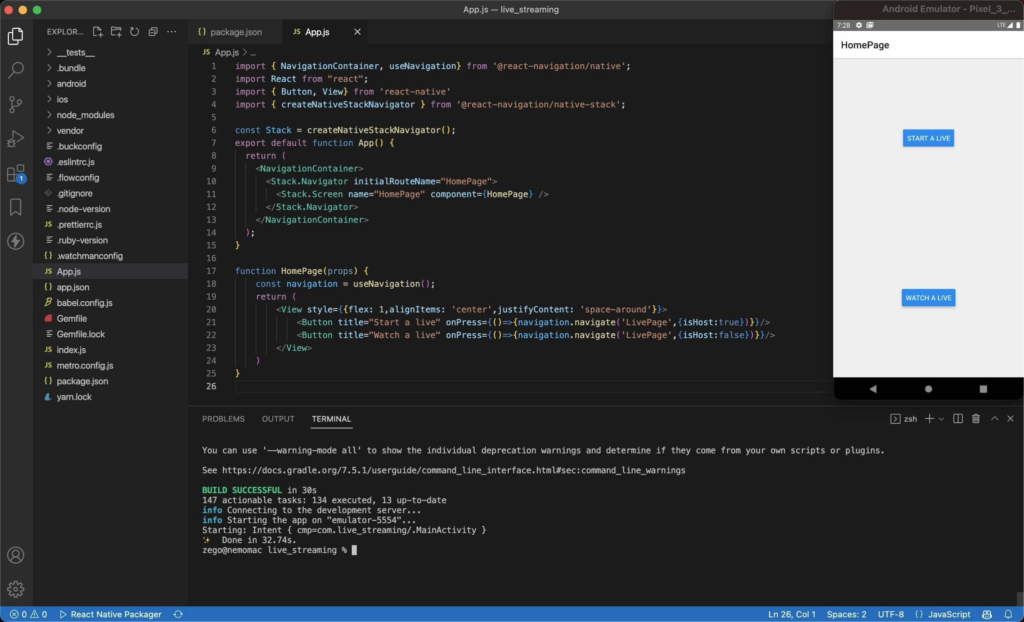
Live Streams Button
For the convenience of demonstration, I have added two buttons for creating live streamings and joining them. In your application, you need to add the entrance for creating it, for the host, and for joining live streaming for viewers.
import { NavigationContainer, useNavigation} from '@react-navigation/native';
import React from "react";
import { Button, View} from 'react-native'
import { createNativeStackNavigator } from '@react-navigation/native-stack';

const Stack = createNativeStackNavigator();
export default function App() {
  return (
    <NavigationContainer>
      <Stack.Navigator initialRouteName="HomePage">
        <Stack.Screen name="HomePage" component={HomePage} />
      </Stack.Navigator>
    </NavigationContainer>
  );
}

function HomePage(props) {
    const navigation = useNavigation();
    return (
        <View style={{flex: 1,alignItems: 'center',justifyContent: 'space-around'}}>
            <Button title="Start a live" onPress={()=>{navigation.navigate('LivePage',{isHost:true})}}/>
            <Button title="Watch a live" onPress={()=>{navigation.navigate('LivePage',{isHost:false})}}/>
        </View>
    )
}
Implement Video Live Streaming
Next, we need to build a live streams page using ZegoUIKitPrebuiltLiveStreaming.
import ZegoUIKitPrebuiltLiveStreaming, { HOST_DEFAULT_CONFIG, AUDIENCE_DEFAULT_CONFIG}
    from '@zegocloud/zego-uikit-prebuilt-live-streaming-rn'

function LivePage(props) {
  randomUserID = String(Math.floor(Math.random() * 100000))
  isHost = props.route.params.isHost;
  return (
      <View style={{flex: 1}}>
          <ZegoUIKitPrebuiltLiveStreaming
            appID={1234} // Your App ID
            appSign='yourAppSign'
            userID={randomUserID}
            userName={'user_'+randomUserID}
            liveID='testLiveID'

            config={{
                ...(isHost==true?HOST_DEFAULT_CONFIG:AUDIENCE_DEFAULT_CONFIG),
                onLeaveLiveStreaming: () => { props.navigation.navigate('HomePage') }
            }}
      />
    </View>
  )
}
Now, you can create a new live streaming or watch one by navigating to this live page.
Configure your live streams app project
Android:
- Open the
my_project/android/app/src/main/AndroidManifest.xmlfile and add the following:
<uses-permission android:name="android.permission.ACCESS_WIFI_STATE" />
<uses-permission android:name="android.permission.RECORD_AUDIO" />
<uses-permission android:name="android.permission.INTERNET" />
<uses-permission android:name="android.permission.ACCESS_NETWORK_STATE" />
<uses-permission android:name="android.permission.CAMERA" />
<uses-permission android:name="android.permission.BLUETOOTH" />
<uses-permission android:name="android.permission.MODIFY_AUDIO_SETTINGS" />
<uses-permission android:name="android.permission.WRITE_EXTERNAL_STORAGE" />
<uses-permission android:name="android.permission.READ_PHONE_STATE" />
<uses-permission android:name="android.permission.WAKE_LOCK" />- Open the
my_project/android/app/proguard-rules.profile and add the following:
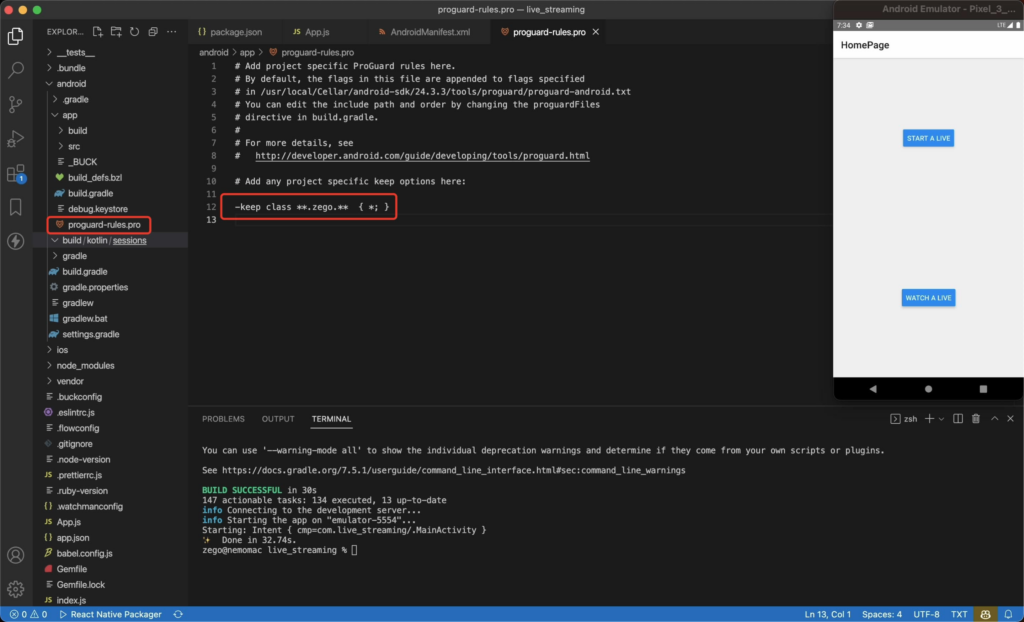
-keep class **.zego.** { *; }iOS:
Open the my_project/ios/my_project/Info.plist file and add the following:
<key>NSCameraUsageDescription</key>
<string>We need to use the camera</string>
<key>NSMicrophoneUsageDescription</key>
<string>We need to use the microphone</string>
Run a Demo
Take action now! You can download this article’s sample demo source code for live streams appwith react native.
Conclusion
In conclusion, building live streaming apps with React Native allows developers to leverage a powerful framework that combines flexibility, efficiency, and a rich ecosystem of libraries. By following the principles outlined in this guide—from setting up your development environment to implementing advanced streaming features—you can create a highly responsive and engaging live streaming experience. As technology evolves, continuing to refine your app with the latest React Native updates and streaming technologies will ensure your application remains at the forefront of digital interaction.
Read more:
FAQ
Q1: How do I start building a live streaming app with React Native?
To build a live streaming app with React Native, you need to choose a suitable streaming SDK like ZEGOCLOUD, Agora, or AWS IVS. Integrate the SDK into your React Native project, set up the necessary permissions for camera and microphone access, and then create components to handle the video feed and streaming logic.
Q2: What are the best practices for managing performance in a React Native live streaming app?
To manage performance, ensure that video encoding and decoding are optimized using hardware acceleration. Reduce the resolution and frame rate if possible, minimize unnecessary re-renders, and manage app state efficiently to avoid performance bottlenecks during live streaming.
Q3: What are the challenges of integrating live streaming in React Native?
Challenges include ensuring cross-platform compatibility, managing low latency and high-quality streams, optimizing performance for mobile devices, handling different network conditions, and integrating third-party SDKs smoothly within the React Native environment.
Let’s Build APP Together
Start building with real-time video, voice & chat SDK for apps today!
