


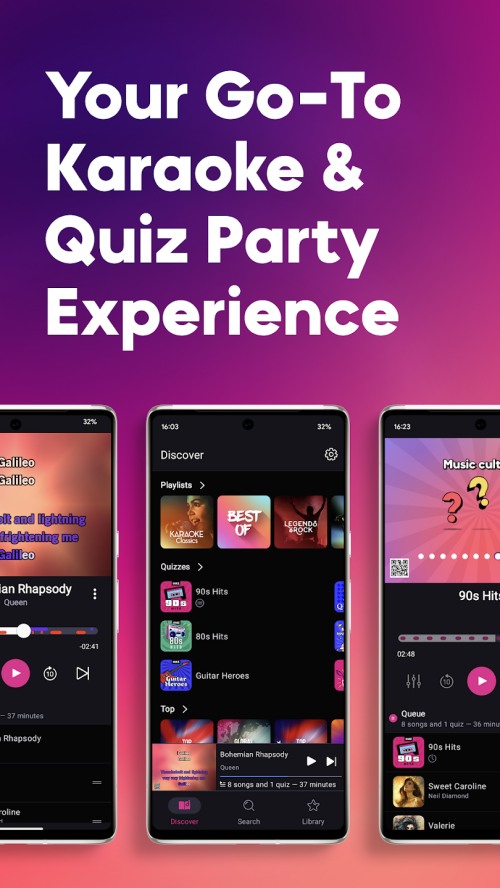
Looking for the perfect free karaoke app? Whether you’re a seasoned singer or just starting, the right app can transform your experience. From easy-to-use interfaces to impressive song libraries, these free karaoke apps bring the fun straight to your phone. Discover online karaoke apps with exciting features like vocal effects, pitch correction, and social sharing options to elevate your singing sessions. Dive into a world of musical creativity and turn every performance into a memorable moment.
What Makes a Good Karaoke App?
A great karaoke app is more than just a song library. It delivers a smooth experience that keeps users returning. The best apps feature a large, frequently updated song catalog, covering various genres and languages so everyone can find their favorites. High-quality audio and synchronized lyrics are crucial. These ensure a professional, enjoyable singing environment. Adjustable vocal effects and pitch control also help users fine-tune their performances.
User experience plays a critical role. The app should be easy to navigate, with intuitive controls for finding songs, starting performances, and making adjustments. Customization is key. Users should be able to tweak tempo, add background effects, or adjust audio settings to create personalized sessions. Integration with social platforms enhances the experience. Features like sharing recordings, performing duets, or joining online contests build community and add a social element to the fun.
A top-tier karaoke app also works seamlessly across multiple devices. Regular updates and responsive support ensure it remains reliable and fresh. These features make the app a trusted companion for karaoke enthusiasts over the long term.
How to Choose the Best KTV App?
When choosing a good karaoke app, focusing on a few key factors can help you find one that offers a great experience:
- Check the Song Selection: Choose an app with a large and frequently updated library that offers a wide variety of genres and languages.
- Test the Audio Quality: Ensure the audio is clear, the lyrics are synchronized, and that you can adjust vocal effects or pitch.
- Evaluate the User Interface: Make sure the app is easy to navigate, allowing you to quickly find songs, adjust settings, and start singing.
- Look for Offline Options: Consider apps that offer offline playback so you can enjoy karaoke without needing an internet connection.
- Consider Social Features: If sharing performances or singing with friends is important, pick an app that makes it easy to connect and share.
- Compare Costs and Subscriptions: Review what’s available for free versus paid plans, and choose an app that provides good value for your budget.
Best 10 iPhone and Android Karaoke Apps
Karaoke apps are a great way to unleash your inner rockstar and have some fun singing your favorite tunes. Whether you’re an iPhone or Android user, there are plenty of top-rated karaoke apps to choose the best karaoke app from.
1. StarMaker
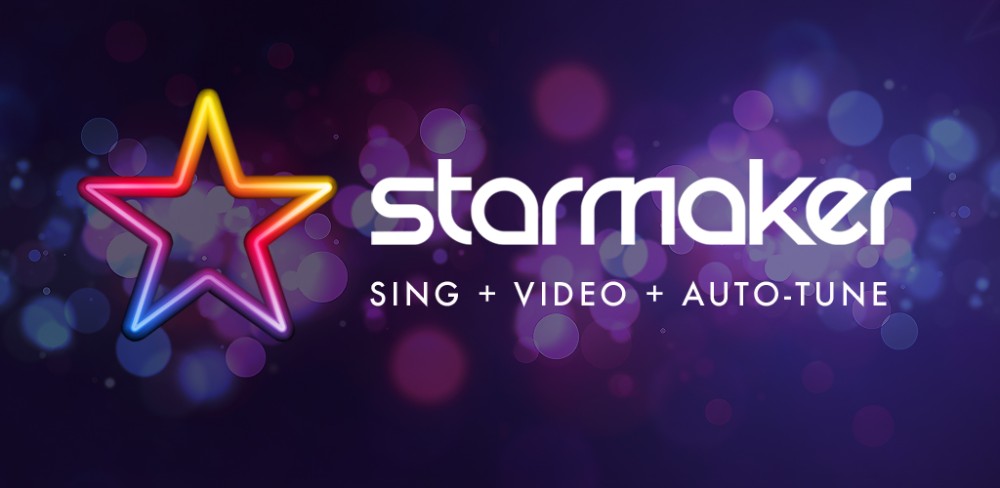
StarMaker, powered by ZEGOCLOUD API, is a top-notch karaoke app that offers a weekly music contest for users to compete for cash prizes and bragging rights. With a library of current and classic hits, you’ll never run out of songs to sing. The app provides a variety of voice effects to enhance your performance, and the “duet” feature allows you to perform with friends or other users.
Key Features:
- Weekly music contest
- Library of current and classic hits
- Variety of voice effects
- Duet feature to perform with friends or other users
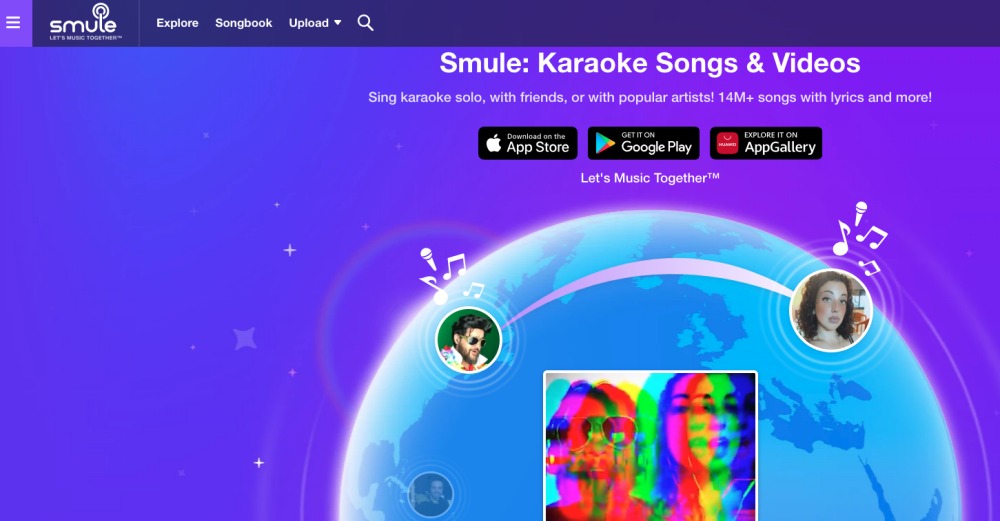
2. Sing! Karaoke by Smule

Smule is one of the best karaoke apps online that boasts a massive user base of over 200 million people. With a wide variety of popular songs, you’re sure to find your favorite tune to sing. The unique “Sing Together” feature allows you to perform duets with friends or other users from around the world, and the live-streaming and virtual gig options allow you to showcase your talent to a global audience.
Key Features:
- Library of popular songs
- “Sing Together” for duets
- Live-streaming and virtual gig options
- Over 200 million users
3. Karaoke Anywhere

Yokee is the best karaoke application for those who are new to karaoke or just looking for a beginner-friendly experience. The app features a vast library of popular songs, and real-time voice guidance helps you sing in tune. You can also create a “karaoke room” with friends and family to sing together in real-time.
Key Features:
- Real-time voice guidance
- “Karaoke room” for singing with friends and family
- Beginner-friendly experience
4. SingSnap
SingSnap is the world’s largest online singing community, which is more than just an ordinary singing app. Users can select their favorite songs to record and publish, and then wait for comments from other users. They can make friends with singing enthusiasts from all over the world here and enjoy the happiness and social fun brought by singing.
Key Features:
- Over 200,000 songs across diverse genres and languages, with over 1000 free to sing.
- Allows video or audio – only recording, with professional – grade audio enhancement.
- Users can comment, direct message, and participate in forums, contests, and challenges.
- Easily share recordings on social media or keep them private with privacy settings.
- Create duets or group recordings with full video capability.
5. Yokee Karaoke and Sing Karaoke Offline

If you’re looking for an ideal karaoke app to take your singing to the next level, then Karaoke Anywhere is definitely worth trying. With a vast library of popular songs, you can sing to your heart’s content. The Karaoke app provides detailed voice analysis to help you improve your pitch and tone, and the “collaboration” feature allows you to perform with other users in real-time.
Key Features:
- A vast library of popular and classic songs
- Detailed voice analysis for improvement
- “Collaboration” feature for real-time performances with other users
- Ideal for improving your singing skills.”
No matter which karaoke app you choose, you’re sure to have a blast singing your heart out with these top-rated options. So grab your phone, pick a song, and let the karaoke party begin!
6. WeSing
WeSing is a popular karaoke app with a large user base. It not only offers a platform to sing and record karaoke but also has a strong social aspect, allowing you to duet with friends or celebrities and share your performances.
Key Features:
- Over 6 million songs in multiple languages and genres.
- Duet with others, join KTV party rooms, and share on social media.
- Enhance your recordings with various effects.
7. KaraFun
KaraFun is a comprehensive karaoke app with a large song library. It caters to various users, from solo singers to those hosting karaoke parties. It offers both free and premium features to enhance the karaoke experience.
Key Features:
- Contains thousands of songs across different genres.
- Allows you to save songs and sing offline.
- Enables you to adjust the key and tempo of songs.
8. Simply Sing
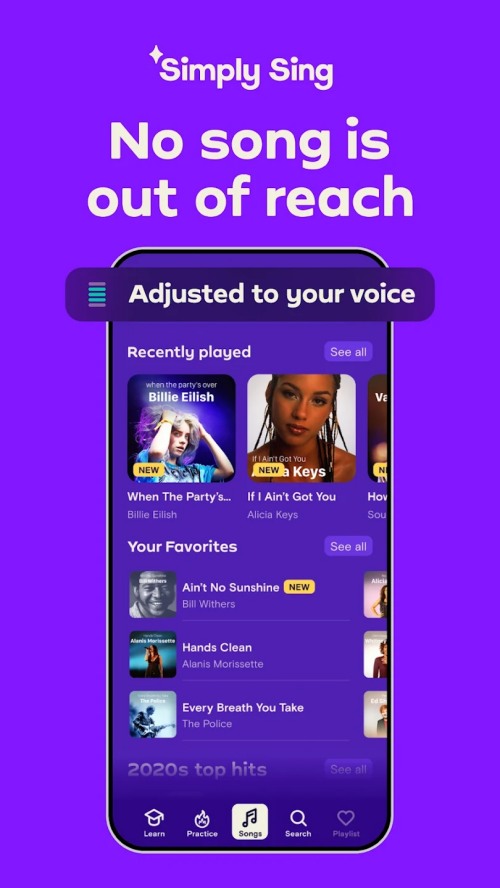
Created by the developers of award – winning music apps, Simply Sing offers a unique karaoke experience. It’s designed to adapt songs to your voice, helping you sing comfortably and hit those high notes. Whether you’re a beginner or an experienced singer, it provides a platform to practice and enjoy singing.
Key Features:
- Analyzes your voice type and adjusts song pitch to match your range.
- Gives you instant feedback on hitting notes correctly.
- Allows you to create playlists from a vast song library.
9. Karaoke One
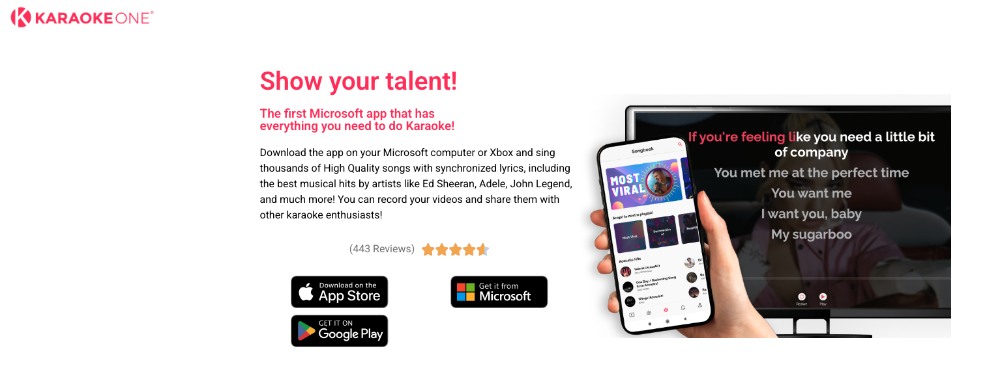
Karaoke One provides a fun and engaging karaoke experience with its collection of popular songs and advanced features. It focuses on providing a high-quality, social singing experience where users can sing alone or in groups. The app also offers rewards for performances and allows you to challenge other singers.
Key Features:
- Compete with other users for the best performance.
- Improve your voice with various effects and filters.
- Participate in competitions for rewards and recognition.
- Stream your karaoke sessions for live feedback.
10. Smule Sing Karaoke (Lite)
Smule’s Lite version focuses on giving users the core karaoke experience with fewer ads and streamlined features. Though simpler than its full version, it still offers a vast song library and plenty of options for singing solo or in duets with other users.
Key Features:
- Sing with friends or other Smule users in real-time.
- Thousands of songs across genres including pop, rock, and country.
- Adjust pitch and effects for a better sound.
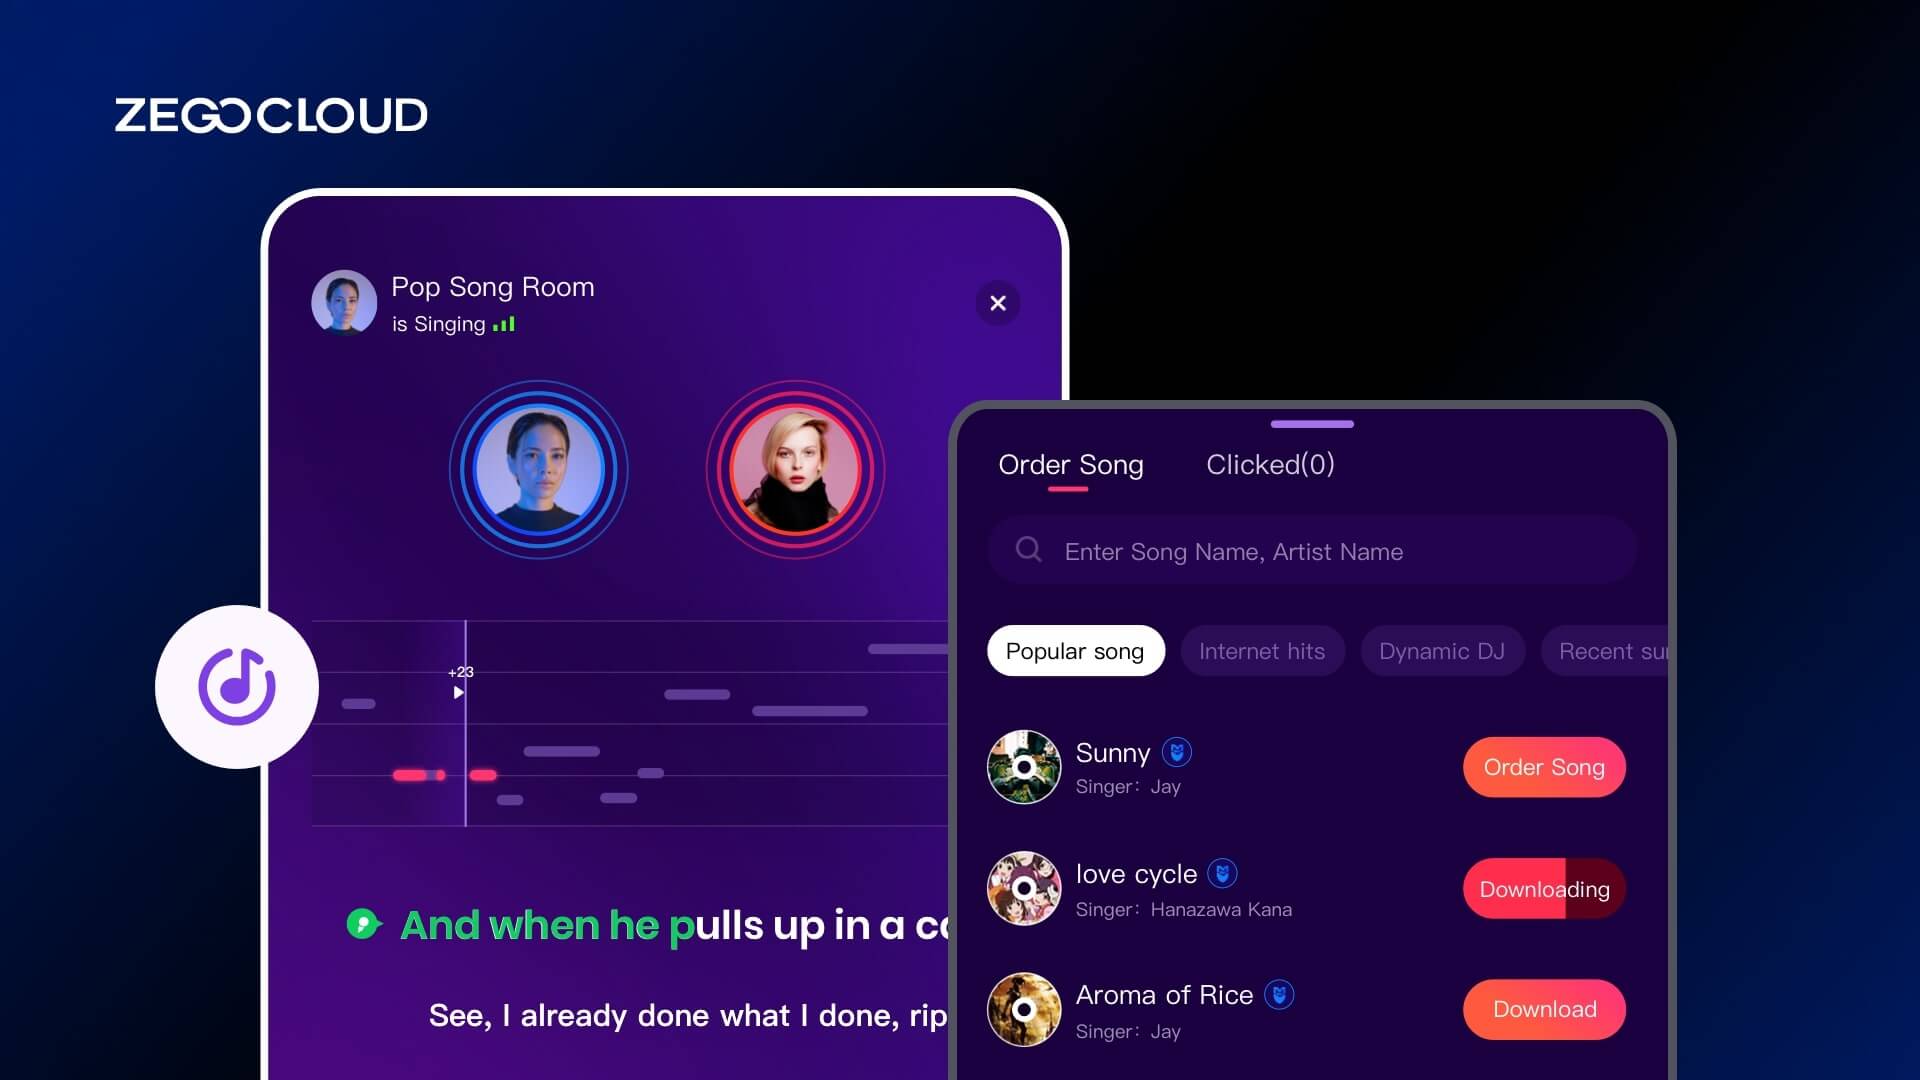
Enhance Your Karaoke Apps with ZEGOCLOUD’s KTV Solution
ZEGOCLOUD’s KTV solution offers a versatile and efficient way to bring a premium karaoke experience to your karaoke app. With support for solo performances, turn-based singing, group duets, and hybrid offline/online OMO karaoke rooms, it provides a wide range of interactive singing modes that cater to different user preferences.
Key Features:
- Extensive Licensed Song Library: Gain instant access to a massive collection of legally licensed tracks, ensuring your users always have something new and exciting to sing.
- Ultra-Low Latency Duets and Group Singing: ZEGOCLOUD’s real-time streaming technology ensures smooth, perfectly synchronized performances, even with multiple participants singing together.
- Precision Backing Track Sync: Enjoy industry-leading backing track synchronization that keeps everyone in tune and on time, no matter how many singers are involved.
- Server-Side Mixing for Professional Sound Quality: Deliver a polished, studio-quality audio experience with server-side mixing that ensures the final sound output is perfectly balanced.
- Low-Latency Monitoring (Ear Return): Allow singers to hear themselves in real-time with ultra-low latency ear return, providing a more immersive and confident singing experience.
- Legally Licensed, High-Quality Music: ZEGOCLOUD’s integration ensures your karaoke service is supported by licensed music, giving your users a seamless and compliant singing platform.
Effortless Integration and Rapid Deployment
ZEGOCLOUD’s ready-to-use SDK and comprehensive documentation make it quick and easy to integrate these features into your karaoke app development. Whether you’re starting from scratch or enhancing an existing product, the karaoke solution enables you to launch a feature-rich, professional-quality karaoke room in no time.
With ZEGOCLOUD, you can create a standout karaoke experience that delights your users, scales with your needs, and stays compliant with music licensing regulations.
Conclusion
In summary, the best free karaoke apps of 2025 offer diverse features, from high-quality audio to social sharing and duet options. Whether you’re a casual singer or an aspiring artist, these good karaokeapps provide an ideal platform to enjoy and showcase your singing. With karaoke’s growing popularity, these apps are sure to keep innovating, making it easy for anyone to join the fun. Whatever your style or preferences, you’re bound to find the perfect karaoke app to match your needs.
Read more:
FAQ about Karaoke App
Q1: What is the best free karaoke app?
Some of the best free karaoke apps include Smule, Karaoke by Yokee, and StarMaker. These apps offer a wide range of songs and features like recording, sharing, and singing with others. While most apps are free, they may have premium features available through in-app purchases.
Q2: Can you do virtual karaoke?
Yes, you can do virtual karaoke! Apps like Smule and Karaoke by Yokee offer features that allow you to sing karaoke remotely with friends or even strangers. You can sing live together in a virtual duet, making it an exciting and interactive experience. Some platforms also allow you to host virtual karaoke parties.
Q3: What singing app is better than StarMaker?
If you’re looking for an alternative to StarMaker, Smule is often considered better, thanks to its large song library, real-time effects, and duet features. Karaoke by Yokee is another strong choice, offering offline singing and a variety of tracks. Both apps provide a smoother experience and more social features.
Q4: Which is better, Smule or StarMaker?
It really depends on your preferences. Smule tends to be better for those looking for a wide variety of songs, real-time vocal effects, and the ability to collaborate with other users globally. It also offers high-quality video recording options. On the other hand, StarMaker is known for its community-driven features and strong social aspects, making it ideal for users who enjoy more interaction and engagement with fellow singers. However, Smule generally stands out in terms of song selection and audio features.
Let’s Build APP Together
Start building with real-time video, voice & chat SDK for apps today!
