


How do I build an Android app? Building an app for Android devices is more achievable than you might think, especially with the right tools and guidance. In this concise article, we will walk you through the step-by-step process of developing an Android app from scratch. With the assistance of free software and basic coding skills, you’ll be able to bring your app concept to life in no time. So, let’s delve into the details and explore how to make an Android app!
What is Android App Development?
Android app development involves creating applications for devices that run the Android OS, which is the most widely used mobile operating system globally. Initially, developers plan and design the app’s functionalities and user interface, ensuring it meets user needs effectively.
Furthermore, setting up the development environment is crucial, typically involving Android Studio, which provides tools for coding, debugging, and testing. Subsequently, developers write code using languages like Java or Kotlin and leverage Android SDK and other libraries to build and enhance the app’s performance.
Moreover, designing a user-friendly interface is essential, using XML and Material Design principles to ensure attractiveness and intuitiveness. Afterward, testing the app on emulators and real devices helps identify any issues, ensuring reliability before launch.
Finally, once refined and tested, the app is submitted to the Google Play Store, making it available to users worldwide. This process requires a blend of technical skills and creativity to develop successful Android apps that resonate with users.
Why Company Choose an Android App?
Companies choose to develop Android apps for several compelling reasons. Android holds a significant share of the global smartphone market, providing access to a vast user base. The platform’s open-source nature allows greater flexibility and customization, enabling companies to tailor apps precisely to their needs.
Additionally, Android apps can reach users across various devices and regions, often with lower development costs than other platforms. The combination of market reach, flexibility, and cost-effectiveness makes Android an attractive choice for businesses looking to expand their digital presence.

Consider Kotlin over Java for Making Applications for Android
When deciding between Kotlin and Java for Android app development, Kotlin is often the better choice for modern development. One of the main advantages of Kotlin is its concise syntax, which allows developers to write less code and achieve the same functionality as Java. This reduces boilerplate code, making your codebase cleaner and easier to maintain. Kotlin also supports null safety, which helps eliminate the common NullPointerExceptions that often occur in Java, making apps more stable and reducing runtime errors.
In terms of productivity, Kotlin introduces powerful features like lambda expressions, extension functions, and coroutines for asynchronous programming. These features help developers write more efficient and readable code, speeding up the development process. Moreover, Kotlin is fully interoperable with Java, meaning you can gradually migrate a Java project to Kotlin without rewriting everything, offering flexibility for existing projects.
Google officially supports Kotlin as the preferred language for Android development, and its features align better with modern Android architecture components like Jetpack and the latest APIs. This makes Kotlin the ideal choice for future-proof Android development, as it simplifies tasks that would be more cumbersome in Java.
Benefits of Android App Development
Developing an Android app offers businesses a powerful way to reach a broad audience with flexibility and high ROI potential.
- Large User Base: Android has the largest global smartphone market share, allowing businesses to reach a vast audience and improve brand visibility.
- Open-Source Flexibility: Android’s open-source nature offers extensive customization options, making it easier to design unique, feature-rich apps tailored to specific business needs.
- Cost-Effective Development: Android app development generally has lower initial costs due to flexible development tools and affordable licenses, making it budget-friendly for startups and large enterprises alike.
- Cross-Platform Integration: Android apps can be integrated across various devices like smartphones, tablets, wearables, and even TVs, providing seamless cross-platform functionality.
- Quick App Approval and Deployment: The Google Play Store has a quicker app review and deployment process, allowing businesses to bring their app to market faster.
- High ROI Potential: With a broad user base and flexible monetization options, such as ads, subscriptions, and in-app purchases, Android apps can yield a high return on investment.
Top 5 Examples of Android Apps
Android apps serve diverse needs, from communication to entertainment, making life easier and more connected. Here are five popular examples that showcase the power and versatility of Android development.
1. WhatsApp
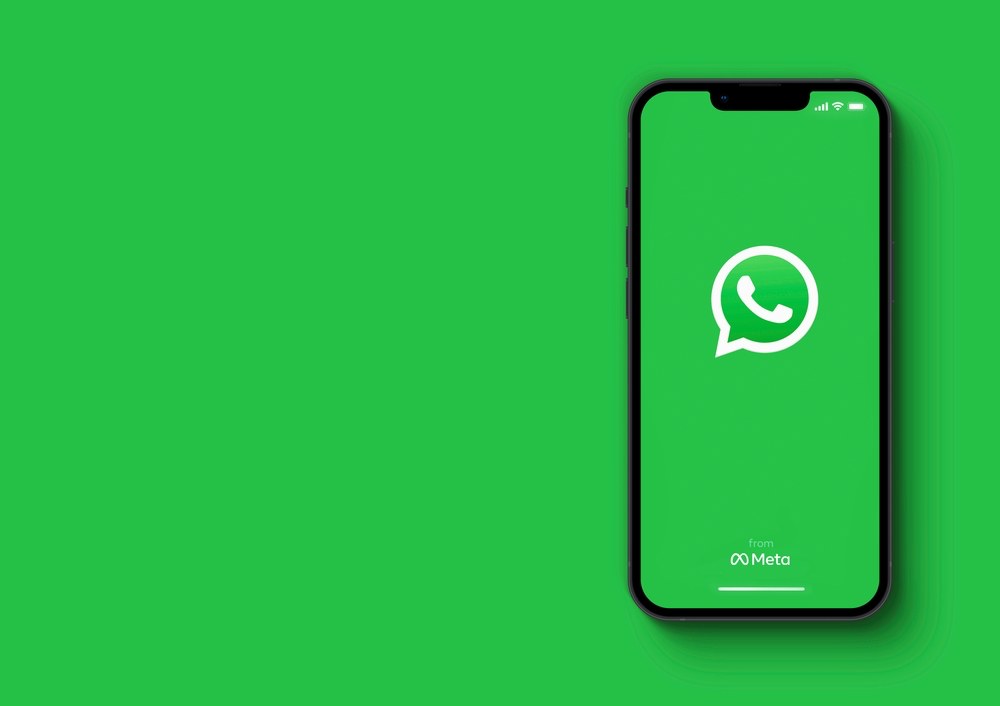
A messaging app that allows users to send texts, images, videos, and voice messages, as well as make video and audio calls. Known for its end-to-end encryption, WhatsApp is widely used for both personal and business communication.
Features:
- Text messaging, voice calls, and video calls
- Group chats with up to 256 participants
- File sharing (photos, videos, documents)
- End-to-end encryption for secure communication
- Voice and video messaging
2. Instagram
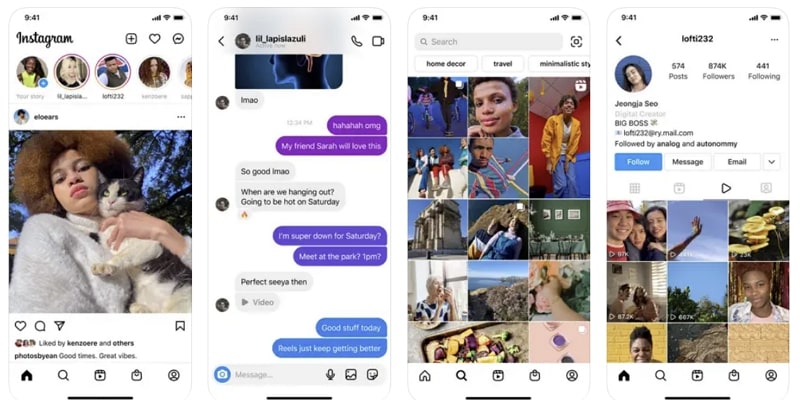
A social media platform where users can share photos and videos, follow friends, and discover content through features like Stories, Reels, and IGTV. Instagram also integrates messaging, making it a multifunctional app for connection and creativity.
Features:
- Post photos, videos, and stories
- Share and explore user-generated content with hashtags
- Direct messaging for private chats
- Filters and editing tools for creative content
- Shopping feature for brands and products
3. Spotify

A music streaming app offering access to millions of songs and podcasts. Users can create playlists, download songs for offline listening, and discover new music based on personalized recommendations.
Features:
- Stream millions of songs and podcasts
- Personalized recommendations based on listening history
- Offline listening with a premium account
- Create and share custom playlists
- High-quality audio streaming
4. Google Maps
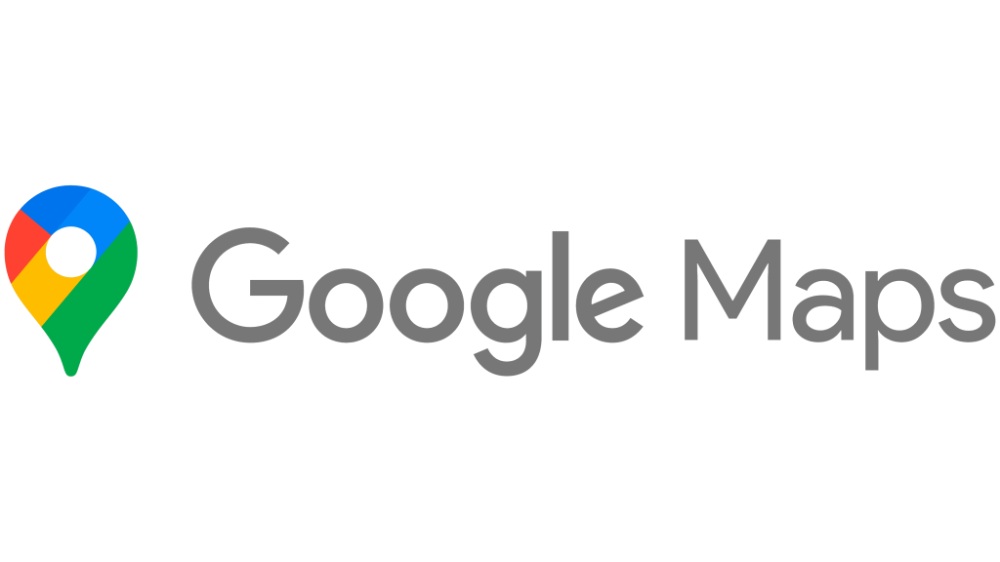
A navigation app providing real-time GPS, traffic updates, route planning, and business information. It includes features like Street View and offline maps, making it an essential tool for travel and local exploration.
Features:
- Turn-by-turn navigation and traffic updates
- Explore local businesses, restaurants, and attractions
- Offline maps for areas without internet access
- Street View for virtual exploration
- Location sharing with friends and family
5. Tiktok

TikTok is a popular social media app for creating and sharing short-form videos. It’s widely known for its viral content and creative trends.
Features:
- Create and share short videos (up to 3 minutes)
- Video editing tools with effects, filters, and music
- Personalized feed based on preferences
- Live streaming for real-time interaction with followers
- Social features like duets and challenges
How to Create an App for Android with ZEGOCLOUD
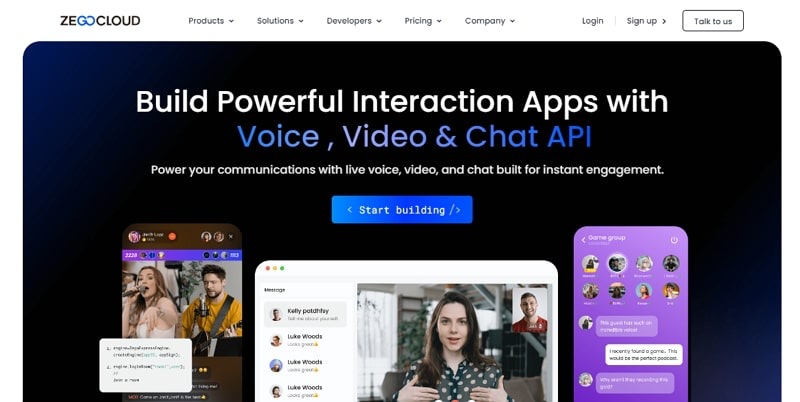
ZEGOCLOUD is a leading Communication Platform as a Service (CPaaS) that provides powerful real-time communication capabilities for developers. It offers a comprehensive suite of APIs and SDKs to seamlessly integrate video, audio, and messaging features into apps across various platforms, including mobile, web, and desktop. With ZEGOCLOUD, developers can quickly build high-quality, scalable applications that support live video streaming, online meetings, in-app messaging, and voice calls without the need to manage complex infrastructure. ZEGOCLOUD’s flexible solutions are designed for businesses looking to enhance user engagement with real-time communication tools while ensuring security, reliability, and a smooth user experience.
How do you make an Android app? This guide will walk you through the steps for how to develop Android apps and introduce how to integrate ZEGOCLOUD to enhance your app’s interactive capabilities.
Step 1. Set Up Android Studio
1.1 Download and Install
Begin by downloading and installing Android Studio from the official Android developer site. Follow the setup wizard to install the necessary components, including the Android SDK.
1.2 Start a New Project
- Open Android Studio and click “Start a new Android Studio project.”
- Select a template, like Empty Activity for a simple starting point.
- Name your project, set the save location, and choose Java or Kotlin as the language.
Step 2. Design the App Interface
2.1 Layout Setup
Open activity_main.xml under res > layout to start designing your first screen. Use the Palette in the design editor to drag and drop components like buttons and text views to set up the UI.
2.2 Add UI Elements for ZEGOCLOUD Features
Prepare your layout for ZEGOCLOUD integration by adding buttons labeled “Start Video Call” or “Join Chat Room” to allow users to access these interactive features.
Step 3. Integrate ZEGOCLOUD SDK
If your backend doesn’t support Gradle, follow these steps to integrate the SDK manually:
3.1 Download the ZEGOCLOUD SDK
Go to the ZEGOCLOUD website and download the Android SDK package directly.
3.2 Add SDK to Your Project
Place the downloaded SDK files in the libs folder within your Android project.
In Android Studio, right-click the libs folder and select Add as Library to include the SDK in your project.
3.3 Initialize the SDK
In MainActivity.java (or MainActivity.kt), initialize ZEGOCLOUD with your App ID and authentication token.
ZegoExpressEngine engine = ZegoExpressEngine.createEngine(appID, appSign, context, null);
Step 4. Add Real-Time Features with ZEGOCLOUD
4.1 Video Call Setup
For video calling:
- Use ZEGOCLOUD’s APIs to start and join video calls.
- Add buttons like “Start Call” and “End Call” and configure them in the code to start and end video calls.
engine.startPublishingStream("your_stream_id");
4.2 Messaging Integration
To add messaging:
- Use the sendMessage API to allow users to send messages in real time.
- Add listeners to display incoming messages, creating a seamless chat experience.
Step 5. Test and Debug the App
5.1 Run on an Emulator or Device
Connect an Android device or use an emulator in Android Studio to test the app. Click Run and select your testing device.
5.2 Debug with ZEGOCLOUD Logs
ZEGOCLOUD provides debugging tools that help you monitor real-time logs, making it easier to identify any issues with the interactive features.
Step 6. Deploy and Maintain the App
After testing, you can publish your app to the Google Play Store. Plan for ongoing maintenance to update the ZEGOCLOUD SDK regularly, ensuring that your real-time features continue to function smoothly.
How Much It Will Cost to Create an Android App
Creating an Android app can vary greatly in cost, depending on factors like complexity, features, design, and developer rates. Basic apps with minimal functionality and design generally cost between $5,000 and $10,000. For more moderate apps that include user authentication, basic backend support, and in-app purchases, costs range from $10,000 to $50,000. Complex apps, such as those with real-time features, advanced UI, and third-party API integrations, can easily exceed $50,000 and reach up to $100,000 or more.
High-quality UI and UX design can add anywhere from $2,000 to $15,000, especially if custom animations or brand-specific design elements are involved. Backend development, which may include server infrastructure, databases, and APIs, can add another $5,000 to $20,000 to the overall cost, particularly for apps that require real-time data or user management.
Developer rates also impact the budget significantly. In regions like the United States and Europe, rates tend to range from $50 to $200 per hour, while developers in India and Southeast Asia may charge between $15 and $80 per hour. Testing and quality assurance (QA) is another essential component to ensure the app works smoothly across various devices, adding approximately $1,000 to $10,000 depending on the app’s complexity.
Lastly, ongoing maintenance and updates generally cost about 15-20% of the initial development cost annually, which covers updates, fixes, and improvements. For a basic app, expect to start around $10,000, while more complex apps may require budgets exceeding $100,000.
Tech Tasks for Making an Android App
Creating an Android app involves several key steps, from setting up the development environment to publishing the app on the Google Play Store. Below is a simplified guide to the essential tasks in the Android app development process.
| Task | Description |
|---|---|
| Set Up Development Environment | Install Android Studio and configure the SDK. Set up an emulator or use a physical device for testing. |
| Design UI | Create UI using XML layouts, following Material Design principles for a clean, intuitive design. |
| Choose Programming Language | Choose between Kotlin (recommended) or Java for app development. |
| Implement App Logic | Create Activities and Fragments to structure the app’s screens and functionality. Handle user inputs. |
| Test and Debug | Test the app on emulator/device, debug any issues, and ensure smooth performance. |
| Publish | Prepare the app for release and upload it to the Google Play Store. |
Conclusion
In conclusion, building an Android app is a process that combines creativity with technical skills. By setting up your development environment, designing a user-friendly interface, coding effectively, and testing thoroughly, you can create a robust Android application. Remember, the journey doesn’t end with development; regularly updating your app with new features and improvements based on user feedback is key to maintaining its relevance and popularity.
Read more:
FAQ
Q1: How can I create my own Android app?
To create an Android app, you need to set up Android Studio, learn Java or Kotlin, design your app’s UI, write the code, test it, and then publish it on the Google Play Store.
Q2: How much does it cost to build an Android app?
The cost depends on complexity. Simple apps cost around $5,000 – $20,000, while complex apps can range from $20,000 to $100,000+.
Q3: Can ChatGPT create an Android app?
ChatGPT can’t directly create an app, but it can help by providing code examples, guidance, and troubleshooting advice during development.
Q4: Can ChatGPT-4 build an app?
ChatGPT-4 can’t build an app but can assist with coding, logic, and app development concepts, helping you write and troubleshoot code.
Let’s Build APP Together
Start building with real-time video, voice & chat SDK for apps today!
