


In the era of remote collaboration, Digital Whiteboard software has become an essential tool for education, business, and creative brainstorming. Here’s a look at the 5 best Digital Whiteboard platforms that offer unique features to enhance virtual interaction and productivity.
What is Digital Whiteboard
A Digital Whiteboard, also known as an interactive whiteboard, is a technology-driven tool that replicates the functionality of a traditional whiteboard but in a digital format. It allows users to write, draw, and annotate using digital pens, touch gestures, or other input devices. Unlike a conventional whiteboard, a Digital Whiteboard can be connected to computers, tablets, or smartphones, enabling real-time collaboration and sharing.
One of the key features of a Digital Whiteboard is its ability to integrate with various software applications, enhancing its usability in diverse settings like classrooms, corporate meetings, and creative workshops. Teachers can use it to create interactive lessons, while businesses can utilize it for brainstorming and project planning.
Digital Whiteboards often come with additional functionalities like saving work, exporting to different file formats, and even incorporating multimedia elements like videos and images. The combination of interactivity, collaboration, and technological integration makes a Digital Whiteboard a versatile and valuable tool in modern education and professional environments.
Best 5 Digital Whiteboard Software to Power Team Collaboration
Digital Whiteboard software has transformed the way teams collaborate, teach, and innovate. From classrooms to boardrooms, these tools enable real-time interaction and creativity. Explore the 5 best Digital Whiteboard platforms that are leading the way in this dynamic field.
1. Microsoft Whiteboard

Microsoft Whiteboard is a freeform digital canvas designed for teamwork and creativity. It offers an infinite canvas, real-time collaboration, and integration with other Microsoft products, making it suitable for various professional settings.
Features:
- Infinite canvas
- Pre-made templates
- Real-time collaboration
Pros:
- User-friendly
- Robust integration
- Available across devices
Cons:
- Limited customization
- May require Microsoft 365 subscription
2. Google Jamboard
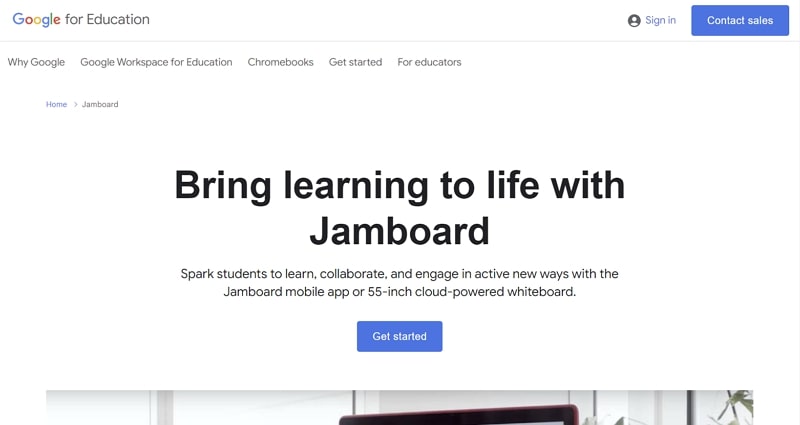
Google’s Jamboard is a digital interactive whiteboard designed for collaboration within the Google app ecosystem. It emphasizes real-time collaboration, handwriting recognition, and seamless integration with Google services.
Features:
- Real-time collaboration
- Google Drive integration
- Handwriting recognition
Pros:
- Easy to use
- Integrates with Google services
- Supports various devices
Cons:
- Limited free version
- Some features may require a subscription
3. Miro
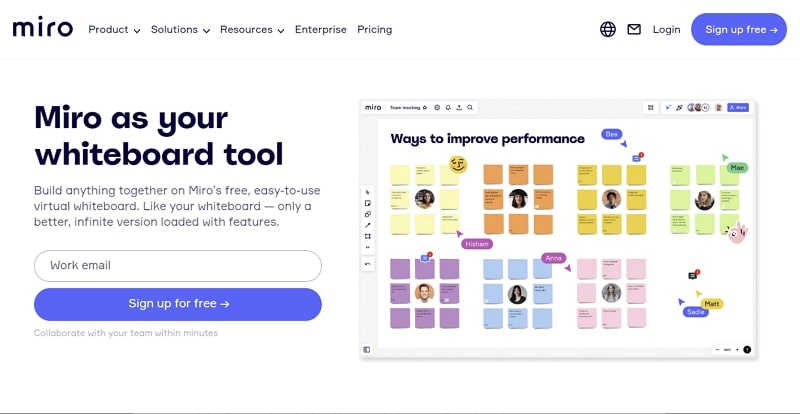
Miro is a leading visual collaboration platform, offering a digital whiteboard experience for brainstorming, planning, and analysis. Its extensive features and integrations make it a versatile tool for teams of all sizes.
Features:
- Infinite canvas
- Numerous templates
- Integration with Slack, Jira
Pros:
- Highly customizable
- Supports large teams
- Extensive template library
Cons:
- Overwhelming for new users
- Premium features require payment
4. Ziteboard

Known for its simplicity, Ziteboard is an online whiteboard that emphasizes real-time collaboration. It’s suitable for education, quick sketches, and diagrams, offering a lightweight and user-friendly experience.
Features:
- Real-time collaboration
- Basic drawing tools
- PDF export
Pros:
- Lightweight
- Easy to use
- Suitable for quick sketches
Cons:
- Limited advanced features
- Fewer integration options
5. InVision Freehand
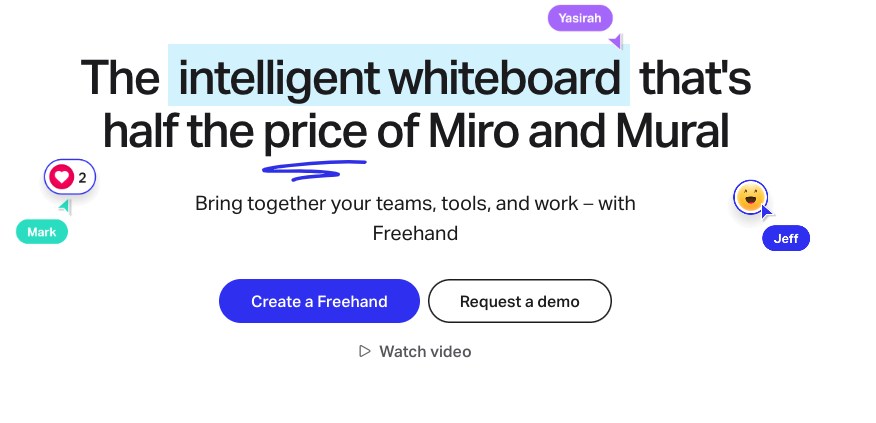
InVision Freehand is a design-centric digital whiteboard tool tailored for creative professionals. It provides a canvas for wireframing, planning, design feedback, and collaboration, integrating with popular design software.
Features:
- Collaborative drawing
- Design prototyping
- Integration with design tools
Pros:
- Great for designers
- Supports rich media
- Integrates with design software
Cons:
- Less suitable for non-design tasks
- The premium version is required for full functionality
Grow Your Business with ZEGOCLOUD Whiteboard SDK
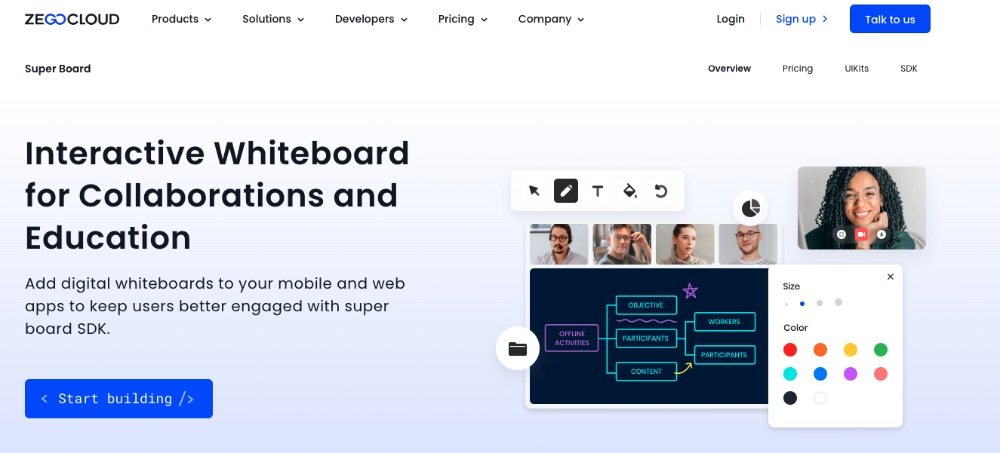
ZEGOCLOUD, a leading provider of collaboration solutions, has introduced the Super Board SDK, a digital whiteboard SDK designed to enhance collaboration among team members.
The Super Board SDK provides a highly customizable and scalable tool that allows businesses to integrate digital whiteboard capabilities into their applications seamlessly. With this SDK, teams can collaborate in real-time, whether remotely or in the same room.
Here are some of the Super Board SDK’s key features:
1. High-quality drawing tools
The Super Board SDK comes equipped with high-quality drawing tools, making it easy for teams to share ideas visually. Users can draw, annotate, and highlight different aspects of their ideas, making it easier to convey complex concepts.
2. Real-time collaboration
One of the most significant advantages of the Super Board SDK is its real-time collaboration capabilities. Multiple team members can work on the same digital whiteboard simultaneously, making brainstorming, planning, and executing projects easier.
3. Seamless integration
You can integrate the Super Board SDK into existing applications, making it a flexible solution for businesses of all sizes. It supports multiple platforms, including desktop and mobile, making it accessible across different devices.
4. Customizable user interface
The Super Board SDK’s user interface is highly customizable, allowing businesses to tailor it to their needs. They can choose different themes, colors, and fonts to make them fit seamlessly into their existing application.
5. Robust security features
ZEGOCLOUD takes security seriously and has implemented robust features into the Super Board SDK. All data is encrypted, ensuring that sensitive information remains safe and secure.
Conclusion
The 5 Best Digital Whiteboard platforms mentioned here cater to various needs, offering unique features and functionalities. Whether for education, business, or creative projects, these tools provide the flexibility and interactivity needed to foster collaboration and innovation. Explore them to find the one that best aligns with your goals, and take your virtual collaboration to the next level.
Read more:
Let’s Build APP Together
Start building with real-time video, voice & chat SDK for apps today!
