


Collaboration is a critical element in achieving successful outcomes in any project or task. With the rise of remote work, digital tools like Zoom Whiteboard have become essential for teams to collaborate effectively. In this article, we’ll explore how to use Zoom Whiteboard to collaborate seamlessly with your team, regardless of your physical location.
What is Zoom Whiteboard?
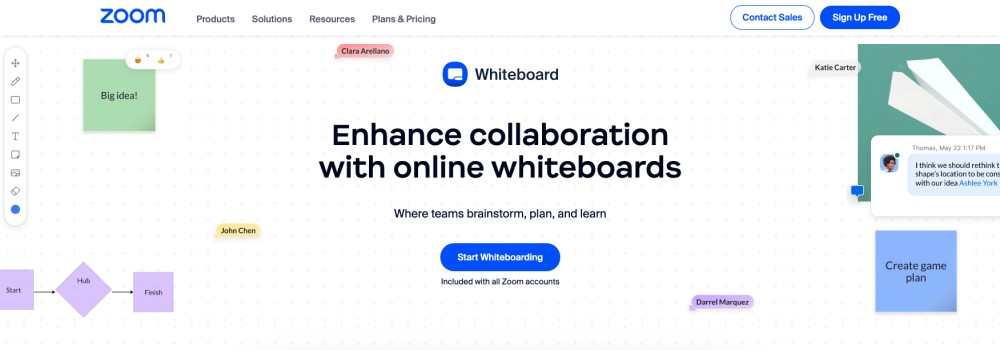
Zoom Whiteboard is a built-in collaboration feature that provides a virtual canvas for teams to brainstorm, draw, and share ideas during online meetings. It allows participants to work together in real time, making remote discussions more visual and interactive.
The tool includes options for drawing, writing, adding shapes, and highlighting, which help teams present concepts clearly and creatively. Instead of using physical whiteboards and markers, users can collaborate digitally on the same shared space from anywhere, saving both time and resources.
Zoom’s whiteboard is also widely used in education. Teachers can explain lessons visually and keep students engaged through interactive activities, while students can contribute their ideas and collaborate easily in group discussions.
How to Use Zoom Whiteboard
Zoom Whiteboard is a powerful collaboration tool that enables teams to brainstorm, draw, and work together in real-time during Zoom meetings. Whether you’re collaborating on a project or teaching a virtual class, Zoom Whiteboard simplifies the process of visualizing and communicating ideas. In this section, we’ll learn how to use the Zoom Whiteboard effectively. Below are the steps
1. Start a Zoom Meeting
To access the Zoom Whiteboard, start a Zoom meeting with your team or class.
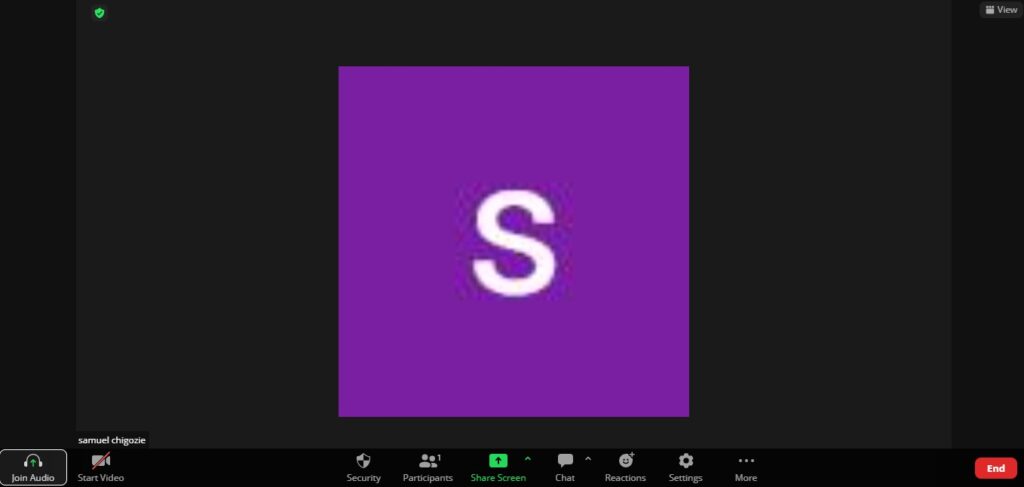
2. Click on Share Screen
Once you’re in the meeting, click on the Share Screen button located at the bottom of the screen.
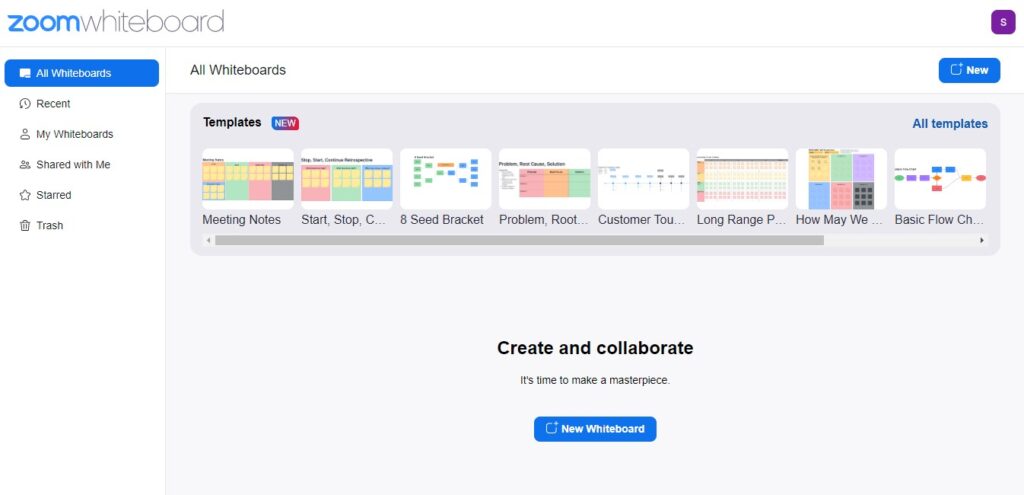
3. Select Whiteboard
From the list of available sharing options, select the Whiteboard option to enter the Zoom Whiteboard mode.
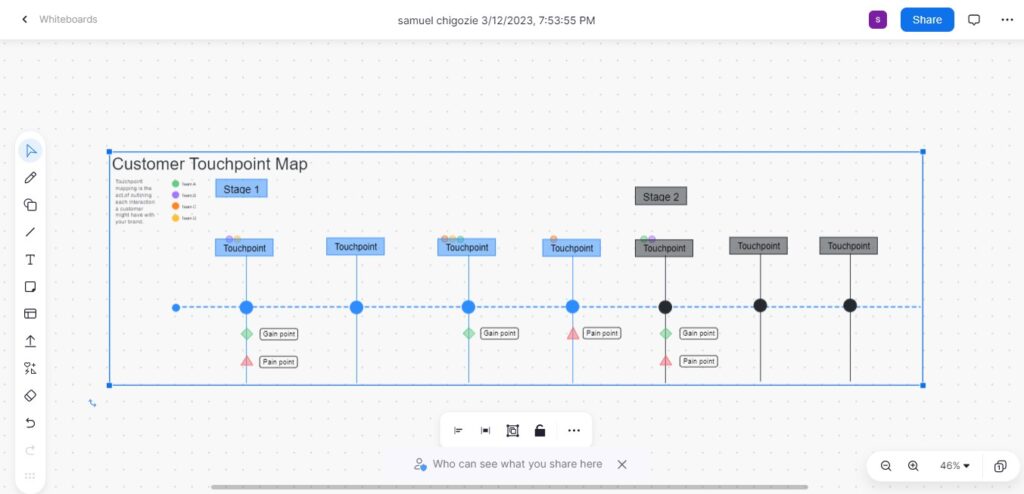
4. Use the Drawing Tools
Zoom Whiteboard provides a variety of drawing tools, including pens, shapes, and text boxes. Select the tool you want to use from the toolbar and start drawing.
5. Invite Participants
If you’re collaborating with a team, you can invite participants to join the whiteboard session. Click on the Participants button and select Invite.
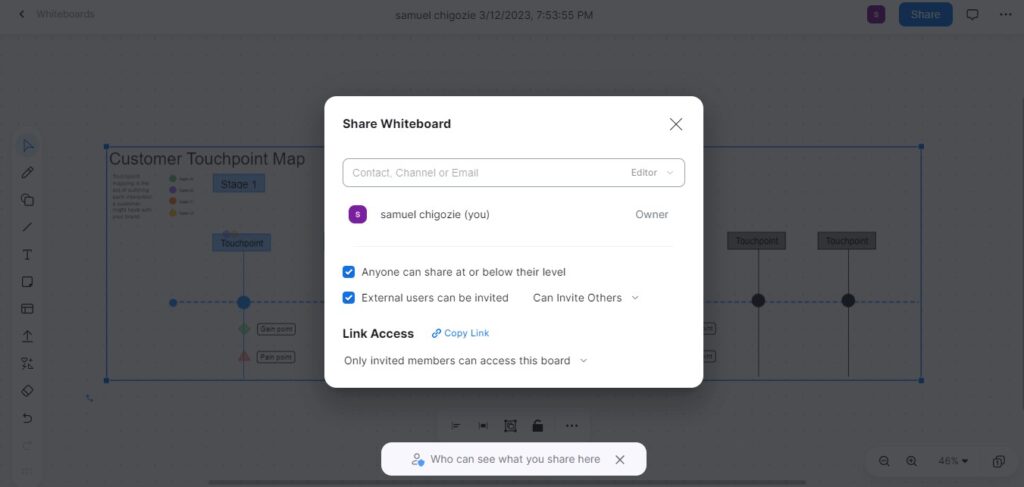
6. Save and Share
Zoom Whiteboard allows you to save your whiteboard session as an image or PDF file and share it with your team or class after the meeting. To do this, click on the Save button in the toolbar and choose your preferred file format.
7. Clear the Canvas
When you’re ready to start a new project or need a fresh canvas, use the Clear All button to erase all content on the canvas.
8. Exit Whiteboard Mode
Once you’re done using Zoom Whiteboard, click on the Stop Share button to exit the whiteboard mode and return to the Zoom meeting.
You may also like: How to Collaborate Using Google Whiteboard
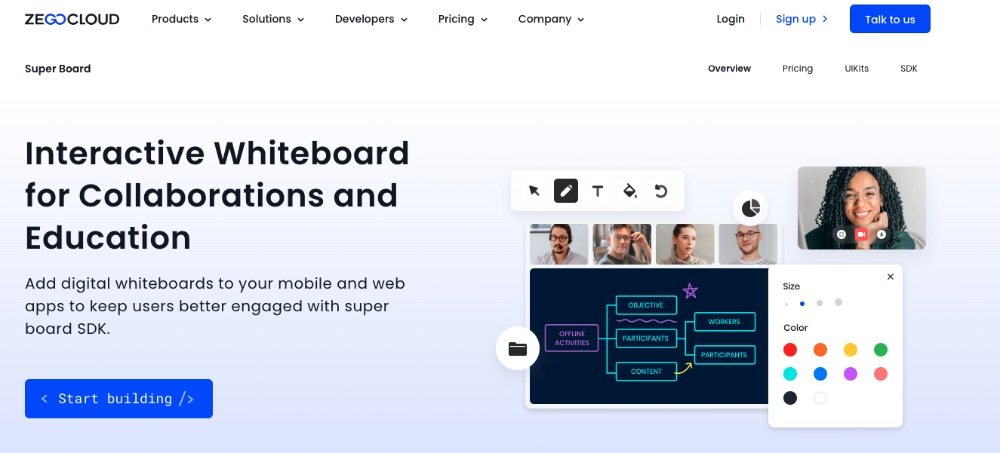
How to Make a Zoom Whiteboard with ZEGOCLOUD
Zoom Whiteboard is a popular tool for remote collaboration and learning, but sometimes it may not meet the specific needs of a team or organization. This is where ZEGOCLOUD Whiteboard SDK comes in. It’s a powerful software development kit that enables developers to create their own virtual whiteboard solutions tailored to their specific requirements.
Here are some key features of ZEGOCLOUD Whiteboard SDK:
- Real-time Collaboration: Users can collaborate on the same canvas in real-time, just like they would in a physical meeting. This allows teams to work together seamlessly and boosts productivity.
- Flexible Customization: It offers a wide range of customizable options, including pen types, colors, and shapes. Developers can also create custom tools to meet their users’ specific needs.
- Cross-Platform Support: It is compatible with multiple platforms, including web, mobile, and desktop. This enables users to access the whiteboard from any device, making collaboration more convenient and accessible.
- Secure and Reliable: It is built with security and reliability in mind. It provides end-to-end encryption and secure data transmission, ensuring that users’ data is safe and protected.
Preparation
- Sign up for a ZEGOCLOUD developer account.
- Ensure that your computer has modern web browsers and multimedia support.
- Have a basic understanding of web development.
- Create a project in the ZEGOCLOUD console to obtain your appID, appSign, and Server URL.
Steps on How to Make a Zoom Whiteboard Alternative with ZEGOCLOUD SDK
To make a Zoom Whiteboard alternative with ZEGOCLOUD SDK, follow these steps:
1. Download the SDKs
Acquiring the ZegoSuperBoard SDK and ZegoExpress-Video SDK is an easy and stress-free process with the help of NPM. Follow the code below to obtain these powerful SDKs
npm i zego-superboard-web

npm i zego-express-engine-webrtc
2. Integrate the SDK
Integrating ZEGOCLOUD’s Super Board SDK into your project is a breeze with this JS code. Quickly and effortlessly incorporate the SDK to enjoy its benefits.
import { ZegoSuperBoardManager } from 'zego-superboard-web';

import {ZegoExpressEngine} from 'zego-express-engine-webrtc'
3. Initialize the SDKs
The initialization process plays a vital role in unleashing the full potential of the two SDKs added through NPM.
ZegoExpress-Video SDK.
// Initialize the ZegoExpressEngine instance
const zg = new ZegoExpressEngine(appID, server);
ZegoSuperBoard SDK
<!-- Parent container to be mounted to -->
<div id="parentDomID"></div>
// Obtain the ZegoSuperBoard instance.
zegoSuperBoard = ZegoSuperBoardManager.getInstance();
// Initialize ZegoSuperBoard.
const result = await zegoSuperBoard.init(zg, {
parentDomID: 'parentDomID', // D of the parent container to be mounted to.
appID: 0, // The AppID you get.
userID: '', // User-defined ID
token: '' // The Token you get that is used for validating the user identity.
});4. Check event callbacks
Customize event callbacks according to your app’s requirements by monitoring error notifications, remote additions/deletions, and file switching post-SuperBoard initialization.
// Callback of the listening-for error.

zegoSuperBoard.on('error', function(errorData) {
        // Error code, error prompt
        conosole.log(errorData.code, errorData.message)
    });

// Monitor paging and scrolling in the whiteboard via event listeners.

zegoSuperBoard.on('superBoardSubViewScrollChanged', function(uniqueID, page, step) {

    });
// You can listen for the remote operation of zooming in or out on a whiteboard.

zegoSuperBoard.on('superBoardSubViewScaleChanged', function(uniqueID, scale) {

    });

// Remote whiteboard addition event listener.

zegoSuperBoard.on('remoteSuperBoardSubViewAdded', function(uniqueID) {

    });

// Monitor the remote whiteboard destruction operation.

zegoSuperBoard.on('remoteSuperBoardSubViewRemoved', function(uniqueID) {

    });

// Listen for remote whiteboard switching.

zegoSuperBoard.on('remoteSuperBoardSubViewSwitched', function(uniqueID) {

    });
// Listen for remote Excel sheet switching.

zegoSuperBoard.on('remoteSuperBoardSubViewExcelSwitched', function(uniqueID, sheetIndex) {

    });

// Listen for remote whiteboard permission changes.

zegoSuperBoard.on('remoteSuperBoardAuthChanged', function(data) {
        console.log(data.scale, data.scroll)
    });

// Listen for remote whiteboard element permission changes.

zegoSuperBoard.on('remoteSuperBoardGraphicAuthChanged', function(data) {
        console.log(data.create, data.delete, data.move, data.update, data.clear)
    });
5. Log in to a room
Gain entry to a room by implementing the loginRoom method with roomID, token, userID, and userName as parameters. You can also provide a configuration object if needed. In the event that the roomID does not exist, a new room will be created, and login will occur automatically when the method is executed.
const result = await zg.loginRoom(roomID, token, {userID, userName}, {userUpdate: true});6. Create a whiteboard
The Super Board SDK has two whiteboard types: common and file-based. To create a whiteboard, login is required first. Common whiteboards are created with dimensions and page number while file whiteboards are made from existing files. Note that a room can only have up to 50 whiteboards. Use querySuperBoardSubViewList method to check the current number of whiteboards.
Create a common whiteboard
const model = await zegoSuperBoard.createWhiteboardView({
    name: '', // Whiteboard name
    perPageWidth: 1600, // Whiteboard page width
    perPageHeight: 900, // Whiteboard page height
    pageCount: // Page count of a whiteboard
});
Create a file whiteboard
// Before creating a file-based whiteboard, obtain the fileID of the file. Please refer to Shared File Management for instructions on how to upload a file.

const model = await zegoSuperBoard.createFileView({
    fileID
});
7. Mount the current whiteboard
After successfully logging in to a room with an existing whiteboard, use the querySuperBoardSubViewList and switchSuperBoardSubView APIs to link it to the parent container.
// Obtain SuperBoardSubViewList.
const superBoardSubViewList = await zegoSuperBoard.querySuperBoardSubViewList();

// Obtain SuperBoardView.
const superBoardView = zegoSuperBoard.getSuperBoardView();

// Obtain the current SuperBoardSubView.
const zegoSuperBoardSubView = superBoardView.getCurrentSuperBoardSubView()

// Obtain the model corresponding to SuperBoardSubView.
const model = zegoSuperBoardSubView.getModel();

// Obtain a uniqueID of the whiteboard to be mounted.
const uniqueID = model.uniqueID;

// Get the file type and obtain sheetIndex for Excel whiteboard.

let sheetIndex;
const fileType = model.fileType;
if (fileType === 4) {
    // Excel whiteboard
    const sheetName = zegoSuperBoardSubView.getCurrentSheetName();
    // Retrieve the list of sheets for the current Excel file.
    const zegoExcelSheetNameList = zegoSuperBoardSubView.getExcelSheetNameList();
    // To get the sheetIndex from zegoExcelSheetNameList, use the corresponding sheetName.
    sheetIndex = zegoExcelSheetNameList.findIndex(function(element, index) {
        return element === sheetName;
    });
}

// Mount the current whiteboard.
const result = await superBoardView.switchSuperBoardSubView(uniqueID, sheetIndex);
8. Verify whiteboard creation
Ensure that you perform a thorough test of the project by logging into the same room ID from multiple devices. Use the ZegoSuperBoardView to draw on one device, and observe as the drawing is replicated on the ZegoSuperBoardView of the other device.
9. Destroy a whiteboard
The ZegoSuperBoard SDK will automatically switch to another whiteboard when the current one is removed.
const result = await zegoSuperBoard.destroySuperBoardSubView(uniqueID)Run a Demo
If you’re interested in adding whiteboard functionality to your apps, you can use the ZEGOCLOUD whiteboard SDK. Sign up today!
Conclusion
Zoom whiteboard is a valuable collaboration tool for remote teams. Utilizing its features such as screen sharing and drawing tools, participants can brainstorm and ideate in a collaborative space. Zoom whiteboard enhances engagement and productivity for virtual meetings, presentations, and teaching.
Read more:
FAQ
Q1: How do I use whiteboard in Zoom?
You can use the whiteboard in Zoom by starting a meeting, clicking on “Share Screen,” and selecting “Whiteboard.” This allows participants to draw, write, and add shapes in real time during the meeting.
Q2: Is Zoom whiteboard free to use?
Yes, the basic whiteboard feature in Zoom is free for all users. However, Zoom also offers advanced whiteboard tools with extra collaboration features for paid plans.
Q3: Did Zoom get rid of Whiteboards?
No, Zoom did not remove whiteboards. The feature has been updated and is now called “Zoom Whiteboard,” which includes more interactive and persistent collaboration tools.
Q4: How much does a Zoom whiteboard cost?
Zoom offers a free version of its whiteboard with basic tools. For more advanced options, such as multiple boards and cloud storage, you need a paid Zoom subscription, starting from the Pro plan or higher.
Let’s Build APP Together
Start building with real-time video, voice & chat SDK for apps today!
