


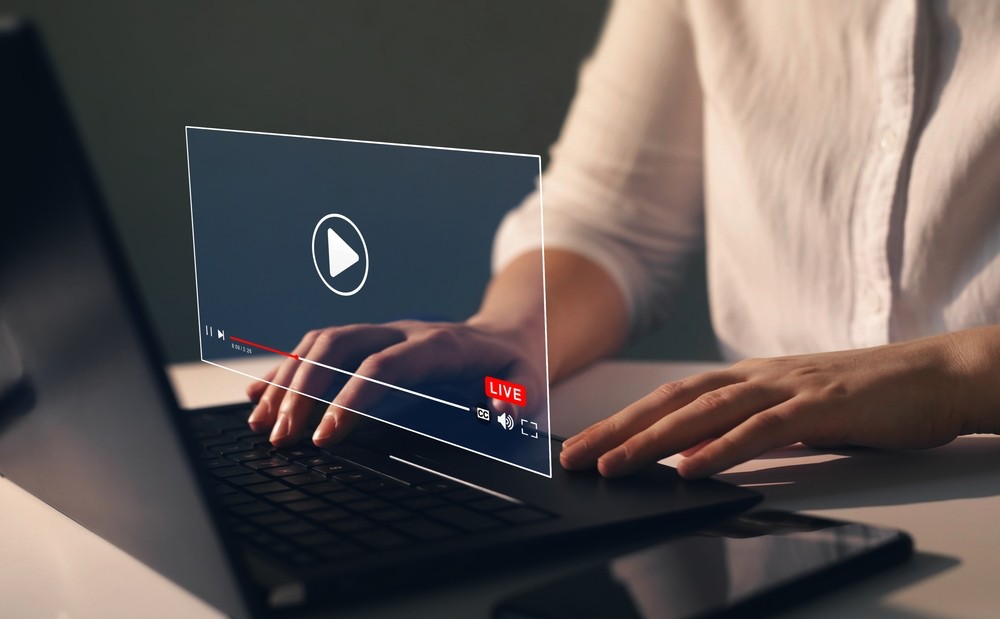
In modern applications—whether you’re building an online education platform, a conferencing tool, or a social livestreaming app—recording live video streams is a mission-critical feature. It supports compliance, enhances content value, and improves the user experience by enabling playback, sharing, and analysis.
While consumer tools like OBS Studio or Camtasia work for personal use, they lack the scalability and automation that B2B platforms require. Developers need SDK-level solutions that are programmable, cloud-native, and optimized for production environments.
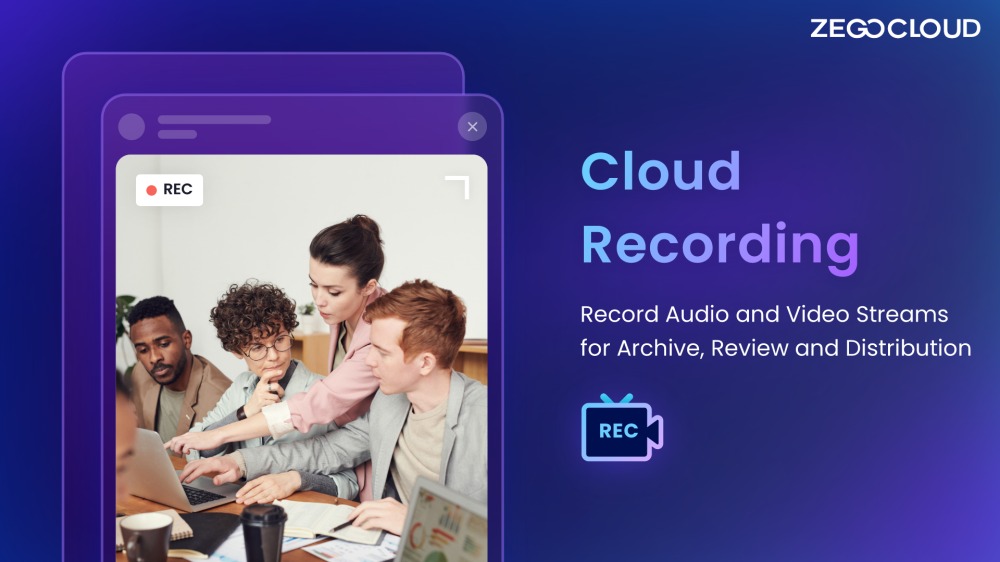
That’s where the ZEGOCLOUD Cloud Recording SDK comes in for developer to record streaming video.
Why Record Live Streaming Video?
Recording live streaming video is essential for platforms that deliver real-time content—whether it’s for education, events, or communication. Capturing live sessions not only preserves valuable content but also extends its lifespan beyond the original broadcast.
Here are a few key reasons to integrate recording into your platform:
- Content Replay
Users can revisit live sessions on demand, improving accessibility and long-term engagement. - Compliance and Auditing
In industries like healthcare, finance, or education, recording is often required for legal or regulatory purposes. - Training and Documentation
Recorded videos serve as valuable internal assets for onboarding, support, or product demos. - Revenue Opportunities
Monetize replays, sell access to recorded sessions, or repurpose content across marketing channels.
By offering built-in recording capabilities, your platform becomes more versatile, user-friendly, and scalable—while reducing reliance on third-party tools.
Why Use a Cloud Recording SDK Instead of Local Tools
Consumer-grade recording tools are designed for individuals capturing content from their personal devices. They require manual setup, local processing power, and offer limited automation—making them unsuitable for apps and platforms at scale.
In contrast, a cloud recording SDK:
- Automates the entire recording process in the backend
- Requires no local dependencies or installation
- Supports multi-device and cross-platform workflows
- Stores and delivers video via secure, cloud-based infrastructure
- Gives developers full control via API
For businesses building their own video platforms, to record streaming video, cloud SDKs offer the flexibility, scalability, and reliability that local tools simply can’t match.
Use Cases for Cloud-Based Streaming Video Recording
Here are several real-world scenarios where developers can benefit from integrating streaming video recording:
- Online Education Platforms
Automatically record live lectures, webinars, or tutoring sessions for student playback. - Virtual Meetings & Webinars
Capture entire sessions for compliance, documentation, or sharing with participants who missed the event. - Live Shopping & Social Commerce
Record influencer-led shopping streams or product demos for later use in marketing. - Healthcare & Teleconsultation
Securely store video consultations in regulated industries that require traceable communications. - Customer Support & Onboarding
Record video chats or onboarding calls for quality assurance and internal training.
Key Features of the ZEGOCLOUD Cloud Recording SDK
The ZEGOCLOUD Cloud Recording SDK is designed for developers building real-time video streaming applications. It offers a robust set of features to streamline cloud-based recording to record streaming video:
- Multiple Format Support
Recordings can be exported in MP4, AAC, and H.264, ensuring compatibility with any playback system. - High-Quality Video and Audio
The SDK captures streams in HD with synchronized audio and video for professional-grade output. - Real-Time Video Processing
Apply watermarks, overlays, or metadata while recording without needing post-processing. - Cloud Storage Integration
All recordings are automatically saved to the cloud, making them easy to manage, access, or distribute. - Flexible Customization
Developers can control recording quality, duration, layout, and metadata via API parameters.
How to Start Recording Streaming Video with ZEGOCLOUD SDK
To record streaming video with ZEGOCLOUD Cloud Recording SDK is a straightforward process. You can start by integrating the SDK into your app or website and initiating the recording by calling the relevant APIs. The SDK supports multiple video and audio formats, offers real-time video processing, and enables easy cloud storage of high-quality video content. Follow our comprehensive guide for a seamless recording experience.
Preparation
- A ZEGOCLOUD developer account – Sign up
- Integrate ZEGOCLOUD video call SDK
- Enable third-party cloud storage – Contact Technical Support
- Basic understanding of web development
Steps:
1. Start Cloud Recording
To initiate cloud recording, utilize the StartRecord method and obtain the room ID to join a particular room. Once the method is called successfully, retrieve the taskID (UID) from the response, the body proceeds.
2. Check the Recording Status
To monitor recording progress, use the DescribeRecordStatus method repeatedly. Upon successful execution, retrieve the current recording status and upload the address from the response body.
3. Modify Mixed-Stream Layout
Update mixed stream layout during video recording by repeatedly implementing the UpdateLayout method. Find more details on modifying stream mixing layout under the Set Stream Mixing Layout feature.
4. Update the Whiteboard
Update Whiteboard ID while recording by repeatedly using the UpdateWhiteboard method. Refer to the Whiteboard Recording feature for more details.
5. Stop Cloud Recording
Terminate cloud recording by executing the StopRecord method.
6. Managing Recorded Files
Follow the steps below to manage your recorded files in the ZEGOCLOUD Cloud Recording SDK.
Upload recorded files
Upon completion of the cloud recording task, the recorded files are uploaded to the designated third-party cloud storage. To review uploading details, utilize the DescribeRecordStatus method.
FileUrl: Provides the URL for uploaded recorded files.
Status: Reports the uploading status of the recorded files.
VideoId: Vod returns the VideoId for recorded files.
Once the recorded files are uploaded, the cloud recording triggers a callback to the specified callback URL.
Manage recorded file names
The name of the recording file contains critical data, including the StreamId start recording timestamp. For detailed information, review the OutputFileRule parameter specified in the StartRecord method.
How to Record Different Types of Streams
In the previous section, we covered some fundamental concepts of cloud recording. Now, let’s delve into the practical aspects of recording streams with ZEGOCLOUD Cloud Recording SDK. So, let’s get right into it!
1. Recording a Single Stream
Activate single-stream recording by setting the RecordMode parameter to 1 while calling the StartRecord method. Choose the required recorded file format by setting the OutputFileFormat parameter to mp4, flv, or hls.
Here’s a sample request:
{
    "RoomId": "xxxx",
    "RecordInputParams": {
        "RecordMode": 1,
        "StreamType": 3,
        "MaxIdleTime": 60
    },
    "RecordOutputParams": {
        "OutputFileFormat": "mp4",
        "OutputFolder": "record/"
    },
    "StorageParams": {
        "Vendor": 2,
        "Region": "oss-xxxx",
        "Bucket": "xxxx",
        "AccessKeyId": "xxxx",
        "AccessKeySecret": "xxxx"
    }
}
2. Mixed-stream Recording
Initiate mixed-stream recording by setting the RecordMode parameter to 2 while calling the StartRecord method. Set the OutputFileFormat parameter to mp4, flv, or hls to select the desired recorded file format.
Here’s a mixed-stream recording sample:
{
    "RoomId": "xxxx",
    "RecordInputParams": {
        "RecordMode": 2,
        "StreamType": 3,
        "MaxIdleTime": 60,
        "MixConfig": {
            "MixMode": 2,
            "MixOutputStreamId": "mix",
            "MixOutputVideoConfig": {
                    "Width": 1280,
                    "Height": 720,
                    "Fps": 15,
                    "Bitrate": 1130000
            }
        }
    },
    "RecordOutputParams": {
        "OutputFileFormat": "mp4",
        "OutputFolder": "record/"
    },
    "StorageParams": {
        "Vendor": 2,
        "Region": "oss-xxxx",
        "Bucket": "xxxx",
        "AccessKeyId": "xxxx",
        "AccessKeySecret": "xxxx"
    }
}
3. Define Mixed-Stream Layout
While calling the StartRecord method, define the MixMode parameter to set the video layout. Update the layout during mixed-stream recording by calling the UpdateLayout method.
Here’s an example request for UpdateLayout:
{
    "TaskId": "xxxx",
    "MixMode": 1,
    "MixInputList": [
        {
            "StreamId": "xxxx",
            "ViewType": 1,
            "Top": 0,
            "Left": 0,
            "Bottom": 720,
            "Right": 540,
            "Layer": 1
        },
        {
            "StreamId": "",
            "ViewType": 1,
            "Top": 0,
            "Left": 540,
            "Bottom": 360,
            "Right": 1080,
            "Layer": 1
        },
        {
            "StreamId": "",
            "ViewType": 1,
            "Top": 360,
            "Left": 540,
            "Bottom": 720,
            "Right": 1080,
            "Layer": 1
        }
    ]
}
4. Multi-sector recording (Whiteboard)
Enable whiteboard recording by setting the HasWhiteboard parameter to true while calling the StartRecord method. The Whiteboard is an array in JSON format containing whiteboard configurations, and only one whiteboard can be configured at the moment.
Example request for enabling whiteboard recording in mixed-stream recording mode:
{
    "RoomId": "xxxx",
    "RecordInputParams": {
        "RecordMode": 2,
        "StreamType": 3,
        "HasWhiteboard": true,
        "Whiteboard": [
            {
                "HorizontalRatio": 16,
                "VerticalRatio": 9,
                "Width": 1280,
                "Height": 720,
                "WhiteboardId": "0000"
            }
        ],
        "MaxIdleTime": 60,
        "MixConfig": {
            "MixMode": 3,
            "MixOutputStreamId": "mix",
            "MixOutputVideoConfig": {
                    "Width": 1280,
                    "Height": 720,
                    "Fps": 15,
                    "Bitrate": 1130000
            }
        }
    },
    "RecordOutputParams": {
        "OutputFileFormat": "mp4",
        "OutputFolder": "record/"
    },
    "StorageParams": {
        "Vendor": 2,
        "Region": "oss-xxxx",
        "Bucket": "xxxx",
        "AccessKeyId": "xxxx",
        "AccessKeySecret": "xxxx"
    }
}
5 . Capture Screenshots
To capture screenshots during single-stream recording, set the OutputFileFormat to jpg and adjust the SnapshotInterval parameter as needed in the StartRecord method. Screenshots can’t be taken in mixed-stream recording mode or for StreamType 1. Use the DescribeRecordStatus method to query task information. Captured screenshots are uploaded to your third-party cloud storage, and you’ll receive a callback notification for each completed task.
{
    "RoomId": "xxxx",
    "RecordInputParams": {
        "RecordMode": 1,
        "StreamType": 3,
        "MaxIdleTime": 60
    },
    "RecordOutputParams": {
        "OutputFileFormat": "jpg",
        "OutputFolder": "record/",
        "SnapshotInterval": 10
    },
    "StorageParams": {
        "Vendor": 2,
        "Region": "oss-xxxx",
        "Bucket": "xxxx",
        "AccessKeyId": "xxxx",
        "AccessKeySecret": "xxxx"
    }
}
Final Thoughts
With ZEGOCLOUD Cloud Recording SDK, capturing and storing high-quality streaming video content is now hassle-free. By following our simple integration guide and utilizing the robust features of the SDK, you can create a seamless and immersive video streaming recording experience for your app or website. Sign up to start recording streaming video with ZEGO Cloud Recording SDK today!
Read More:
Let’s Build APP Together
Start building with real-time video, voice & chat SDK for apps today!
