


Many people want to build applications, so they find multiple online resources to learn and practice coding. Since building Android applications is relatively simple, many developers struggle with making iOS apps. That’s because these apps are made using special software, which only works on Mac. However, there are a few workarounds; this article will explain how to build an iOS app on Windows with simple steps.
Why is iOS Development on Windows Difficult?
Building apps for iPhones is usually done on Apple devices, which makes it hard to develop an iOS app on Windows. Hence, using a Windows computer for this task can bring many challenges. Below, we will find some key reasons why this task is complex:
1. Xcode is macOS-only
Xcode, the official development environment by Apple, is strictly limited to macOS and unavailable for Windows systems. As a result, Windows users cannot directly access key tools like Interface Builder or the iOS simulator for testing. Even though alternative methods exist, the lack of native Xcode support makes iOS development far more complicated on Windows.
2. macOS Dependency for Compiling and Signing
Even if you write code on Windows, compiling and signing an iOS app still requires tools and services specific to macOS. That is because Apple’s code signing process and build tools are deeply integrated with Xcode, which only runs on macOS. Therefore, iOS app development on Windows remains incomplete, as you can’t properly package it to the Apple App Store.
3. No iOS Simulators on Windows
These are built into Xcode, which means they only work on macOS and not on any other operating system. Without them, developers have a much harder time testing their apps on different iPhone or iPad models during development. Thus, Windows users have to rely on real devices or remote services, which adds extra effort and often slows down progress.
4. Workarounds Are Limited or Costly
Although workarounds exist, they come with limitations, extra costs, or legal concerns for Windows-based iOS developers. For example, cloud Mac services require subscriptions, while Hackintosh setups are complex and not officially supported by Apple. Even cross-platform tools like Flutter still need macOS at some stage, making it challenging to make iOS apps on Windows.
5. Apple’s Developer Policies
Apple’s strict developer policies are designed to keep app development within its controlled and secure macOS ecosystem. Consequently, they limit key tools like Xcode and macOS simulators, excluding Windows completely. Therefore, developers using Windows face obstacles not because of technical issues but due to Apple’s deliberate platform restrictions.
How to Develop iOS Apps on Windows
You need to follow a few workarounds to develop and launch applications for iOS devices on a Windows desktop. To guide you through the process, here are the steps for developing iOS apps on Windows:
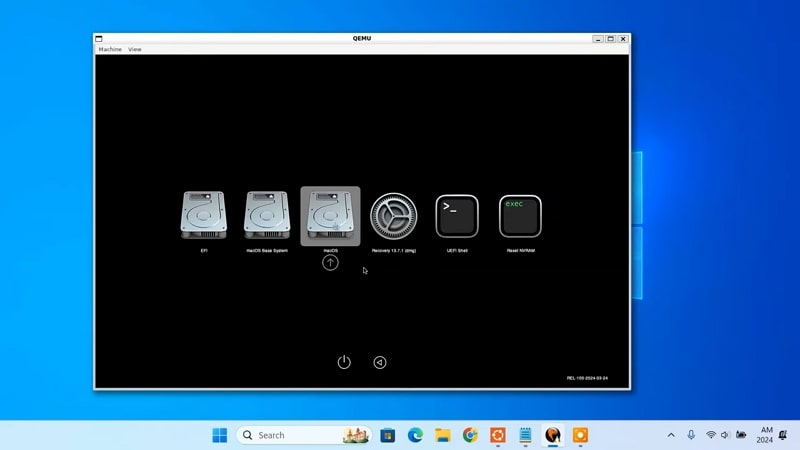
Step 1. Set Up a macOS Environment
The first step is to install a virtual machine on your desktop that can run macOS software. As a suggestion, you can use VirtualBox, as it can help you do this. With this tool, you can copy the new operating system onto your device without changing anything. While these tools can help with installation, you must download a legal macOS file, which can be a bit tricky to find.
Once you install the new system using a virtual machine, your computer can pretend to be a Mac. Afterward, you can install Xcode, which will allow you to use the same tools that developers use to create iOS applications on Windows.
Step 2. Do Market Research Before Coding
Before you develop an iOS app on Windows, make sure your idea solves a problem that exists in the market. Therefore, properly confirm if people need the app or if similar apps are already available. One good way to confirm that is by reading user reviews or checking forums online.
Once you confirm your app idea is valuable, write down key features and problems it solves. This research will help you avoid wasting time and money on the wrong concept. Furthermore, it guides your design and feature decisions later.
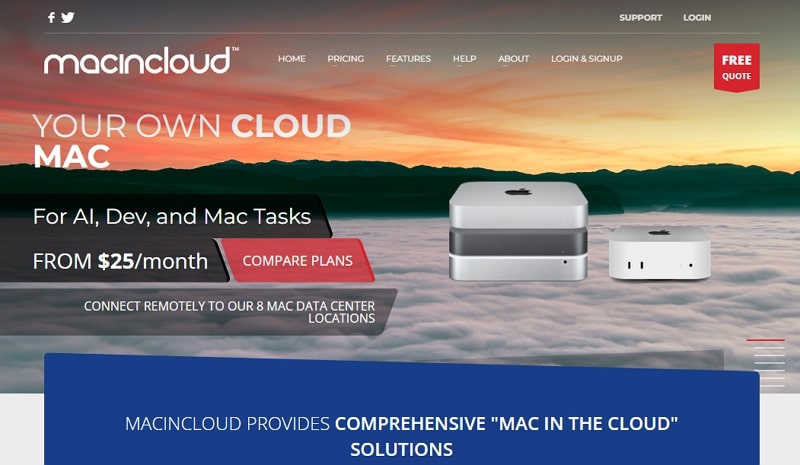
Step 3. Use a Cloud Mac Service
You can use cloud Mac services instead if your computer can’t run its operating system on your device. These are online platforms that are designed to help people access a real Apple device remotely. While many options exist, MacInCloud is a recommended option as it eliminates the need for installing a separate program.
Since it allows remote access, you can log in to these online resources and use Xcode to do iOS development with Windows from anywhere. Thus, they’re a great option when installing a dedicated program is not an option or the local setup is too slow. Furthermore, these services are helpful for teams building apps using Windows machines in shared environments.
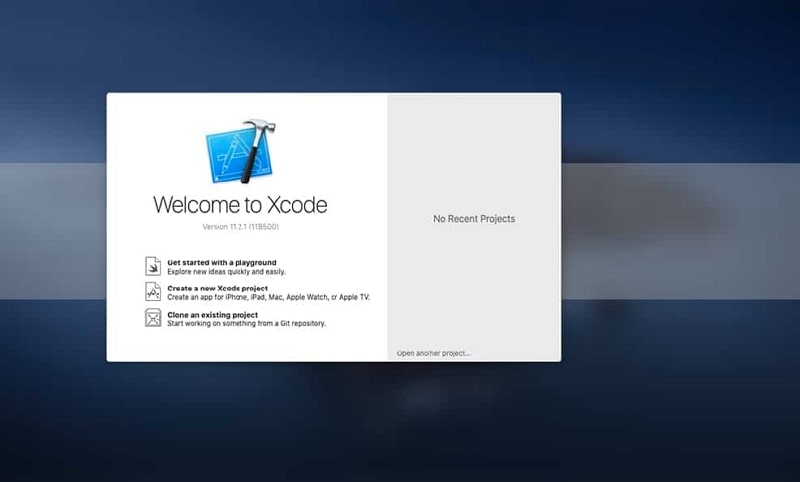
Step 4. Install Xcode on macOS
As it is the second most important in this whole process, you need to install Xcode on the machine. So, go to the App Store and download this coding program since it is the primary coding platform for all of Apple’s applications. With this program, you will get a code editor and device simulator, in addition to tools to upload your app to the App Store.
Additionally, the coding platform provides updates that are important for iOS app development on Windows via virtual Macs. Another suggestion is always to keep it updated to avoid bugs, so the application runs smoothly on real phones when tested later.
Step 5. Learn Swift or Objective-C
iOS apps are built using Swift or Objective-C, but the former is easier for beginners to learn. Thus, start by reading the company’s Swift guide or watching tutorials online. After that, try simple coding tasks like making buttons or displaying text.
You don’t need to be an expert at first, but you should learn the basics. Since these languages work only inside macOS with Xcode, testing while learning is essential. Over time, you will become more confident in developing iOS apps on Windows using these tools.
Step 6. Work with React Native
React Native is a famous framework to build iOS apps on Windows using JS and works with a single codebase, saving time and effort. You can use it to build web apps or hybrid mobile apps without switching platforms.
As it is open-source and supports many third-party libraries, it provides added features and flexibility. To use it on Windows, you can use a tool like Expo, which simulates different devices and lets you test your app’s design and functions without leaving the system.
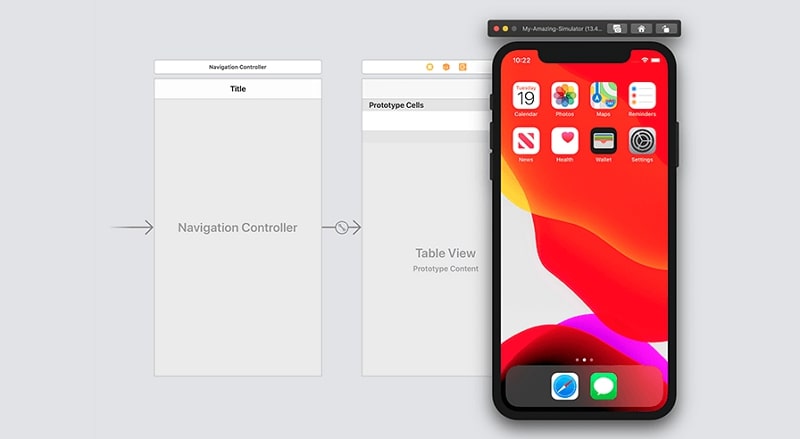
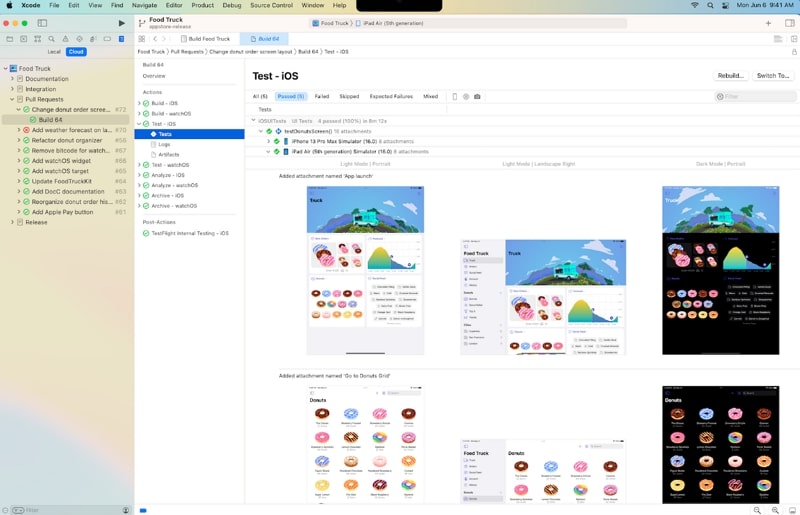
Step 7. Test the App on a Simulator
Once you write some code in Xcode, use the built-in simulator in the coding tool to test the app on fake iPhones. Doing so allows you to check how the newly built application behaves without using a real device yet. In this way, the simulator helps catch problems and bugs early and saves time.
When testing, make sure you check all the buttons and settings of your app to ensure they work fine. It’s beneficial for iOS development with Windows since you can’t easily connect to a physical iPhone. Once you are sure the app is good to go, you can move to real device testing if needed.
Step 8. Join the Apple Developer Program
Before you are allowed to test your application on an iPhone, you will have to join Apple’s Developer Program. The program costs around $99 per year and gives access to all the developer tools and resources you will need for testing. Once you join, you can upload your app after testing it and even submit it to the App Store once the issue is resolved.
With this program, you’ll also get early access to iOS updates and better support from Apple. That’s why signing up is important when you want to make iOS app on Windows seriously. You also get additional benefits like better management of user data and privacy, as well as correct distribution of it.
Step 9. Connect a Real iPhone for Testing
Once the app is ready, test it on an actual iPhone to check if it works the way you intend it to work. This is an important step while developing iOS apps on Windows with the help of a Mac setup. Additionally, doing so will help you understand its speed and battery performance to see if it is properly optimized. The simplest way to do so is by linking your iOS device to macOS using a cable.
In addition to a wired connection, Xcode can access your device wirelessly to install apps on it. For this, you will still need to connect the phone to the Mac using a wired connection for a few steps. After connecting, Xcode will allow you to install the app directly onto the connected phone.
Step 10. Submit Your App to the App Store
Your application is ready to be submitted to the Apple App Store for public use once you have tested and fixed all problems. You will need to fill in details like the app name, icon, and description to make it attractive for users. Next, upload screenshots while using the app and follow Apple’s rules to pass the review.
Once approved, your newly built application will be live for iPhone users to download. So, with this final step, you have successfully completed your goal to build iOS app on Windows platforms using smart tricks.

Add Video Chat to iOS Apps on Windows Using ZEGOCLOUD
Since building an application without coding experience is not an option for most people, there are platforms that provide built-in components and make the process easier. Out of all the options, ZEGOCLOUD takes the lead with its advanced APIs and SDKs that are especially efficient in creating video chat applications for iOS devices. The Video Call SDK from ZEGOCLOUD provides options to call multiple people at once with super-resolution.
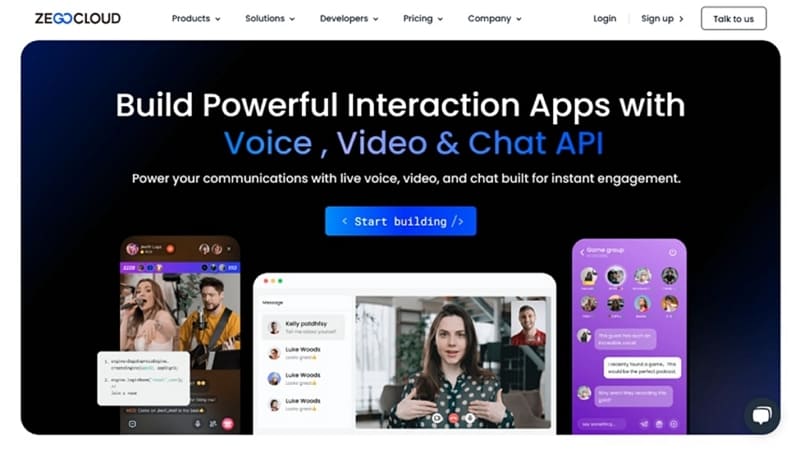
Furthermore, it lets users share their screen and its content with others, which makes it useful for professional usage. You can use its recording feature to record the calls and store them for sharing with others. The Video Call SDK also comes with face beautification filters and options to add virtual backgrounds. With all these features, it is the best option for creating any type of streaming application.
It also helps create iOS application on Windows that offers 4K video quality at an ultra-low latency of 300ms. Additionally, the app supports scalability and allows 10,000 people to join a video call at once. The platform is also compliant with GDPR and DNV regulations to ensure user data remains secure. Furthermore, you get 20+ UIKits from ZEGOCLOUD that help in creating a functional UI for your app.
Conclusion
To conclude, while the company doesn’t allow users to build iOS app on Windows, there are a few workarounds. Many online services allow you to access the macOS system on your device to help you use Xcode for creating applications. Similarly, platforms like ZEGOCLOUD offer advanced SDKs and APIs that allow you to add various video chat and streaming features to your new mobile applications.
Read more:
FAQ
Q1: Can I build an iOS app from Windows?
You can start developing an iOS app from Windows using cross-platform frameworks like Flutter, React Native, or Xamarin. However, compiling the app and submitting it to the App Store still requires access to a macOS system.
Q2: Can you emulate iOS apps on Windows?
Windows does not support native iOS emulation. To test iOS apps, you’ll need to use cloud-based services like BrowserStack or connect remotely to a Mac environment.
Q3: Can I build iOS apps without a Mac?
While you can write and design iOS apps without a Mac using cross-platform tools, you’ll still need a Mac or macOS cloud service for building, testing, and publishing the final app.
Q4: Can I build an iOS Flutter app on Windows?
You can develop a Flutter iOS project on Windows, but building and running the app for iOS requires a Mac device or access to a macOS cloud environment.
Let’s Build APP Together
Start building with real-time video, voice & chat SDK for apps today!
