


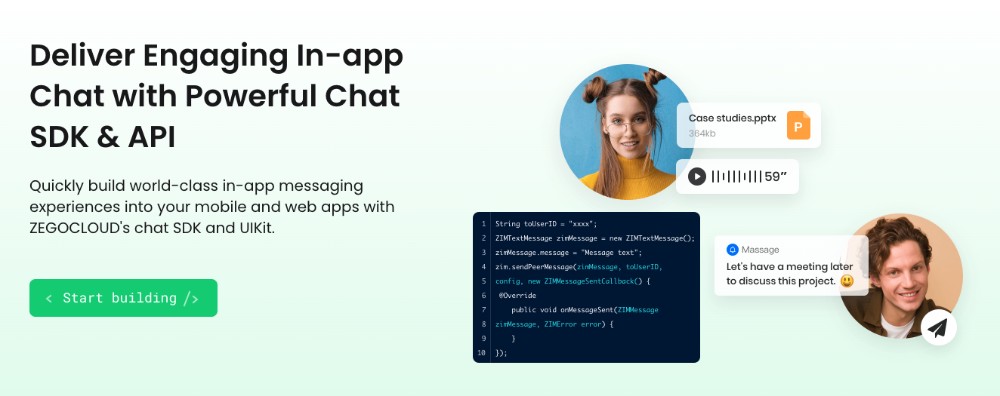
The increasing availability of smartphones makes the need for in-app chat features a trend. You find it in the chatbot ecosystem and interactive customer service interface. In this article, we will walk you through how to create a chat app using Android Studio. You can easily implement it with the help of ZEGOCLOUD’s in-app chat SDK.
Must Feature of Android Chat App
For a streamlined yet powerful Android chat app, here are 5-6 essential features to include:
- Real-Time Messaging: Ensure users can send and receive messages instantly, including text, images, videos, and voice messages.
- User Authentication: Provide secure login options via email, phone number, or social media accounts to protect user data and personalize the experience.
- End-to-End Encryption: Implement security to ensure that only the communicating users can read the messages, safeguarding against potential data breaches.
- Push Notifications: Enable alerts for new messages or updates, so users are notified even when the app is running in the background.
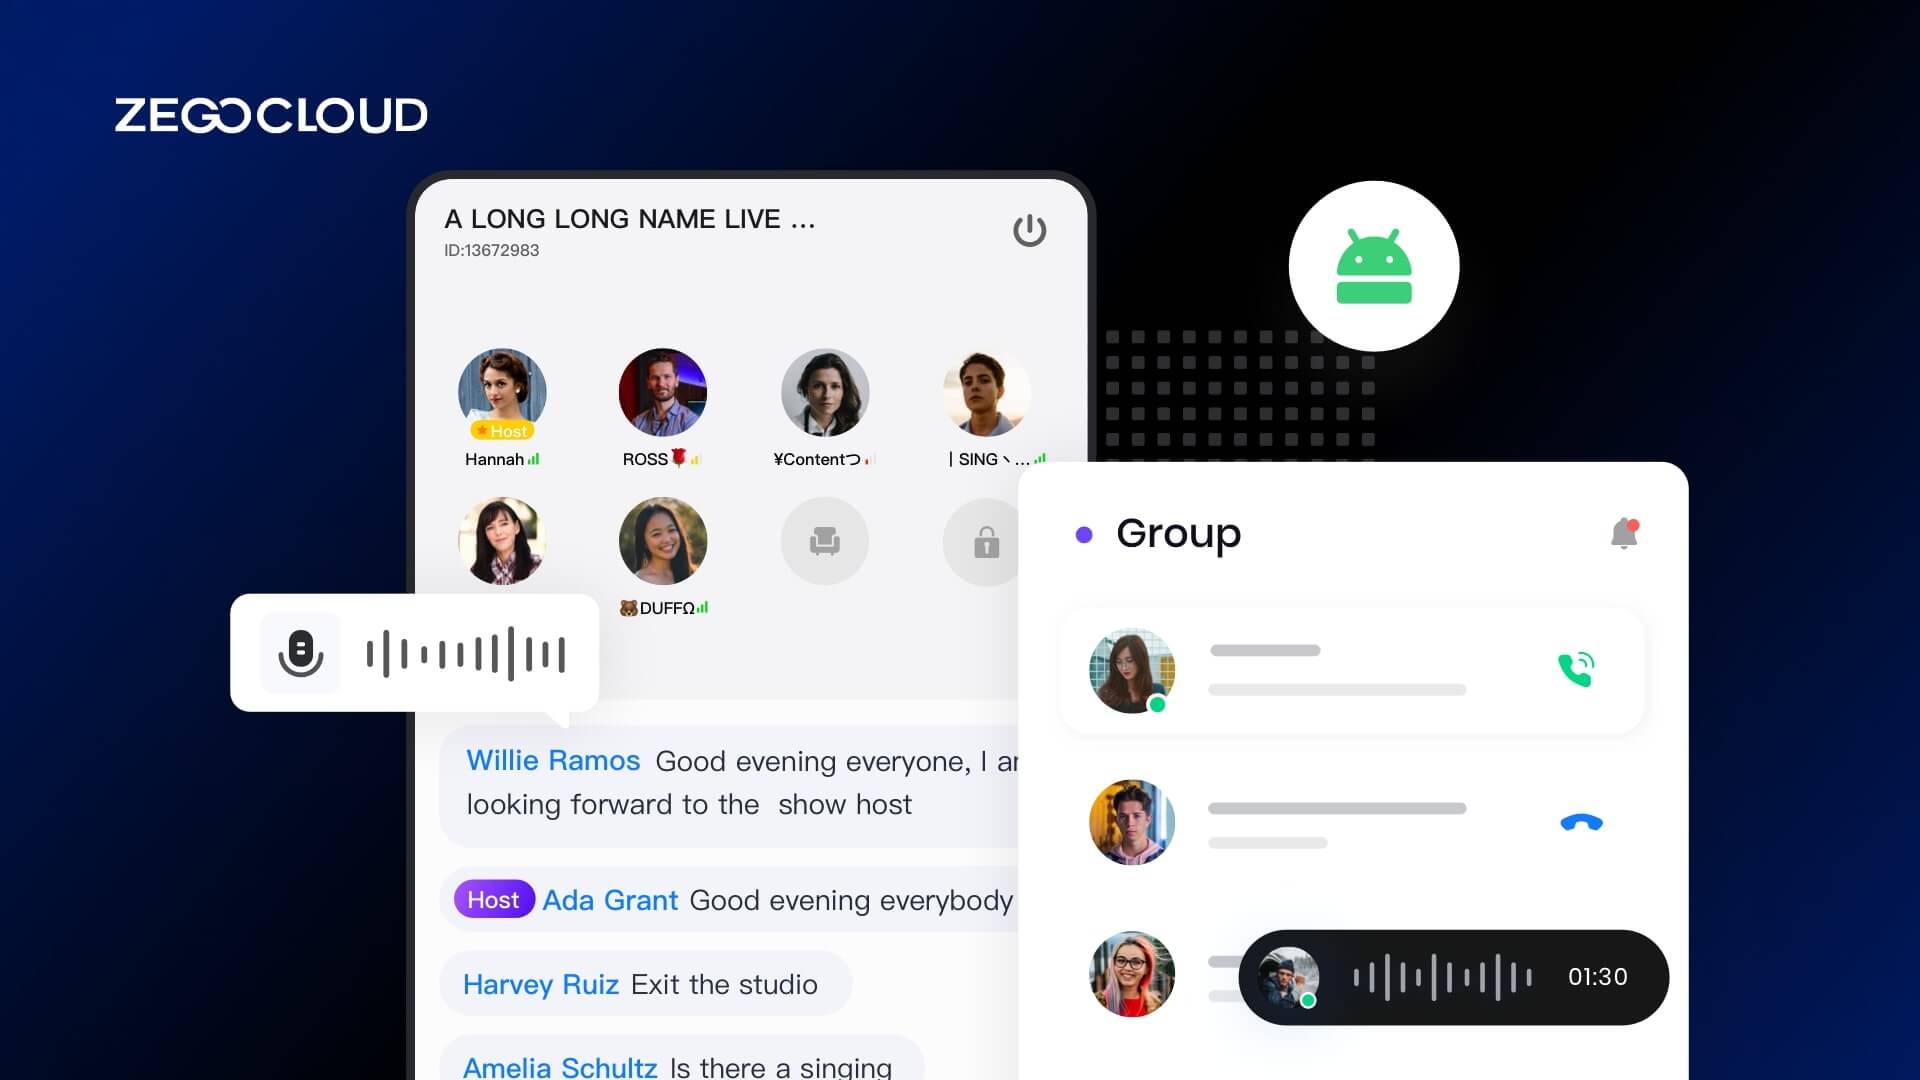
- Group Chat: Allows users to create and manage group conversations, facilitating communication with multiple people at once.
- Voice and Video Calling: Integrate real-time voice and video communication for a more interactive user experience.
How to Make A Chat App for Android
ZEGOCLOUD provides a high-reliability, concurrency, and ultra-low latency communication channel for interactive messaging. Real-time messaging scenarios such as large-scale live streaming, live audio rooms, an online customer service system, and more can be quickly implemented in minutes!
There are many reasons why you should use an in-app chat SDK when building chat apps for Android that require live chat functionality. Below are some awesome features that the in-app chat SDK offers:
1. Improved performance in weak networks
The in-app chat SDK is engineered to provide smooth communication and transmission of messages even in poor network conditions. Messages, for example, are reliably delivered even when network conditions result in a 90% packet loss rate. So, you don’t have to worry about handling network-related problems, as they’re handled out-of-the-box by the SDK in live chat for Android apps.
2. Message deliverability
This is one of the most powerful features in ZEGOCLOUD’s in-app chat SDK. With this SDK, you can set message priorities. So setting message deliverability priority to high will ensure that you never leave any important message hanging.
3. Global reach with ultra-low latency
ZEGOCLOUD’s real-time communications network has coverage in over 200 countries and regions. With an excellent global network scheduling strategy, it delivers real-time messages to users with ultra-low latency of as low as 200 ms.
4. Massive concurrency
ZEGOCLOUD’s in-app chat can easily handle hundreds of millions of concurrent messages, meeting the needs of large-scale and highly demanding live communication events.
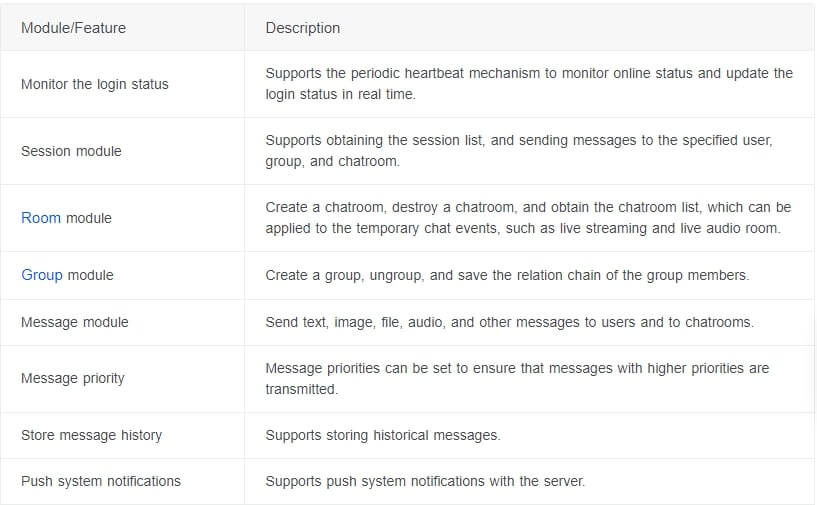
The image below shows the module features in the In-App Chat SDK and what they do:

Preparation
- A ZEGOCLOUD developer account — Sign up
- Create a project, get the AppID, and get the AppSign.
- Android Studio 2.1 or later.
- an Android device or emulator with video and audio support.
- Basic knowledge of Android app development
Steps for SDK Integration for Android Chat App
So far, we have covered what the in-app chat SDK is and how it can help us easily build chat functionality into our app. In this section, we’ll learn how to create a chat app using Android Studio and the In-App Chat SDK.
Follow the steps below to integrate the In-App Chat SDK into your project:
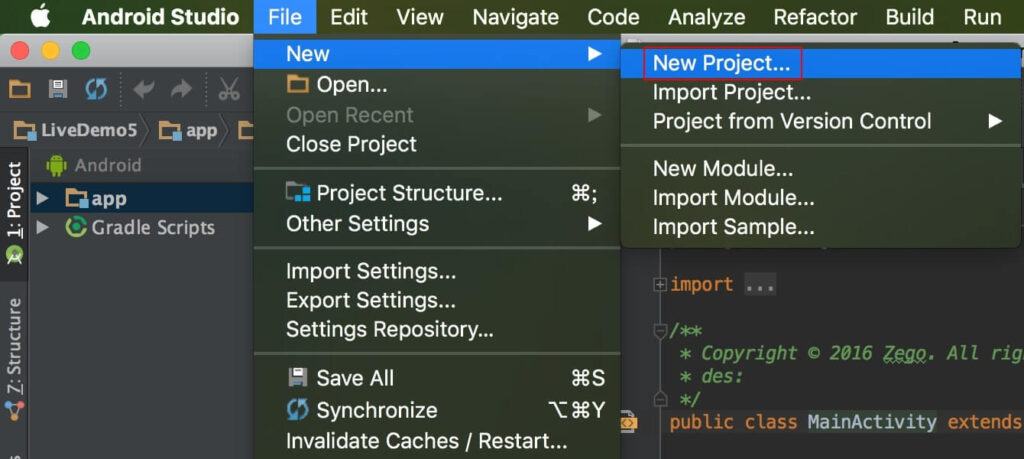
Create a new project.
- Open Android Studio and select File → New → Project.
- Enter the application name and choose the project location.
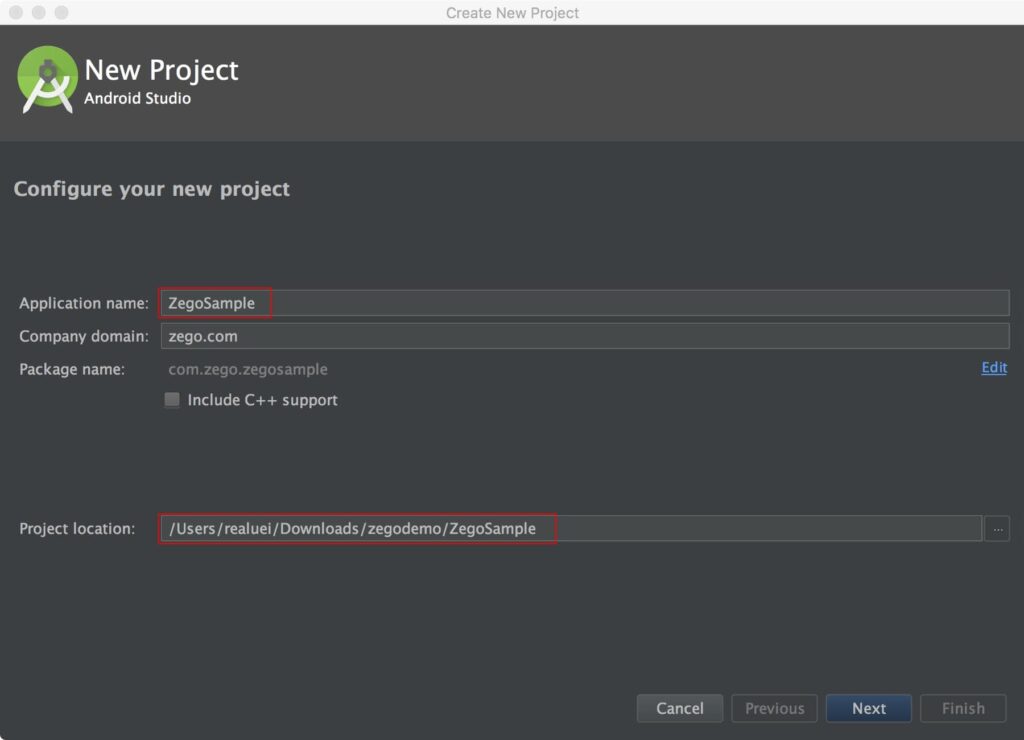
- It is advisable to leave everything else in its default settings. Click Next, and then Finish.
Import the SDK
- Download the latest version of the SDK from SDK downloads.
- Extract SDK files into your project directory, for example, app/libs.
- Open and modify
app/build.gradleby adding the following content:
Put the ndk node inside the default config node to specify the supported APIs.
ndk {
abiFilters 'armeabi-v7a', 'arm64-v8a', 'x86_64', 'x86'
}
Add the sourceSets node inside the android node to specify the directory containing the SDK files.
sourceSets {
    main {
        jniLibs.srcDirs = ['libs']
    }
}
Integrate the following code in the dependencies node:
implementation fileTree(dir: 'libs', include: ['*.jar'])Adding permissions
We need permission to access some resources from the Android operating system. For instance, we need permission to access the camera and microphone.
This permission can be implemented by following the steps below:
- Go to the
app/src/maindirectory, open theAndroidManifest.xmlfile, and add the following code:
<!-- Permissions required by the SDK -->
<uses-permission android:name="android.permission.ACCESS_WIFI_STATE" />
<uses-permission android:name="android.permission.INTERNET" />
<uses-permission android:name="android.permission.ACCESS_NETWORK_STATE" />- Prevent class name obfuscation by adding the following codes to
proguard-rules.pro:
-keep class **.zego.**{*;}Implementation steps
Follow the steps below to implement a basic in-app Android chat app:
Import the class file.
import im.zego.zim.ZIMCreate a ZIM SDK instance.
Creating a ZIM instance is the very first step; an instance corresponds to a user logging into the system as a client.
Assuming we have two clients, A and B, to send and receive messages from and to each other, both of them will need to call the create method with the AppID the previous prerequisite steps to develop a ZIM SDK instance of their own:
// Create a ZIM SDK object and pass the AppID, AppSign, and Application in Android.
ZIMAppConfig appConfig = new ZIMAppConfig();
appConfig.appID = 12345;
appConfig.appSign = "appSign";
zim = ZIM.create(appConfig, application);
Set an event handler object.
Before initiating the user’s login, you will need to call the setEventHandler method to implement an event handler object and customize the event callbacks so that you will be able to receive callback notifications when SDK errors occur or receive message-related callback notifications.
zim.setEventHandler(new ZIMEventHandler() {
    @Override
    public void onReceivePeerMessage(ZIM zim, ArrayList<ZIMMessage> messageList, String fromUserID) {
        // Implement the callback for receiving the one-to-one messages.
    }
});
Log in to the ZIM SDK.
For clients A and B to send and receive messages after creating the ZIM SDK instance, they must log in to the ZIM SDK.
Follow the steps below to log in to the ZIM SDK:
- Call the
ZIMUserInfomethod to create a user object. - Then, call the
loginmethod with their own user information.
// userID and userName must be within 32 bytes, and can only contain numbers, letters and the following special characters: '~', '!', '@', '#', '$', '%', '^', '&', '*', '(', ')', '_', '+', '=', '-', '`', ';', ''', ',', '.', '<', '>', '/', '\'。
ZIMUserInfo zimUserInfo = new ZIMUserInfo();
zimUserInfo.userID = userID;
zimUserInfo.userName = userName;
zim.login(zimUserInfo, new ZIMLoggedInCallback() {
    @Override
    public void onLoggedIn(ZIMError error) {
          // You can know whether the login is successful according to the ZIMError.
    }
 });
Send one-to-one messages.
After logging in to the SDK, A and B can easily send messages to each other by calling the sendPeerMessage method with client B’s userID, message content, and additional info. You can check the status of a sent message with the onMessageSent callback. In this scenario, A will send a message to B.
// Send one-to-one messages.

String toUserID = "xxxx";

ZIMTextMessage zimMessage = new ZIMTextMessage();
zimMessage.message = "Message content";

ZIMMessageSendConfig config = new ZIMMessageSendConfig();
// Set message priority. 1: Low (by default). 2: Medium. 3: High.
config.priority = ZIMMessagePriority.LOW;
// Set up the configuration of offline notification.
ZIMPushConfig pushConfig = new ZIMPushConfig();
pushConfig.title = "Offline notification title";
pushConfig.content= "Offline notification content";
pushConfig.extendedData = "Extend information of the offline notification";
config.pushConfig = pushConfig;

zim.sendPeerMessage(zimMessage, toUserID, config, new ZIMMessageSentCallback() {
    @Override
    public void onMessageSent(ZIMMessage zimMessage, ZIMError error) {
        //  You can implement the event callback for sending messages here.
    }
});
Receive one-to-one messages.
Client B can now receive the message from Client A after logging in through the callback onReceivePeerMessage which is already set in the setEventHandler method.
zim.setEventHandler(new ZIMEventHandler() {
    @Override
    public void onReceivePeerMessage(ZIM zim, ArrayList<ZIMMessage> messageList, String fromUserID) {

      for (ZIMMessage zimMessage : messageList) {
          if (zimMessage instanceof ZIMTextMessage)
          {
            ZIMTextMessage zimTextMessage = (ZIMTextMessage) zimMessage;
            Log.e(TAG, "Received message:"+ zimTextMessage.message);
          }
      }
   }
});
Log out
Logging out of the ZIM SDK is very simple; just call the logout method.
zim.logout()Destroy the ZIM SDK instance.
To destroy the ZIM SDK instance, call the destroy method.
zim.destroy();It has never been an easy ride building an Android chat app. That can be easily done with the ZIM SDK in a short time. Why reinvent the wheel when you have a robust, reliable, and full-featured SDK that can easily give you all the features you have ever needed.
Read More:
FAQ
Q1: What are the best practices for ensuring security in an Android chat app?
To ensure security in an Android chat app, use end-to-end encryption for message content, implement secure user authentication methods (e.g., OAuth2), regularly update the app to patch vulnerabilities, and store sensitive data securely with encryption.
Q2: How can I optimize the performance of an Android chat app?
Optimize performance by using efficient data structures, minimizing the use of heavy UI elements, optimizing network requests with caching strategies, and implementing lazy loading for images and media files. Regularly test and profile the app to identify and fix performance bottlenecks.
Q3: What challenges might I face when developing a group chat feature in an Android chat app?
Challenges include managing message synchronization across multiple devices, handling high volumes of simultaneous messages, ensuring data consistency, and efficiently managing the group members’ permissions and roles. Using scalable backend services and implementing robust error handling are key to overcoming these challenges.
Let’s Build APP Together
Start building with real-time video, voice & chat SDK for apps today!
