


Wondering how to make a group chat for your app or website? Whether you’re building a social networking platform or simply want to add a messaging feature to your existing app, here will make it simple. In this article, we’ll walk you through creating a group chat using ZEGOCLOUD Chat SDK to keep your users engaged and connected.
Why ZEGOCLOUD Chat SDK to Create Online Group Chat
Communication is key to any business’s success. Whether running a startup or managing a large enterprise, having a reliable and efficient chat system is essential to keep your team connected and productive. That’s where ZEGOCLOUD is a powerful solution for creating group chat apps.
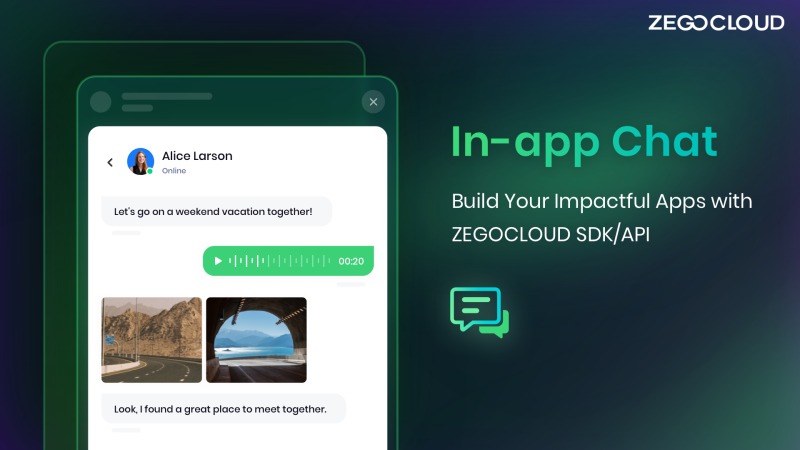
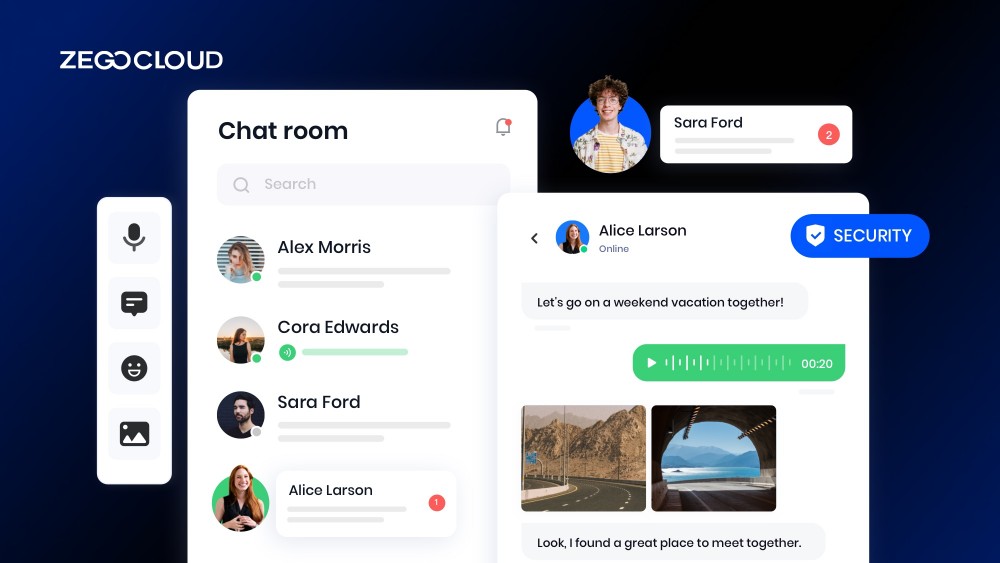
ZEGOCLOUD’s In-app Chat SDK is a powerful tool that provides developers with everything they need to create online group chat features for their app. With the help of this SDK, businesses can build a chat system from scratch or integrate chat functionality into their existing application.
Here are four features that make ZEGOCLOUD Chat SDK stand out:
1. Real-Time Chat
ZEGOCLOUD Chat SDK provides real-time chat functionality, allowing users to send messages and receive immediate responses. The SDK also supports push notifications, ensuring users never miss an important note.
2. Customizable User Interface
The SDK comes with a range of customizable UI components that developers can use to create a chat interface that matches their app’s look and feel. This feature enables businesses to create a seamless user experience that keeps users engaged.
3. Multi-Platform Support
ZEGOCLOUD Chat SDK supports multiple platforms, including Android, iOS, the web, flutter and react native. This flexibility means developers can create a seamless chat system across all devices and platforms.
4. Security
ZEGOCLOUD Chat SDK provides a secure communication channel, ensuring that all messages exchanged between users are encrypted end-to-end. This feature protects user data from unauthorized access and provides peace of mind for businesses concerned about data privacy.
How Do You Make a Group Chat with ZEGOCLOUD Chat SDK
In this section, we will explore how to add a group chat feature to your app with the ZEGOCLOUD Chat SDK. The process is simple and straightforward, and we will guide you through each step. So, let’s get started without any delay!
Preparation
- A ZEGOCLOUD developer account – Sign up
- A computer with internet connectivity
- Updated modern web browsers
- Basic knowledge of web development
Steps for How to Make a Group Chat with ZEGOCLOUD Chat SDK
Here comes the highly anticipated section of this article where we will delve into the process of creating a group chat feature using ZEGOCLOUD Chat SDK. Follow the steps outlined below to achieve this:
1. Integrate the SDK
Integrating ZEGOCLOUD’s In-chat SDK into your project is the first step to building a group chat app. You can accomplish this by following the steps below:
a. Install the required dependencies by running the command:
npm i @zegocloud/zimkit-vueb. In your project’s main.js file, import ZIMKiti18n:
import { ZIMKiti18n } from '@zegocloud/zimkit-vue';

// Add i18n to the Vue instance.
new Vue({
i18n: ZIMKiti18n,
}).$mount('#app');
2. Initialize In-app Chat SDK and login
Creating an instance of the Chat Kit and initializing the SDK using the init method is essential to using ZEGOCLOUD’s In-app Chat UI components. Follow the steps below to do so:
<template>
    <Common></Common>
</template>
<script>
// Integrate the SDK using NPM
import { ZIMKitManager, Common } from '@zegocloud/zimkit-vue';
import '@zegocloud/zimkit-vue/index.css';

export default {
  name: 'App',
  components: {
    Common
  },
  data() {
    return {
      appConfig: {
        appID: 0,        // The AppID you get from ZEGOCLOUD Admin Console.
        serverSecret: '' // The serverSecret you get from ZEGOCLOUD Admin Console.
      },
     // The userID and userName is a strings of 1 to 32 characters.
     // Only digits, letters, and the following special characters are supported: '~', '!', '@', '#', '$', '%', '^', '&', '*', '(', ')', '_', '+', '=', '-', '`', ';', ''', ',', '.', '<', '>', '/', '\'
      userInfo: {
        // Your ID as a user.
        userID: '',
        // Your name as a user.
        userName: '',
        // The image you set as a user avatar must be a network image. e.g., https://storage.zego.im/IMKit/avatar/avatar-0.png
        userAvatarUrl: ''
      },
    }
  },
  async created() {
    const zimKit = new ZIMKitManager();
    const token = zimKit.generateKitTokenForTest(this.appConfig.appID, this.appConfig.serverSecret, this.userInfo.userID);
    await zimKit.init(this.appConfig.appID);
    await zimKit.connectUser(this.userInfo, token);
  }
}
</script>
3. Start a one-on-one chat
Before initiating a one-on-one or group chat, you need to retrieve the userID of the peer user you want to chat with. Make sure that the user(s) you want to chat with have already logged in to the In-app Chat UIKit at least once; otherwise, you may face errors. Use your business logic to retrieve the userID and insert it into the code snippet below to execute the chat functionality.
createChat(userID: string) {
    ZIMKitChatListVM.getInstance().initWithConversationID(userID, ZIMKitConversationType.ZIMKitConversationTypePeer);
}
4. Start a group chat
Use your business logic to retrieve the userIDList and groupName for the users you want to add to the group chat. Fill in the corresponding parameters in the code snippet below and execute it to add the users to the group chat.
createGroupChat(groupName: string, userIDList: string[]) {
    ZIMKitManager.getInstance()
        .createGroup(groupName, userIDList)
        .then((data) => {
            const { groupInfo, errorUserList } = data;
            const { baseInfo } = groupInfo;
            if (errorUserList.length) {
                // Implement the logic for the prompt window based on your business logic when there is a non-existing user ID in the group.

            } else {
                // Directly enter the chat page when the group chat is created successfully.
                const groupID = baseInfo.groupID
                ZIMKitChatListVM.getInstance().initWithConversationID(groupID,  ZIMKitConversationType.ZIMKitConversationTypeGroup);
            }
        }).catch((error) => {
            // Implement the logic for the prompt window based on the returned error info when failing to create a group chat.
        });;
}
5. Join a group chat
Get the groupID for the group chat you want to join using your business logic. Then fill in the groupID parameter in the code snippet below and execute it to join the chat. Ensure that the group chat already exists to avoid errors.
joinGroupChat(groupID: string) {
    ZIMKitManager.getInstance()
        .joinGroup(groupID)
        .then((data) => {
            const groupID = data.groupInfo.baseInfo.groupID;
            ZIMKitChatListVM.getInstance().initWithConversationID(groupID, ZIMKitConversationType.ZIMKitConversationTypeGroup);
        });
}
Run a Demo
To experience the ZEGOCLOUD In-app Chat SDK features in real-time, you can download the sample demo to make group chat.
Conclusion
As for how to create a group chat, it is a simple and effortless process with ZEGOCLOUD Chat SDK. With its user-friendly and robust solution, users can connect and communicate with ease. By following the guidelines outlined in this tutorial, implementing a group chat feature becomes a walk in the park, and you can take your app to the next level.
Let’s Build APP Together
Start building with real-time video, voice & chat SDK for apps today!
