


WebRTC is a free, open-source project that enables web browsers with Real-time Communications (RTC) capabilities via simple JavaScript APIs. WebRTC can be used for building desktop and iOS, and Android apps. The main difference between WebRTC for desktop and mobile apps is that you need to use a third-party library for the browser on mobile devices to access the camera and microphone.
This article will explain using WebRTC to build Android and iOS applications.
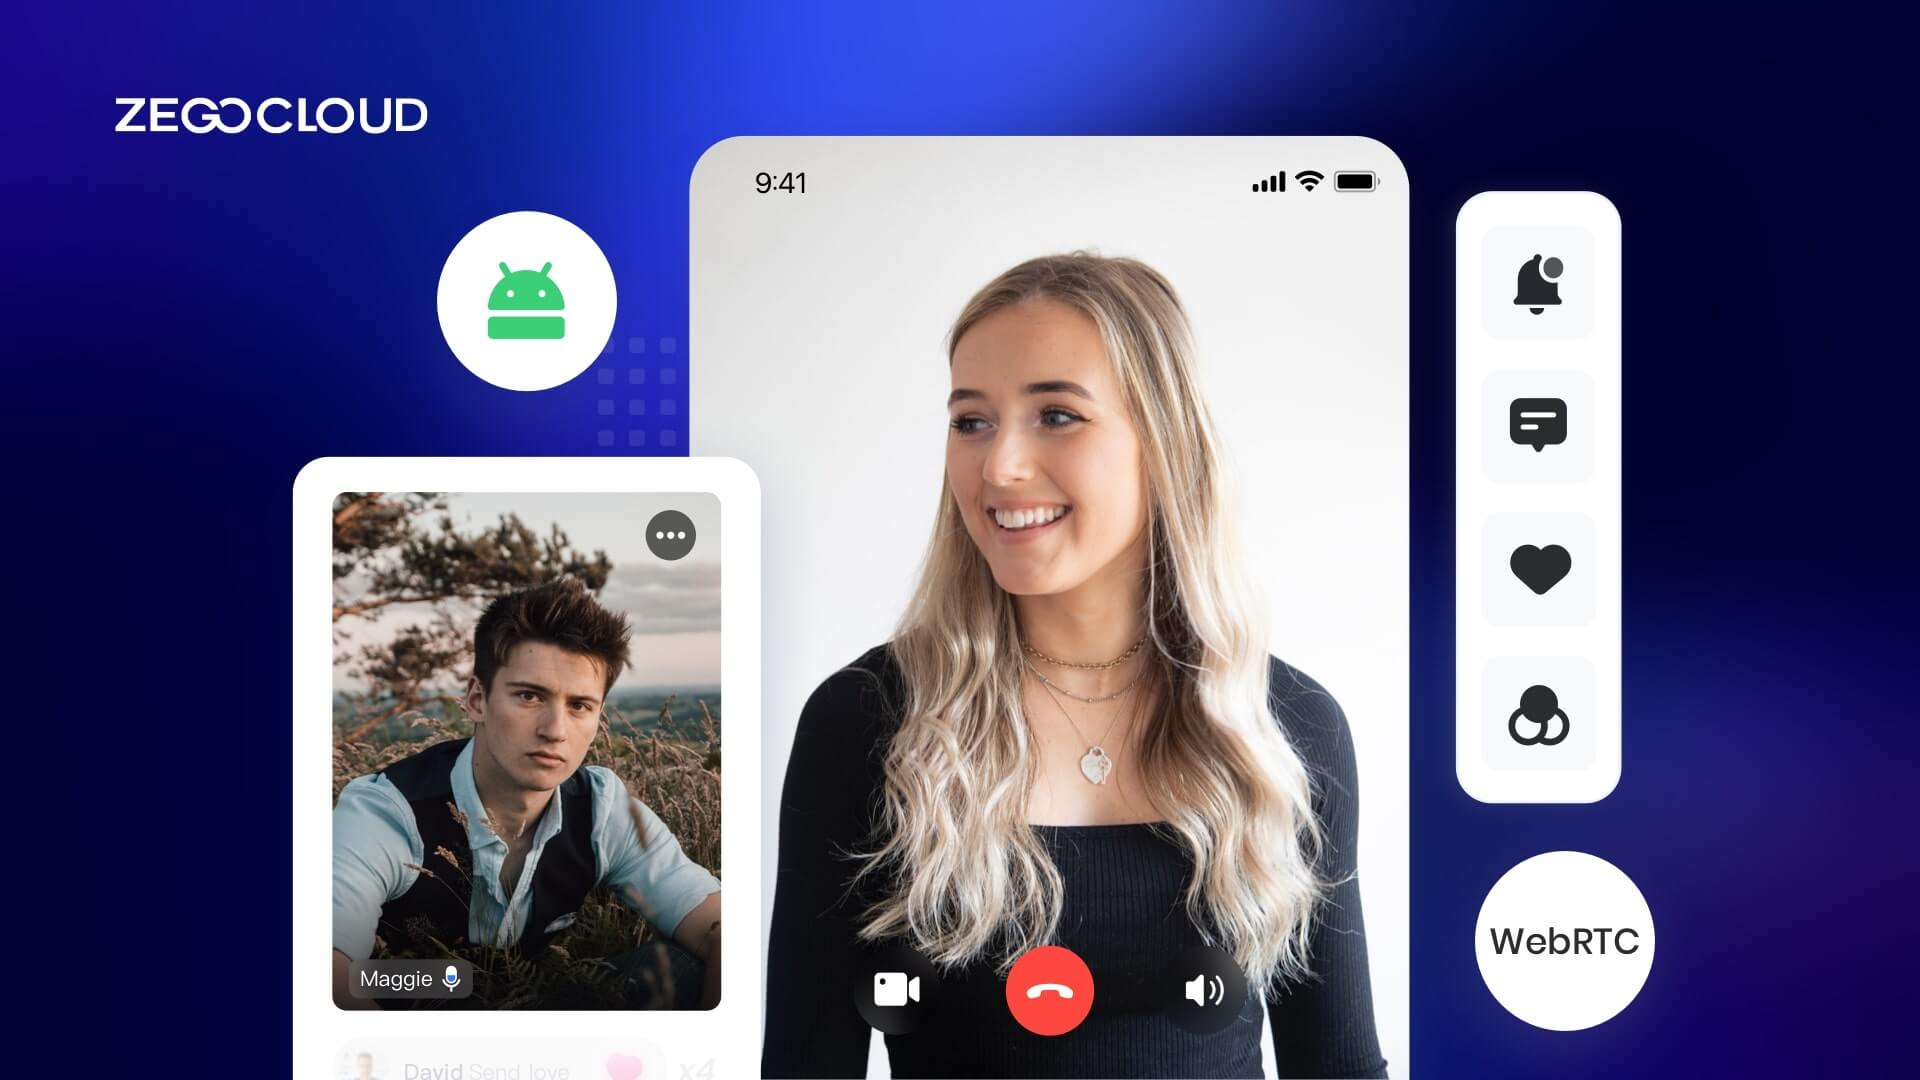
Introduction to Video Conference Kit
This article will use ZEGOCLOUD’s UIKits to explain how to quickly use WebRTC to build Android and iOS audio and video applications.
UIKits is a prebuilt feature-rich component that enables you to build video communication into your web and mobile apps in minutes.
And it includes the business logic with the UI, and you can customize various video communication features by modifying parameters.
Building Android Apps with WebRTC
Next, let’s explain how to use WebRTC on the android platform.
1. Create a project
First, you need to create a new project through Android Studio.
Open Android Studio, then choose File -> New -> New Project -> Empty Activity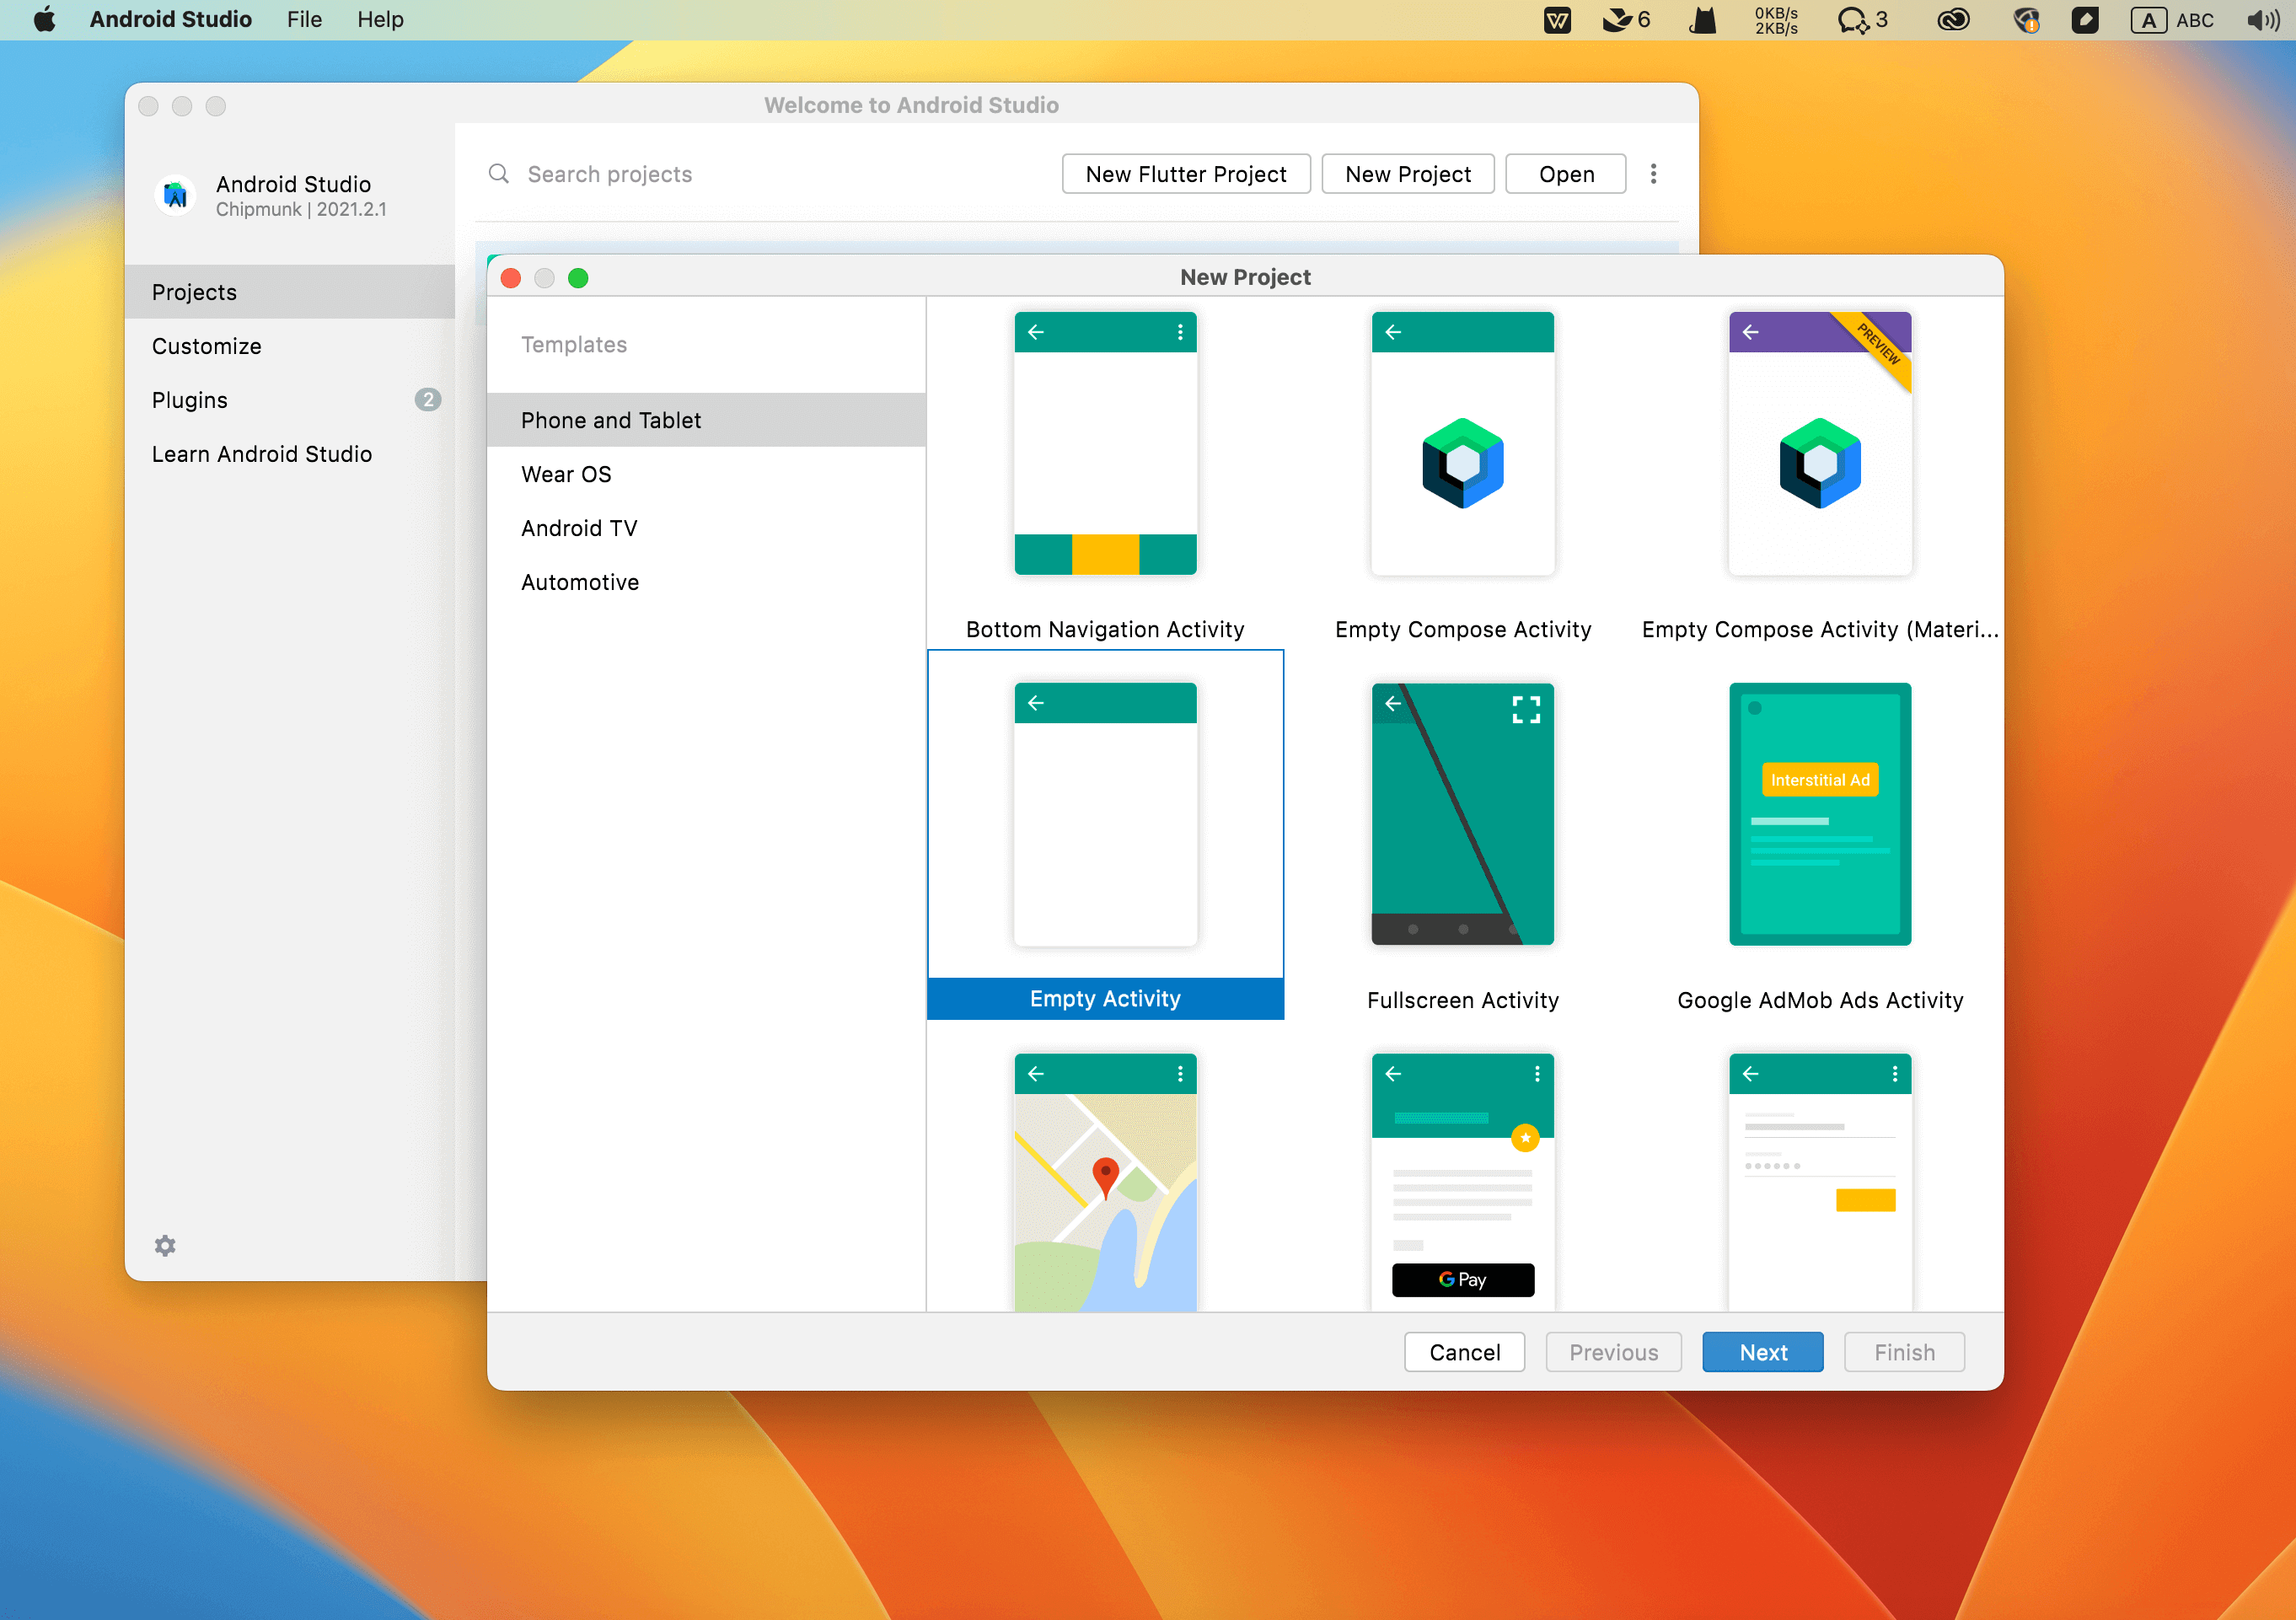
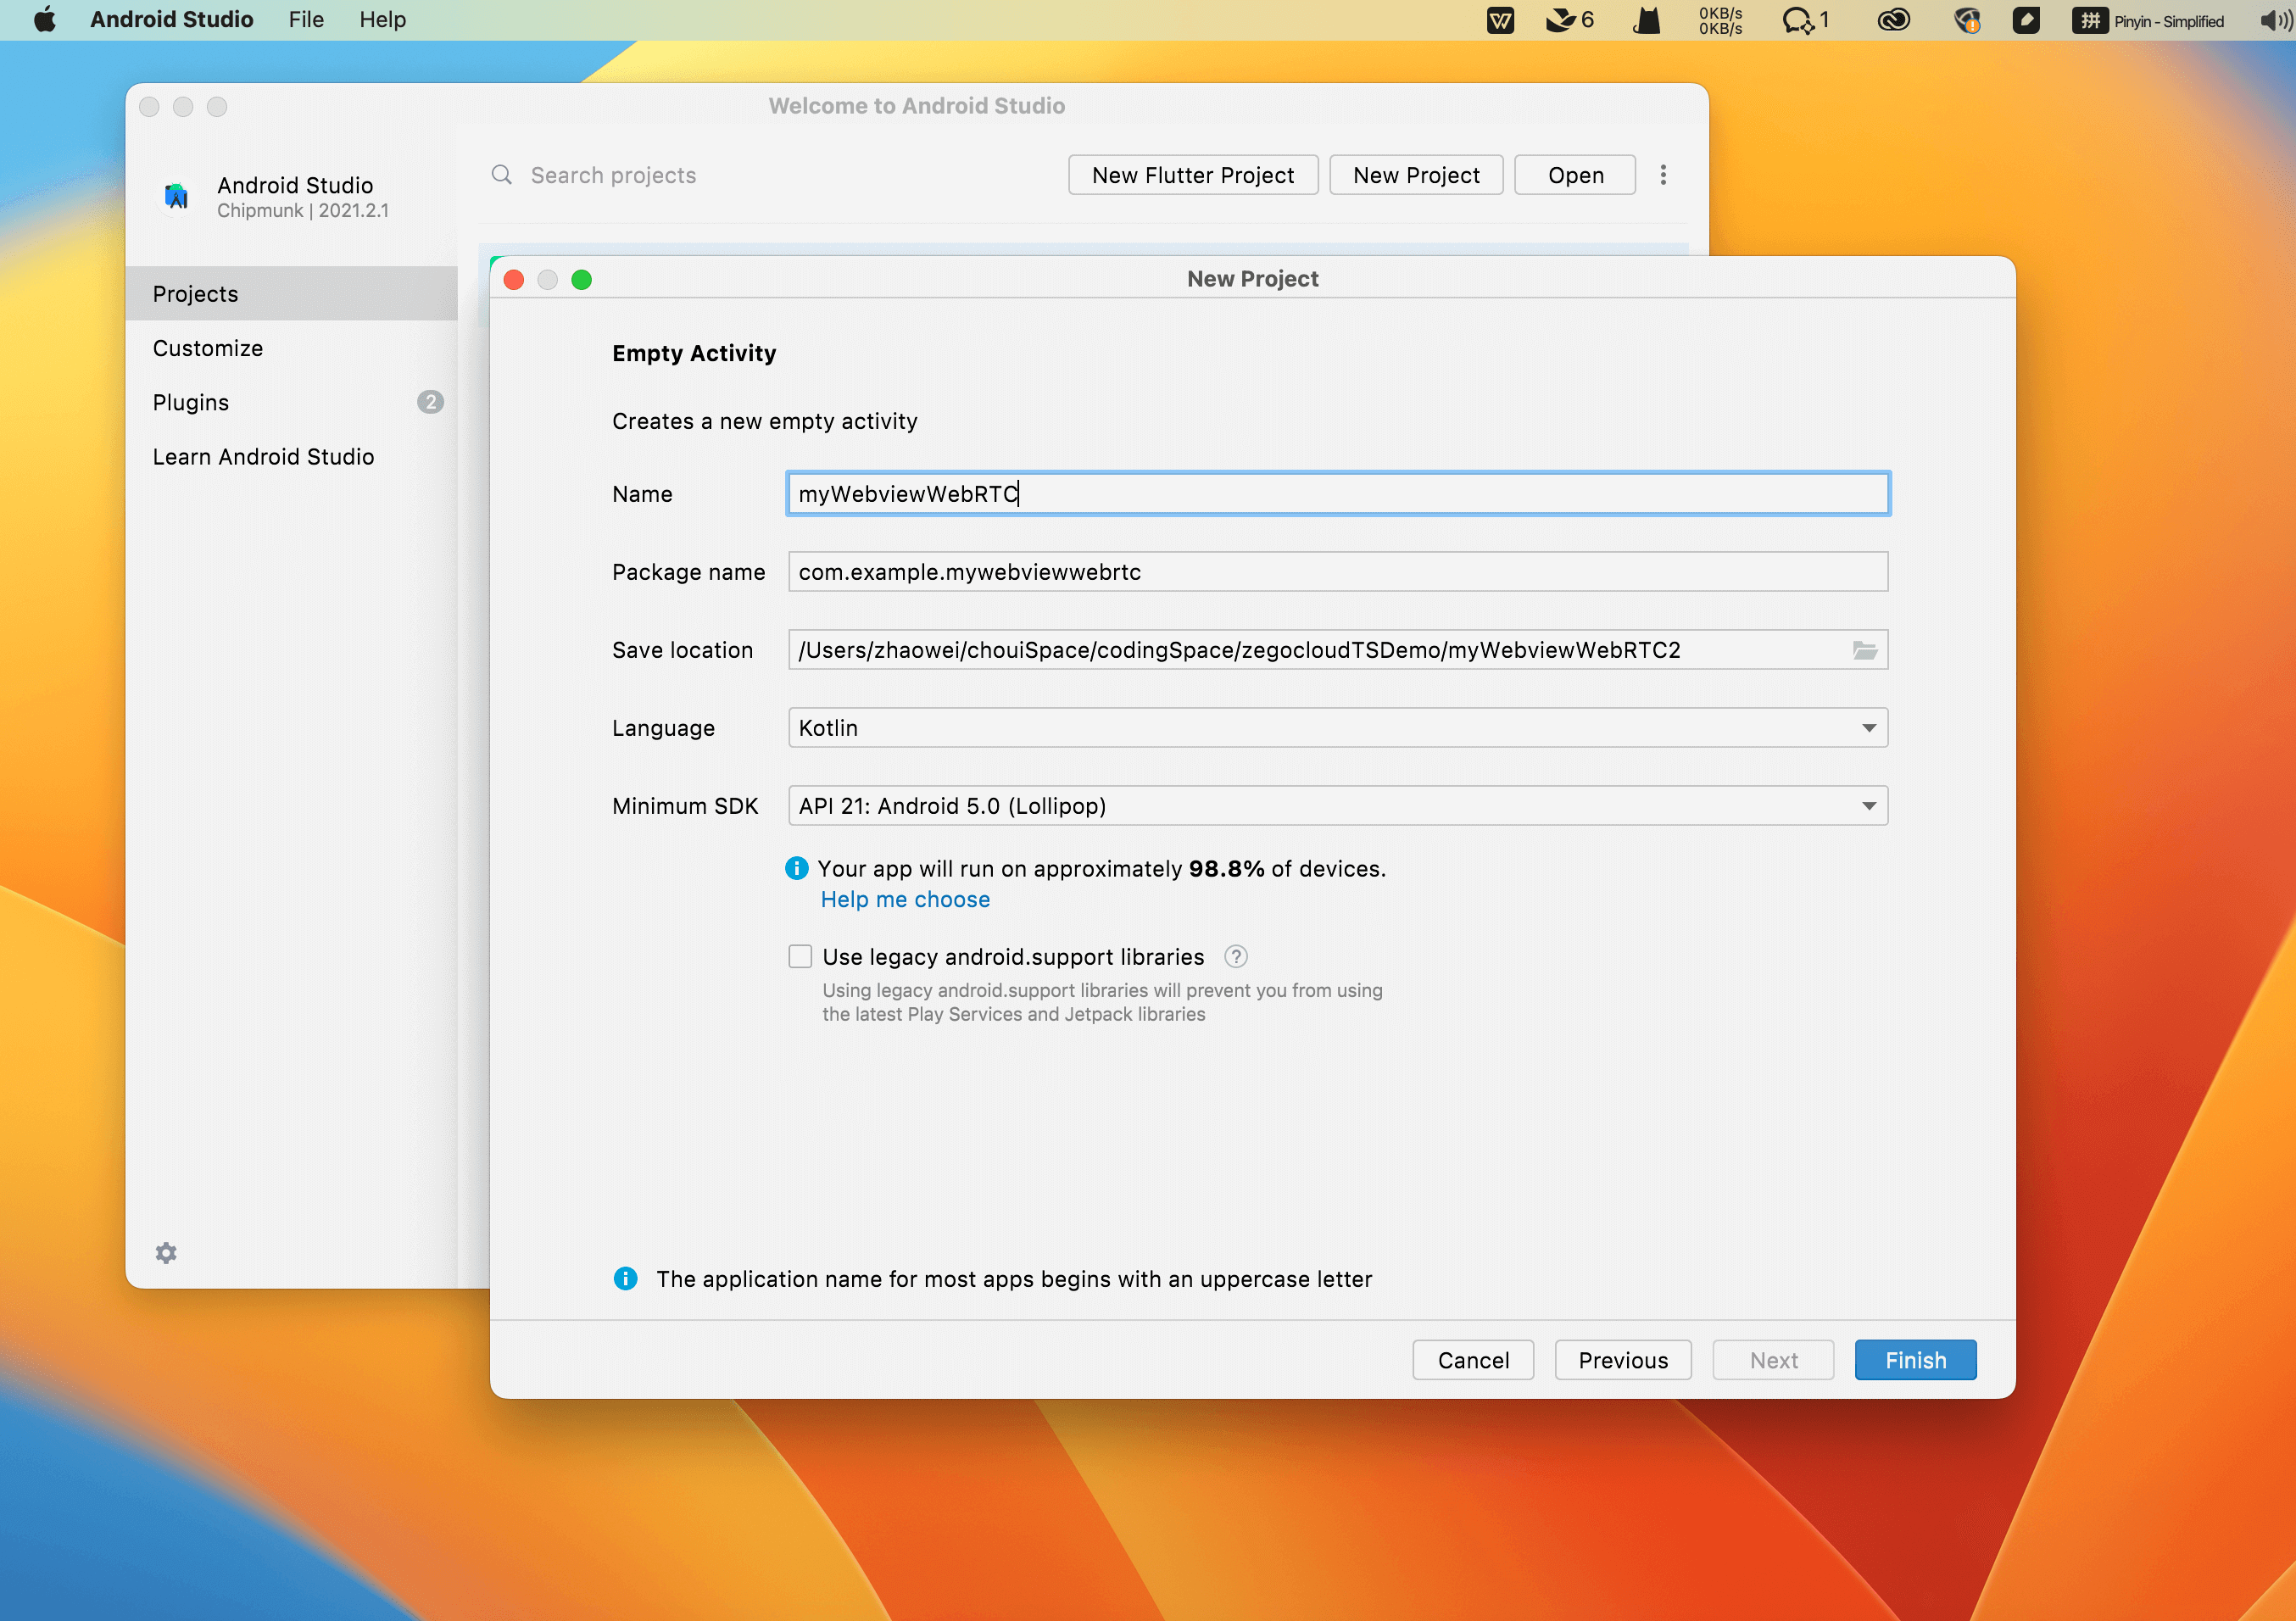
Set the project name to myWebviewWebRTCClick the Finish button to create the project.
2. Add application permission request
Before starting the function implementation, you need to add the camera, microphone, and other device permission applications in the AndroidManifest.xml file.
       <uses-permission android:name="android.permission.INTERNET" />
       <uses-permission android:name="android.permission.CAMERA" />
       <uses-permission android:name="android.permission.RECORD_AUDIO" />
       <uses-permission android:name="android.permission.MODIFY_AUDIO_SETTINGS" />
       <uses-permission android:name="android.permission.VIDEO_CAPTURE" />
       <uses-permission android:name="android.permission.AUDIO_CAPTURE" />
       <uses-permission android:name="android.permission.READ_EXTERNAL_STORAGE"/>
       <uses-permission android:name="android.permission.WRITE_EXTERNAL_STORAGE"/>
3. Add WebView to the main view
Next, you must add a WebView on the main idea to load the WebRTC program.
You need to add the following code in activity_main.xml file.
<WebView
   android:id="@+id/webview"
   android:layout_width="match_parent"
   android:layout_height="match_parent"
/>
4. Implement audio and video call function
4.1 Implement audio and video calls without the whiteboard function
Suppose your audio and video application does not need the whiteboard function. In that case, you only need to create a WebView and load the WebRTC program address to implement an Android audio and video call application.
You need to add the following code in MainActivity.kt file.
package com.example.mywebviewwebrtc

   import android.Manifest
   import android.annotation.TargetApi
   import android.app.Activity
   import android.content.Intent
   import android.content.pm.PackageManager
   import android.net.Uri
   import android.os.Build
   import android.os.Bundle
   import android.webkit.PermissionRequest
   import android.webkit.ValueCallback
   import android.webkit.WebChromeClient
   import android.webkit.WebView
   import androidx.appcompat.app.AppCompatActivity
   import androidx.core.app.ActivityCompat

   class MainActivity : AppCompatActivity() {

       override fun onCreate(savedInstanceState: Bundle?) {
           super.onCreate(savedInstanceState)
           setContentView(R.layout.activity_main)


           //Create a WebView instance and configure the permissions required by the webrtc application
           val WebView: WebView = findViewById(R.id.webview)
           WebView.settings.javaScriptEnabled = true
           WebView.settings.domStorageEnabled = true
           WebView.settings.allowFileAccess = true
           WebView.settings.allowContentAccess = true
           WebView.setWebChromeClient(object : WebChromeClient() {
               override fun onPermissionRequest(request: PermissionRequest) {
                   request.grant(request.resources)
               }
           })

          // Load webrtc application address
   WebView.loadUrl("https://zegocloud.github.io/zego_uikit_prebuilt_web/video_conference/index.html")

           // Check if the user has authorized the necessary permissions
           if (!isPermissionGranted()) {
               askPermissions()
           }
       }

       private val permission = arrayOf(
           Manifest.permission.CAMERA,
           Manifest.permission.RECORD_AUDIO,
           Manifest.permission.MODIFY_AUDIO_SETTINGS)

       private val requestCode = 1

       private fun isPermissionGranted(): Boolean {
           permission.forEach {
               if (ActivityCompat.checkSelfPermission(this, it) != PackageManager.PERMISSION_GRANTED)
                   return false
           }

           return true
       }

       private fun askPermissions() {
           ActivityCompat.requestPermissions(this, permission, requestCode)
       }
   }
4.2 Implement audio and video calls with whiteboard function
Suppose you need to use the whiteboard function. In that case, you not only need to load the WebRTC application but also need to implement the selection and upload part of the whiteboard illustration.
You need to add the following code in MainActivity.kt file.
package com.example.mywebviewwebrtc
import android.Manifest
import android.annotation.TargetApi
import android.app.Activity
import android.content.Intent
import android.content.pm.PackageManager
import android.net.Uri
import android.os.Build
import android.os.Bundle
import android.webkit.PermissionRequest
import android.webkit.ValueCallback
import android.webkit.WebChromeClient
import android.webkit.WebView
import androidx.appcompat.app.AppCompatActivity
import androidx.core.app.ActivityCompat
class MainActivity : AppCompatActivity() {
private var mUploadMessage: ValueCallback<*>? = null
val REQUEST_SELECT_FILE = 100
private val FILECHOOSER_RESULTCODE = 1
var uploadMessage: ValueCallback<Array<Uri>>? = null
override fun onCreate(savedInstanceState: Bundle?) {
super.onCreate(savedInstanceState)
setContentView(R.layout.activity_main)
val WebView: WebView = findViewById(R.id.webview)
WebView.settings.javaScriptEnabled = true
WebView.settings.domStorageEnabled = true
WebView.settings.allowFileAccess = true
WebView.settings.allowContentAccess = true
WebView.setWebChromeClient(object : WebChromeClient() {
override fun onPermissionRequest(request: PermissionRequest) {
request.grant(request.resources)
}
// For 3.0+ Devices (Start)
// onActivityResult attached before constructor
protected fun openFileChooser(uploadMsg: ValueCallback<*>, acceptType: String) {
mUploadMessage = uploadMsg
val i = Intent(Intent.ACTION_GET_CONTENT)
i.addCategory(Intent.CATEGORY_OPENABLE)
i.type = "image/*"
startActivityForResult(Intent.createChooser(i, "File Chooser"), FILECHOOSER_RESULTCODE)
}
// For Lollipop 5.0+ Devices
@TargetApi(Build.VERSION_CODES.LOLLIPOP)
override fun onShowFileChooser(mWebView: WebView, filePathCallback: ValueCallback<Array<Uri>>, fileChooserParams: FileChooserParams): Boolean {
if (uploadMessage != null) {
uploadMessage!!.onReceiveValue(null)
uploadMessage = null
}
uploadMessage = filePathCallback
val intent = fileChooserParams.createIntent()
try {
startActivityForResult(intent, REQUEST_SELECT_FILE)
} catch (e: Exception) {
uploadMessage = null
// util.showToast(this@WebLink, "Cannot Open File Chooser")
return false
}
return true
}
//For Android 4.1 only
protected fun openFileChooser(uploadMsg: ValueCallback<Uri>, acceptType: String, capture: String) {
mUploadMessage = uploadMsg
val intent = Intent(Intent.ACTION_GET_CONTENT)
intent.addCategory(Intent.CATEGORY_OPENABLE)
intent.type = "image/*"
startActivityForResult(Intent.createChooser(intent, "File Chooser"), FILECHOOSER_RESULTCODE)
}
protected fun openFileChooser(uploadMsg: ValueCallback<Uri>) {
mUploadMessage = uploadMsg
val i = Intent(Intent.ACTION_GET_CONTENT)
i.addCategory(Intent.CATEGORY_OPENABLE)
i.type = "image/*"
startActivityForResult(Intent.createChooser(i, "File Chooser"), FILECHOOSER_RESULTCODE)
}
})
WebView.loadUrl("https://zegocloud.github.io/zego_uikit_prebuilt_web/video_conference/index.html")
if (!isPermissionGranted()) {
askPermissions()
}
}
private val permission = arrayOf(
Manifest.permission.CAMERA,
Manifest.permission.RECORD_AUDIO,
Manifest.permission.MODIFY_AUDIO_SETTINGS)
private val requestCode = 1
private fun isPermissionGranted(): Boolean {
permission.forEach {
if (ActivityCompat.checkSelfPermission(this, it) != PackageManager.PERMISSION_GRANTED)
return false
}
return true
}
private fun askPermissions() {
ActivityCompat.requestPermissions(this, permission, requestCode)
}
override fun onActivityResult(requestCode: Int, resultCode: Int, intent: Intent?) {
super.onActivityResult(requestCode, resultCode, intent)
if (Build.VERSION.SDK_INT >= Build.VERSION_CODES.LOLLIPOP) {
if (requestCode == REQUEST_SELECT_FILE) {
if (uploadMessage == null) return
uploadMessage!!.onReceiveValue(
WebChromeClient.FileChooserParams.parseResult(
resultCode,
intent
)
)
uploadMessage = null
}
} else if (requestCode == FILECHOOSER_RESULTCODE) {
if (null == mUploadMessage) return
// Use MainActivity.RESULT_OK if you're implementing WebView inside Fragment
// Use RESULT_OK only if you're implementing WebView inside an Activity
val result =
if (intent == null || resultCode != Activity.RESULT_OK) null else intent.data
mUploadMessage!!.onReceiveValue(result as Nothing?)
mUploadMessage = null
}
}
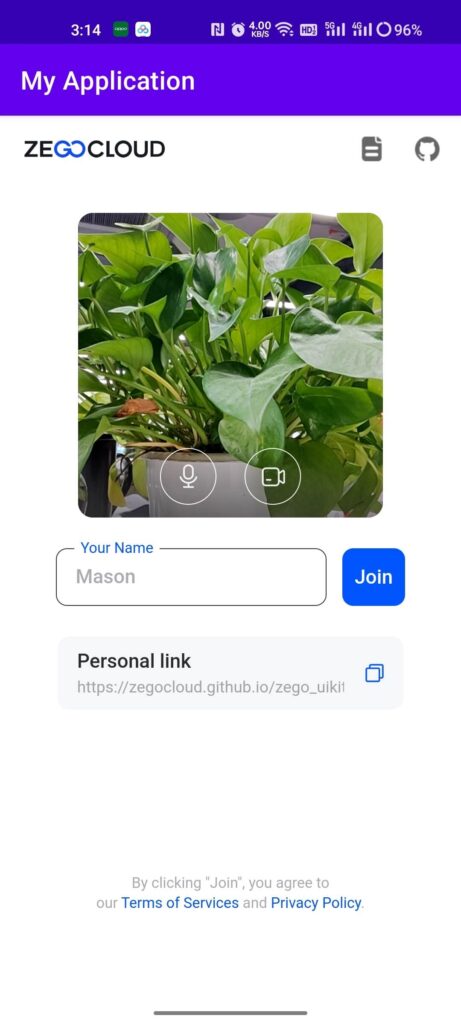
}5. Run a demo
Next, you can run the project and experience your audio and video applications on the Android side.
Downloading a sample code, you can also learn how to use WebRTC on Android.
Conclusion
WebRTC is a great new technology that allows developers to build and run android apps without additional software or hardware. The only requirement is an internet connection.
It’s becoming more popular with app developers as it can save them a lot of time and money.
Let’s Build APP Together
Start building with real-time video, voice & chat SDK for apps today!
