Message component
The message component of the In-app Chat Kit provides the message list and message transmission features.
- Message list: Allow you to view the message history of a chat.
- Message transmission: Allow you to send or receive one-to-one messages and group messages.

Integrate the message component into your project
Prerequisites
Integrate the In-app Chat Kit SDK into your project (finished the initialization and login are required). For more information, see Quick start.
Show the message component
In-app Chat Kit allows you to integrate the message component into your Activity as an Activity or a Fragment.
- For the Activity mode, the title bar and the button for redirecting to the group management page in the upper right corner based on the type are included. For the Fragment mode, only message-related content is included.
- To redirect to the group management page, introduce the ZIMKitGroup module. Otherwise, an error is reported because the corresponding Activity cannot be found. If the group feature is available while you do not need to redirect to the group management page, modify the source code to hide the button in the upper right corner.
Directly redirect to Activity
import android.os.Bundle;

import androidx.annotation.Nullable;
import androidx.appcompat.app.AppCompatActivity;

import im.zego.zimkitcommon.enums.ZIMKitConversationType;
import im.zego.zimkitcommon.ZIMKitRouter;

public class MyZIMKitActivity extends AppCompatActivity {
    @Override
    protected void onCreate(@Nullable Bundle savedInstanceState) {
        super.onCreate(savedInstanceState);
    }

    public void buttonClick() {
        String id = ; // userId or groupId or conversationId.
        ZIMKitConversationType type = ; // ZIMKitConversationType.ZIMKitConversationTypeGroup or ZIMKitConversationType.ZIMKitConversationTypePeer
        toMessageActivity(id,type);
    }

    private void toMessageActivity(String id,ZIMKitConversationType type){
        // You can redirect to the corresponding page through the Router at the kit layer.
        ZIMKitRouter.toMessageActivity(this, id, type);
    }
}Integrate the message page into your Activity as a Fragment
You can add the message component to the activity's view hierarchy either by defining the fragment in your activity's layout file or by defining a fragment container in your activity's layout file and then programmatically adding the fragment from within your activity.
Customize features
If the default message-relevant features and behaviors don't fully meet your needs, we allow you to flexibly customize those through the config we mentioned in this section.
To customize buttons on the TitleBar, you can implement the registerMessageListListener.
For example, when you want to add a "Start a call" button on the upper right of the message list. To learn more details, see Use with the Call Kit.
// !mark
ZIMKit.registerMessageListListener(new ZIMKitMessagesListListener() {
    @Override
// !mark
    public ZIMKitHeaderBar getMessageListHeaderBar(ZIMKitMessageFragment fragment) {
        // Get the conversation ID via the fragment.getConversationID()
        // Get the conversation name via the fragment.getConversationName()
        // Get the conversation type via the fragment.getConversationType(). ZIMConversationType.PEER: one-on-one chat, ZIMConversationType.GROUP: group chat
        if (fragment != null) {
         // Add a custom title bar for a one-on-one chat.
            if (fragment.getConversationType() == ZIMConversationType.PEER) {
               // The left view of the custom title bar. If not added, the default view is displayed.
// !mark(1:10)
                CustomLeftView customLeftView = new CustomLeftView();
               // The center view of the custom title bar. If not added, the default view is displayed.
                CustomTitleView customTitleView = new CustomTitleView();
               // The right view of the custom title bar. If not added, the default view is displayed.
                CustomRighteView customRighteView = new CustomRighteView();
                ZIMKitHeaderBar headerBar = new ZIMKitHeaderBar();
                headerBar.setLeftView(customLeftView);
                headerBar.setTitleView(customTitleView);
                headerBar.setRightView(customRighteView);
                return headerBar;
            }
        }
        return null;
    }
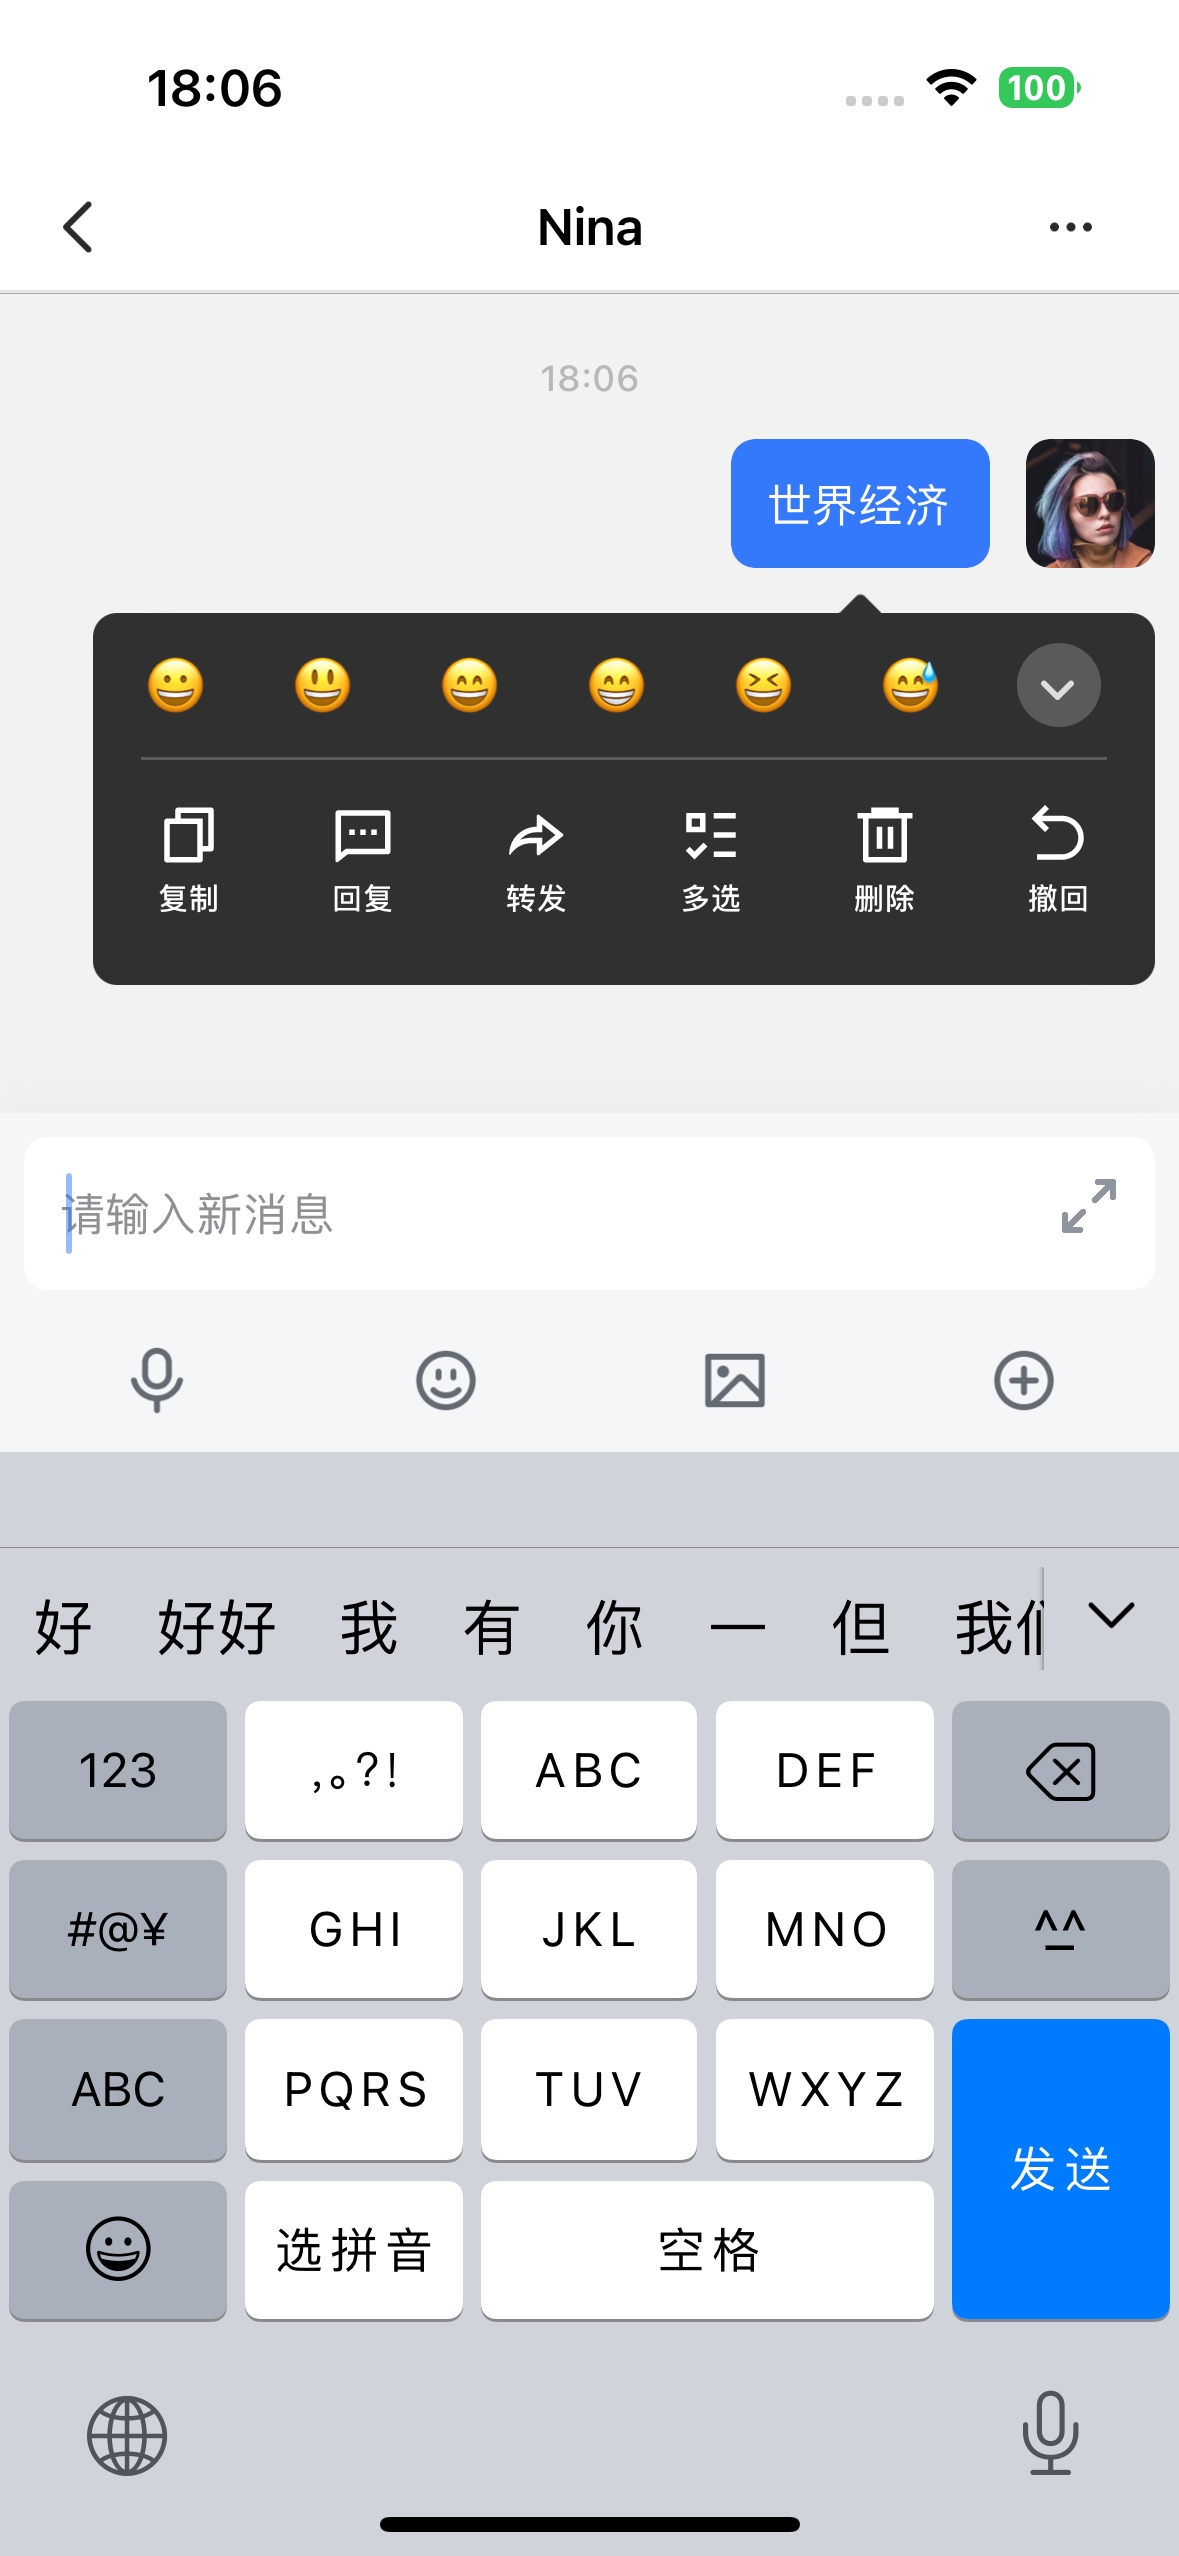
});After long-pressing a message, the interface will display a message operation menu, providing options for copying, replying, forwarding messages, and other operations. To modify this menu, you can use ZIMKitConfig.messageConfig. This configuration allows for customizing the operation menu for different message types (text, image, video, file, voice, and combined messages).

| Available Operation Types | Text Messages | Image Messages | Video Messages | File Messages | Voice Messages | Combined Messages |
|---|---|---|---|---|---|---|
| COPY | ✔️ | ✖ | ✖ | ✖ | ✖ | ✖ |
| REPLY | ✔️ | ✔️ | ✔️ | ✔️ | ✔️ | ✔️ |
| FORWARD | ✔️ | ✔️ | ✔️ | ✔️ | ✖ | ✔️ |
| MULTIPLE_CHOICE | ✔️ | ✔️ | ✔️ | ✔️ | ✔️ | ✔️ |
| DELETE | ✔️ | ✔️ | ✔️ | ✔️ | ✔️ | ✔️ |
| REVOKE | ✔️ | ✔️ | ✔️ | ✔️ | ✔️ | ✔️ |
| SPEAKER | ✖ | ✖ | ✖ | ✖ | ✔️ | ✖ |
| REACTION | ✔️ | ✔️ | ✔️ | ✔️ | ✔️ | ✔️ |
Below is the reference code:
ZIMKitConfig config = ZIMKitConfig();

// Text messages
config.messageConfig.textMessageConfig.operations = new ArrayList<>(
   Arrays.asList( ZIMKitMessageOperationName.COPY, // COPY
    ZIMKitMessageOperationName.REPLY, // REPLY
    ZIMKitMessageOperationName.FORWARD, // FORWARD
    ZIMKitMessageOperationName.MULTIPLE_CHOICE, // MULTIPLE_CHOICE
    ZIMKitMessageOperationName.DELETE, // DELETE
    ZIMKitMessageOperationName.REVOKE, // REVOKE
    ZIMKitMessageOperationName.REACTION // REACTION
    ) );

// Image messages
config.messageConfig.imageMessageConfig.operations = new ArrayList<>(
    Arrays.asList( ZIMKitMessageOperationName.REPLY,
    ZIMKitMessageOperationName.FORWARD,
    ZIMKitMessageOperationName.MULTIPLE_CHOICE,
    ZIMKitMessageOperationName.DELETE,
    ZIMKitMessageOperationName.REVOKE,
    ZIMKitMessageOperationName.REACTION
    ) );

// Video messages
config.messageConfig.videoMessageConfig.operations = new ArrayList<>(
    Arrays.asList( ZIMKitMessageOperationName.REPLY,
    ZIMKitMessageOperationName.FORWARD,
    ZIMKitMessageOperationName.MULTIPLE_CHOICE,
    ZIMKitMessageOperationName.DELETE,
    ZIMKitMessageOperationName.REVOKE,
    ZIMKitMessageOperationName.REACTION
    ) );

// File messages
config.messageConfig.fileMessageConfig.operations = new ArrayList<>(
    Arrays.asList( ZIMKitMessageOperationName.REPLY,
    ZIMKitMessageOperationName.FORWARD,
    ZIMKitMessageOperationName.MULTIPLE_CHOICE,
    ZIMKitMessageOperationName.DELETE,
    ZIMKitMessageOperationName.REVOKE,
    ZIMKitMessageOperationName.REACTION
    ) );

// Voice messages
config.messageConfig.audioMessageConfig.operations = new ArrayList<>(
    Arrays.asList( ZIMKitMessageOperationName.SPEAKER, // SPEAKER
    ZIMKitMessageOperationName.FORWARD,
    ZIMKitMessageOperationName.MULTIPLE_CHOICE,
    ZIMKitMessageOperationName.DELETE,
    ZIMKitMessageOperationName.REVOKE,
    ZIMKitMessageOperationName.REACTION
    ) );

// Combined forward messages
config.messageConfig.combineMessageConfig.operations = new ArrayList<>(
    Arrays.asList( ZIMKitMessageOperationName.REPLY,
    ZIMKitMessageOperationName.FORWARD,
    ZIMKitMessageOperationName.MULTIPLE_CHOICE,
    ZIMKitMessageOperationName.DELETE,
    ZIMKitMessageOperationName.REVOKE,
    ZIMKitMessageOperationName.REACTION
) );To customize the buttons on the bottom toolbar, you can use ZIMKitConfig.inputConfig.smallButtons and ZIMKitConfig.inputConfig.expandButtons:
smallButtons: Configure the input box quick buttons, which currently default to voice input, emojis, pictures, and extension buttons.expandButtons: Configure the input box extension buttons, which currently default to photography and file-sending buttons.
Below is the reference code:
// Add the file-sending button to the bottom toolbar as a quick button
config.inputConfig.smallButtons.add(ZIMKitInputButtonName.FILE);

// Add the picture-sending button to the bottom toolbar as an extension button
config.bottomConfig.expandButtons.add(ZIMKitInputButtonName.PICTURE);If you need to modify the default hint text of the bottom input box, you can use ZIMKitConfig.inputConfig.inputHint for configuration:
Below is the reference code:
ZIMKitConfig config = ZIMKitConfig();
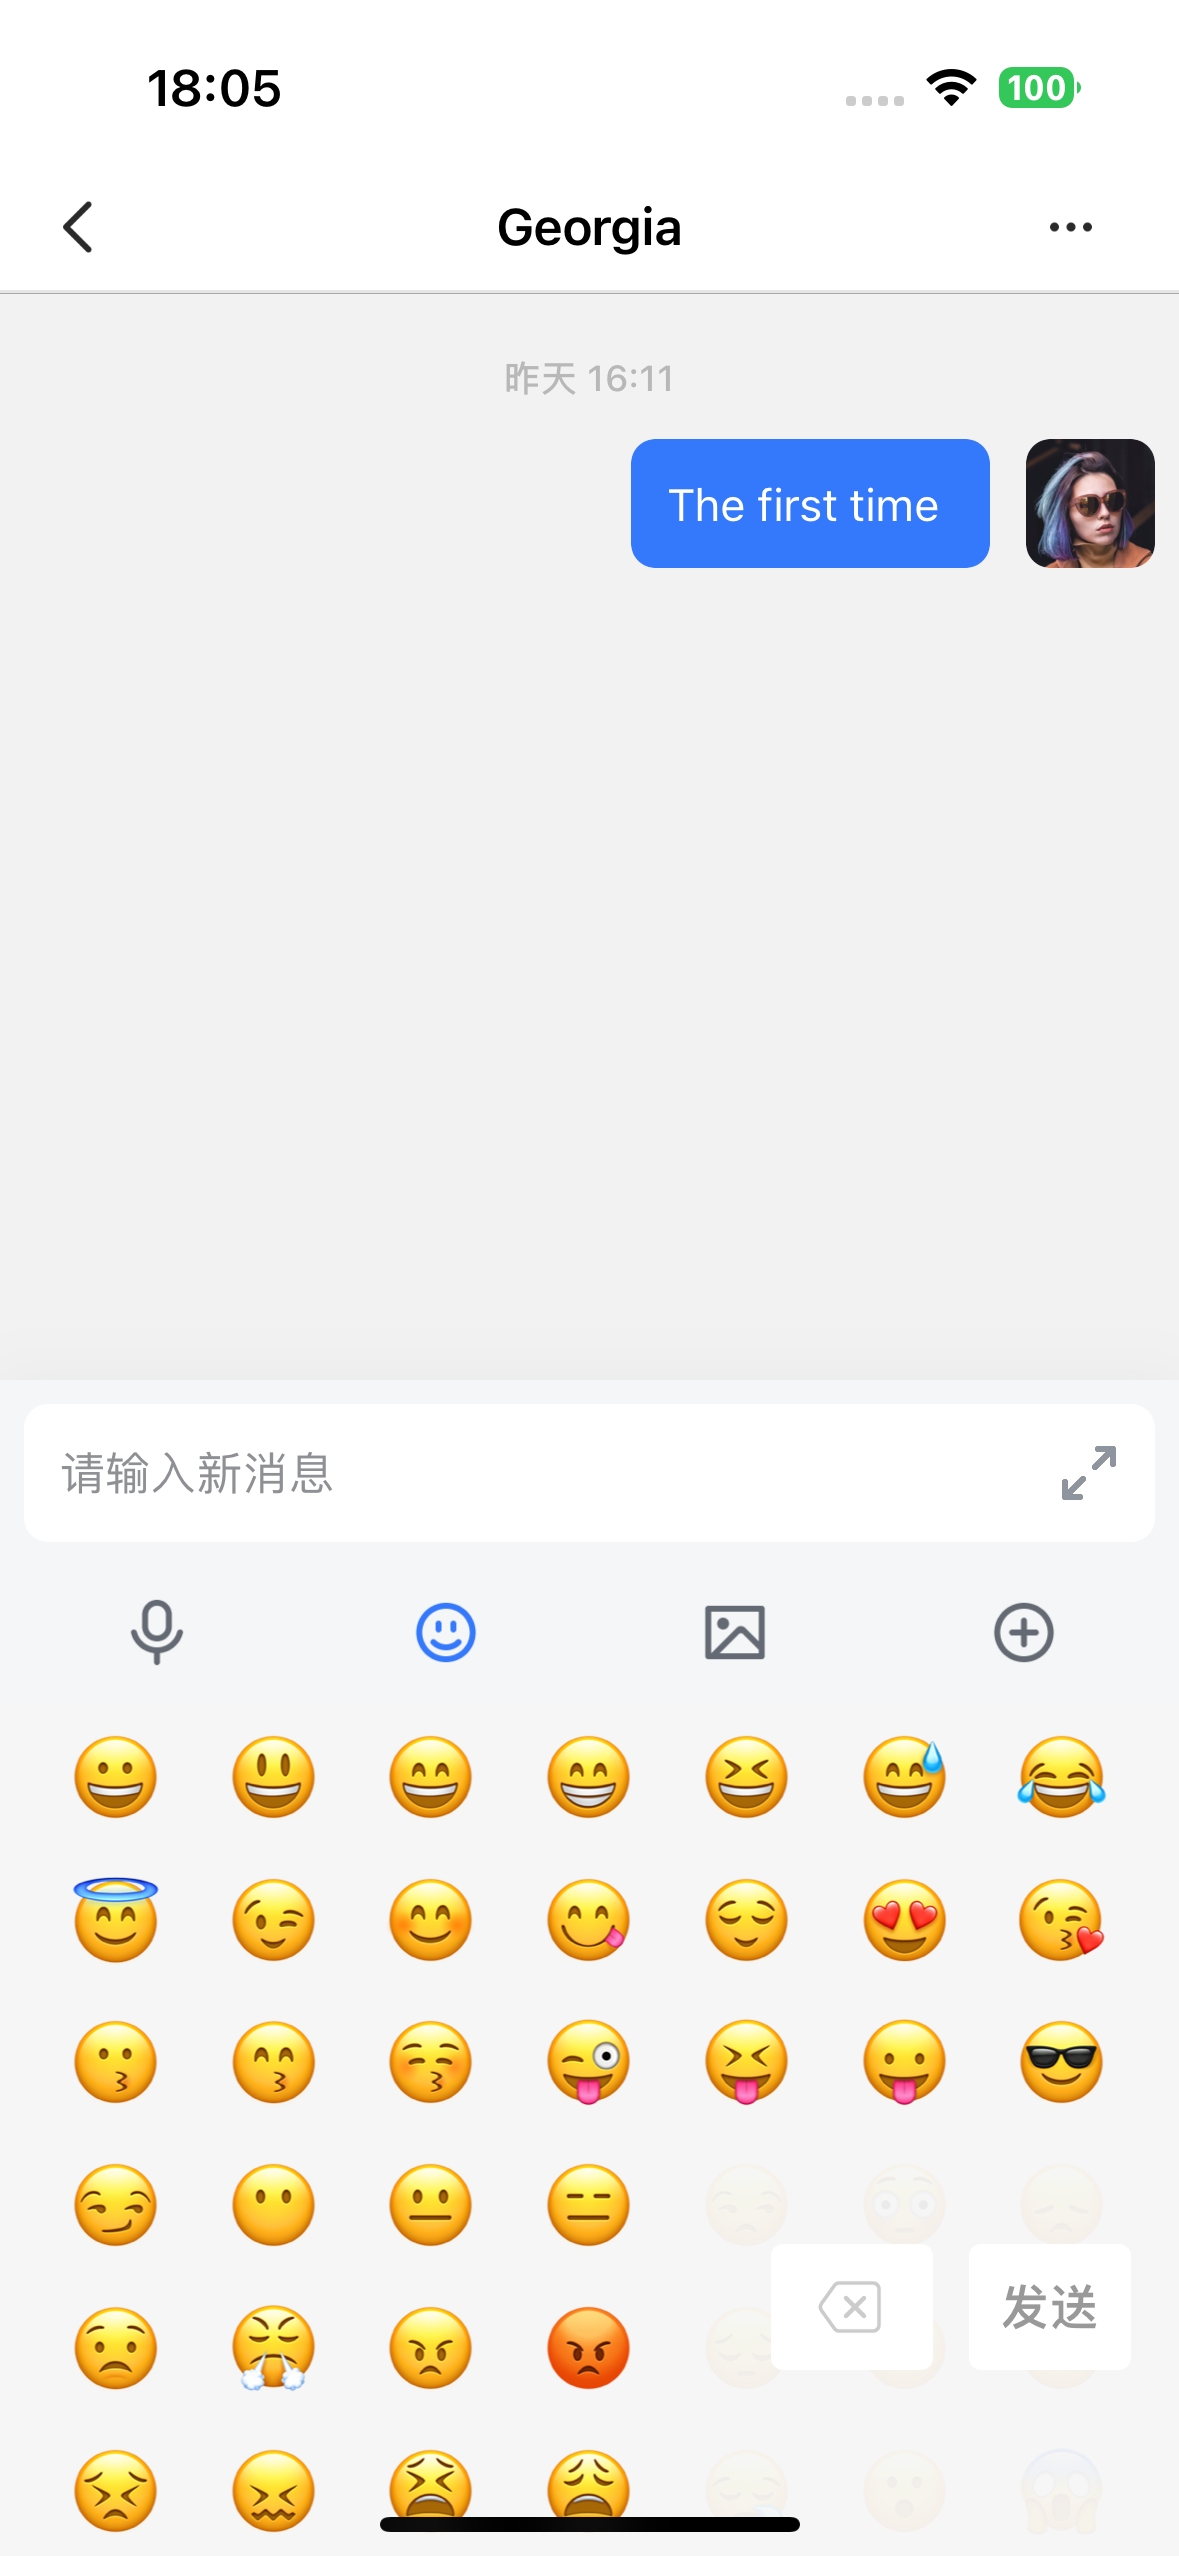
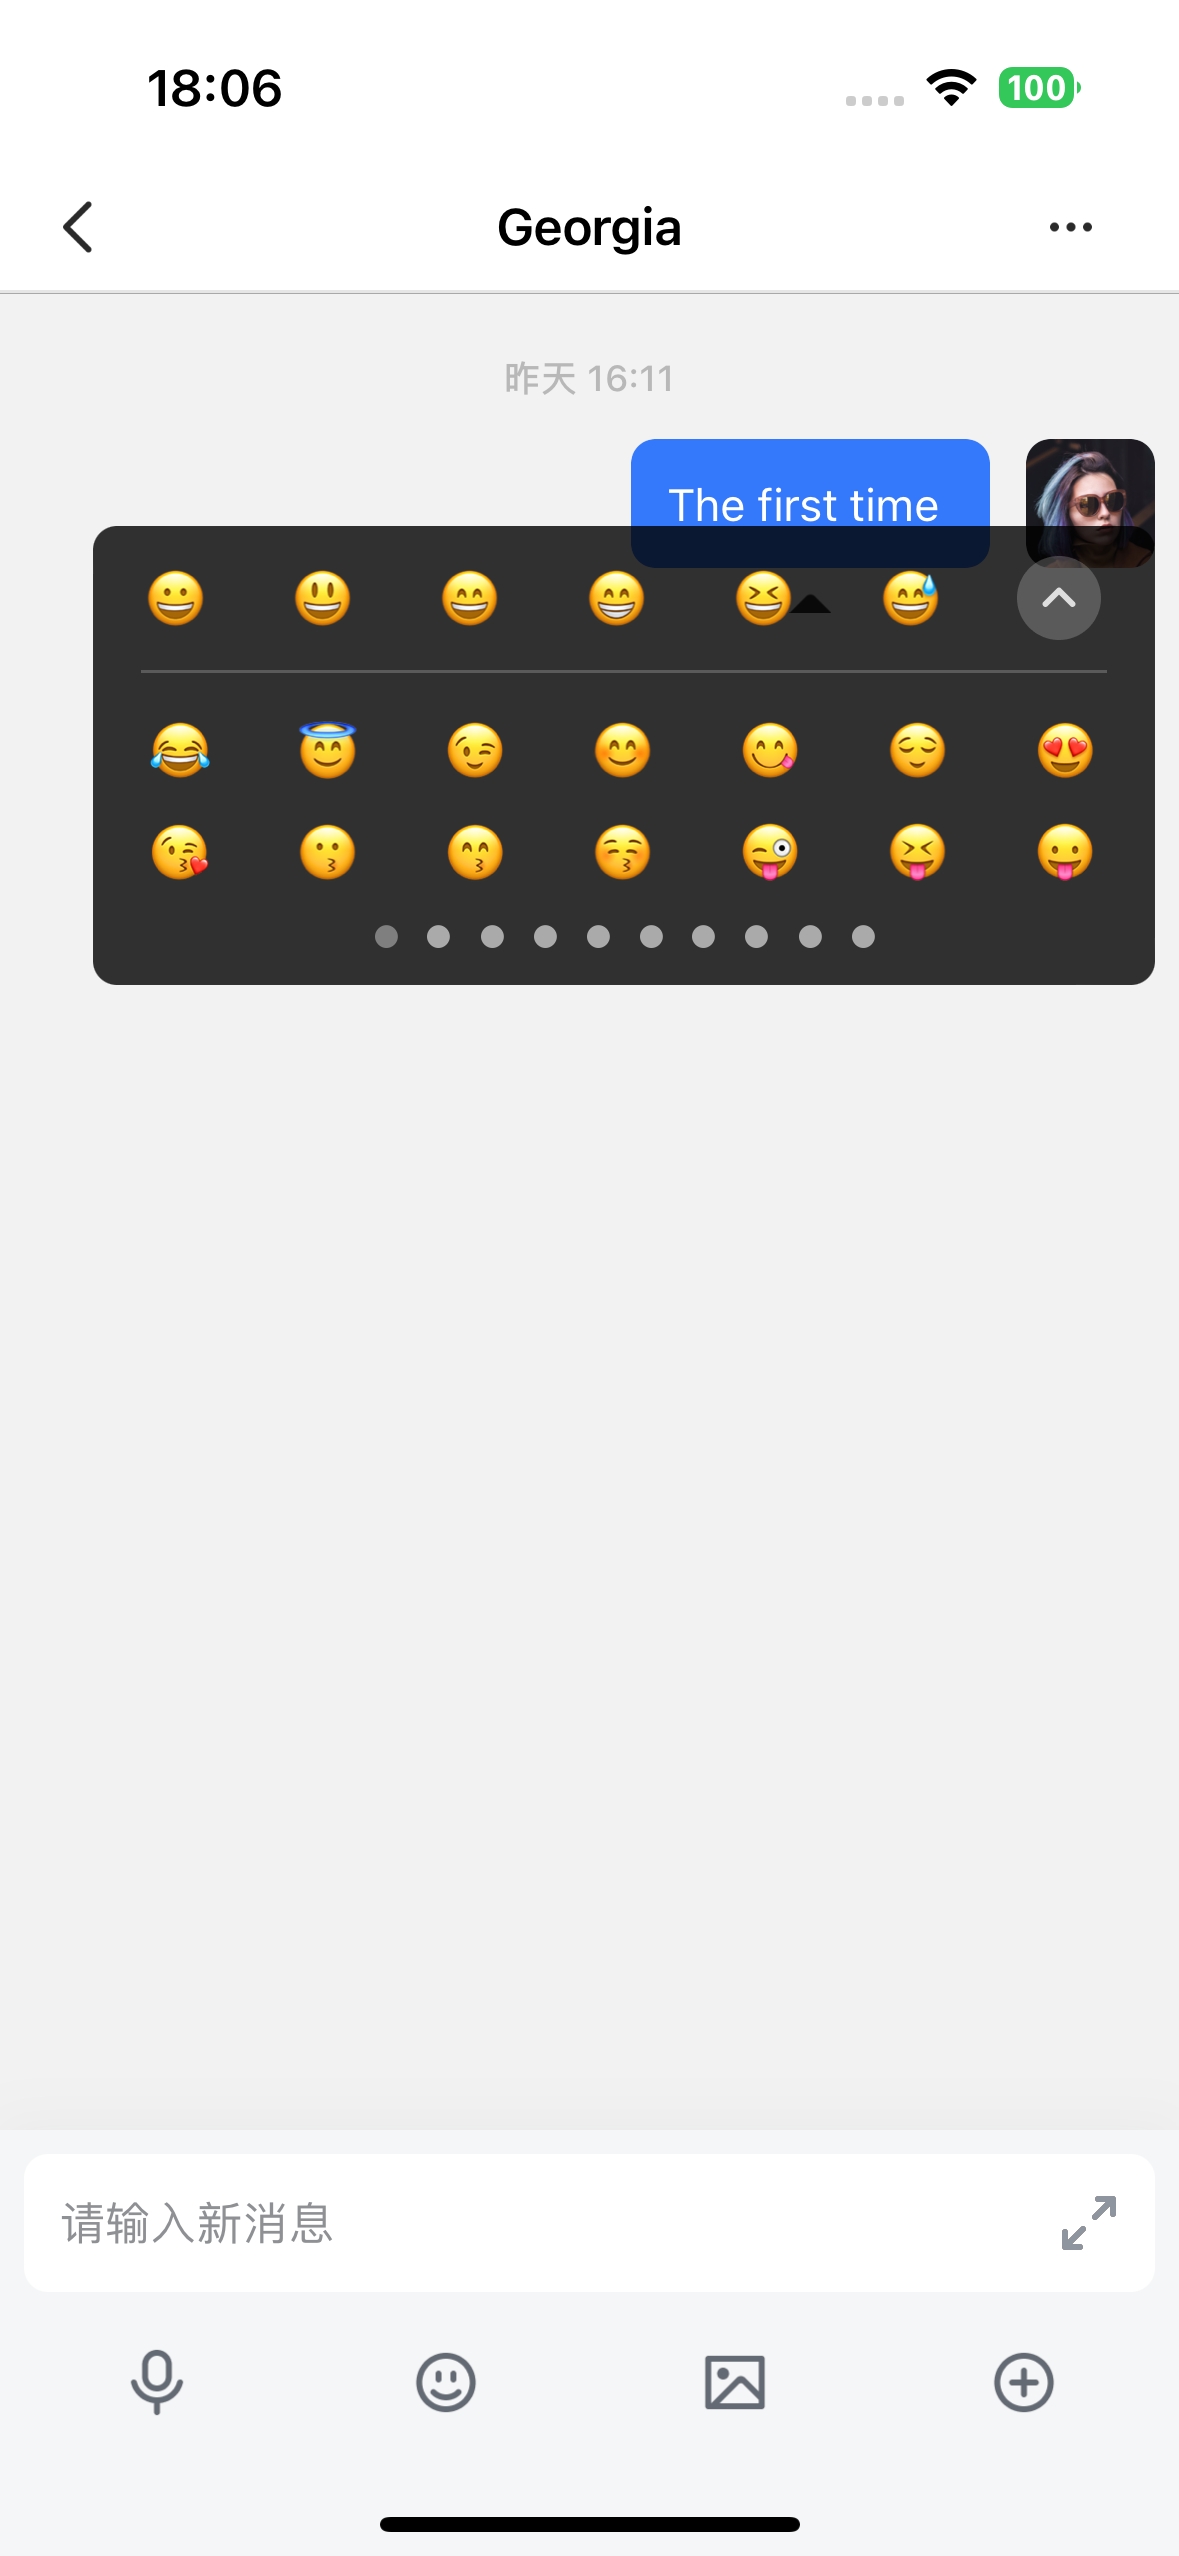
config.inputConfig.inputHint = "input hint";In-app Chat Kit provides a series of default emojis for sending emojis in conversations and expressing attitudes towards messages. If you are not satisfied with the default emojis provided, you can pass all the emojis you need through ZIMKitConfig.inputConfig.emojis.
| Send Emojis | Message Reactions |
|---|---|
 |  |
Below is the reference code:
ZIMKitConfig config = ZIMKitConfig();
ZIMKitConfig.inputConfig.emojis = ["😀", "😃", "😄", "😁", "😆", "😅", "😂"];API
public interface ZIMKitMessagesListListener {
    ZIMKitHeaderBar getMessageListHeaderBar(ZIMKitMessageFragment fragment);
}