提交工单
咨询集成、功能及报价等问题
ZEGOCLOUD supports a multi-account system. You can add accounts of other project members under your account registered with ZEGOCLOUD. Your account serves as the main account, and other accounts are sub-accounts. The main account can grant different permissions to sub-accounts for collaboration.
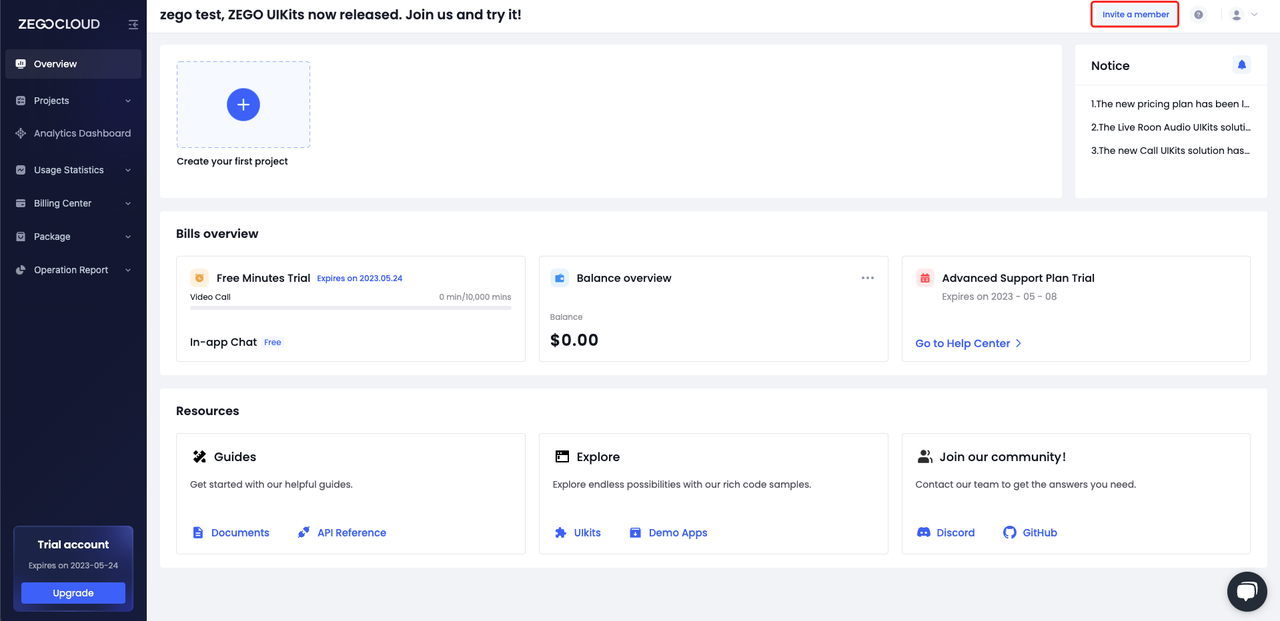
On the homepage of the ZEGOCLOUD Admin Console, you can quickly invite other members to add their accounts as sub-accounts.
After login, click Invite a member in the upper right corner of the homepage.
)
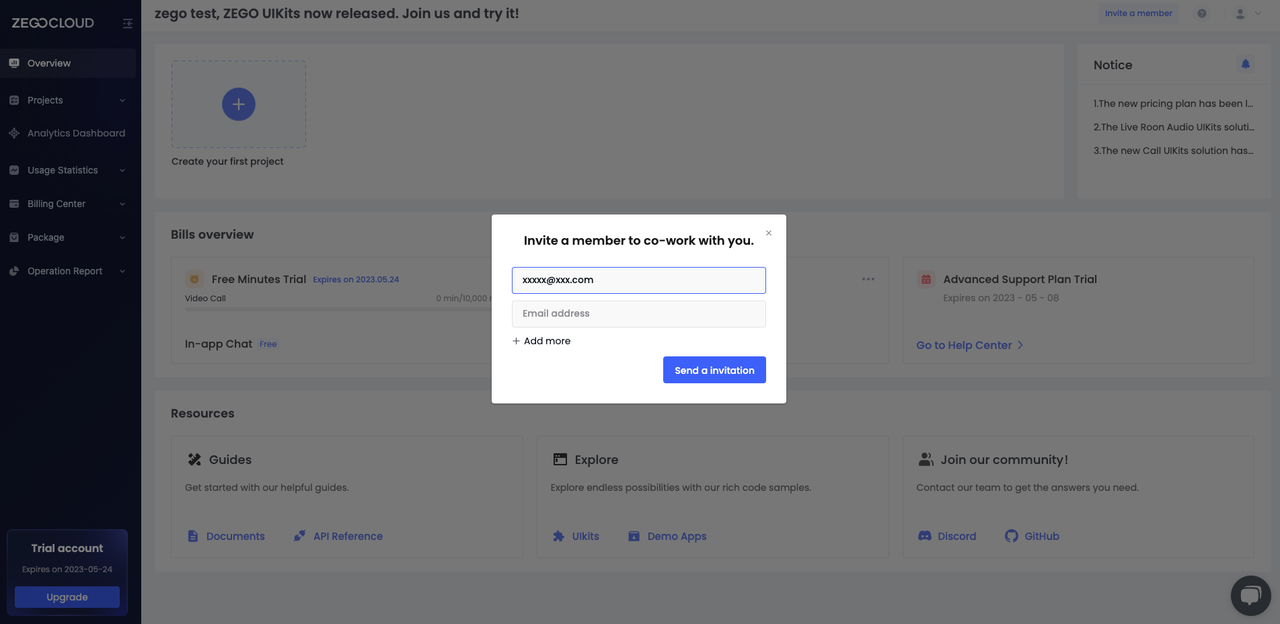
In the Invite a member to co-work with you window that is displayed, add the email addresses of other members (up to 10) in sequence, and click Send an Invitation.
)
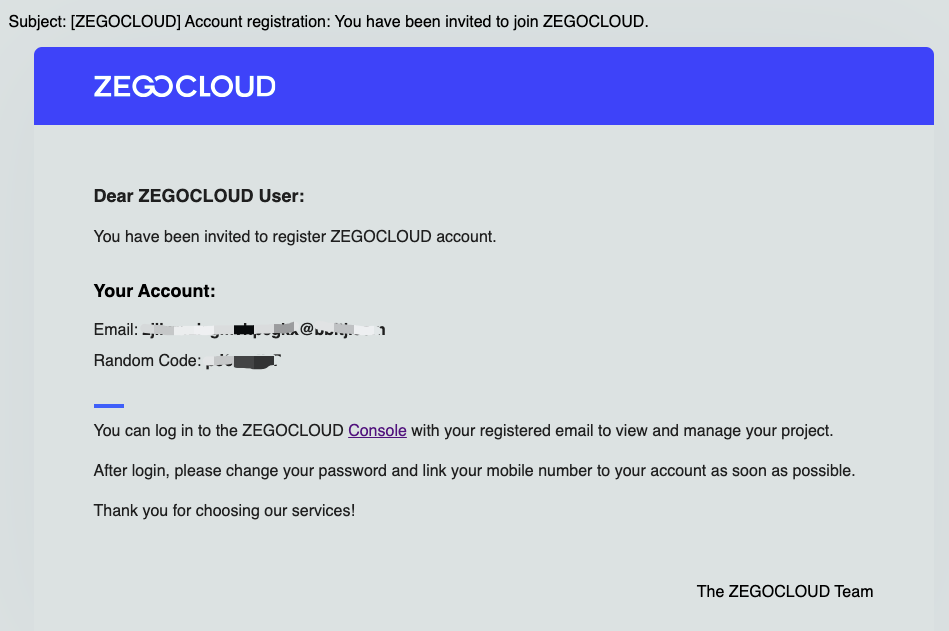)
The temporary password may impose certain security risks. After login to the ZEGOCLOUD Admin Console using the sub-account, password resetting is suggested.
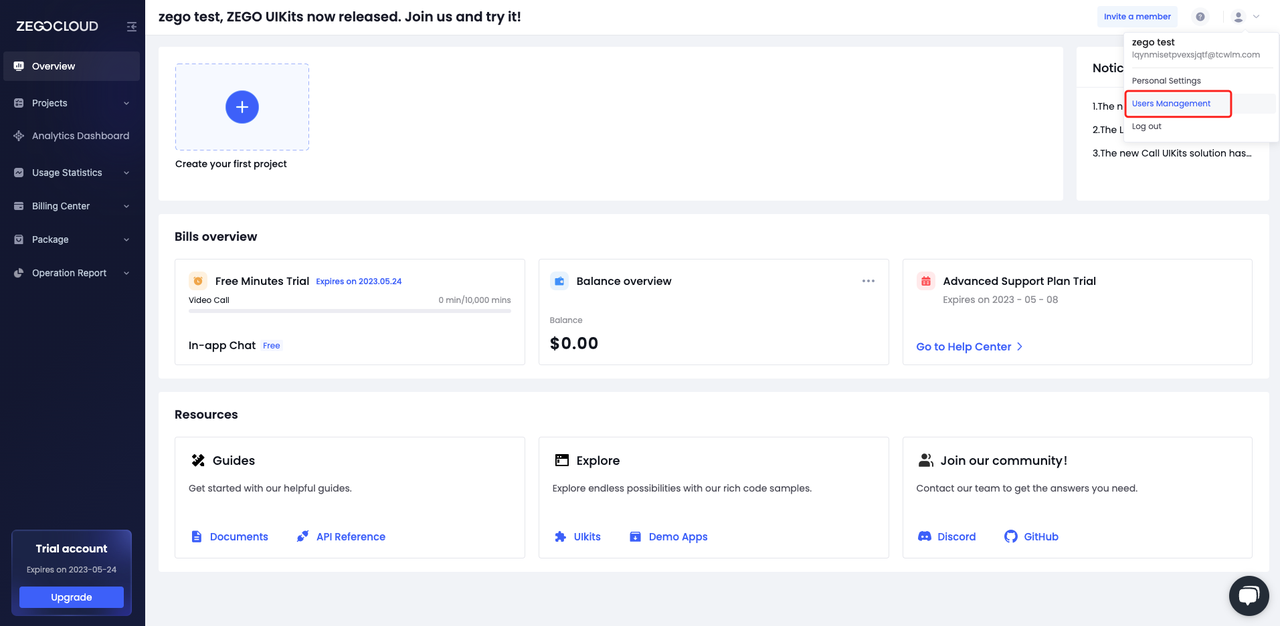
Log in using the main account and click the user avatar in the upper right corner. In the drop-down menu that is displayed, click Users Management.
)
In the upper right corner of the User Management page, click + Add User.
Enter the username and email address of a sub-account and click Add. (The remaining steps are the same as those for a quick way of adding sub-accounts.)
)
An invitation email will be sent to the email address corresponding to the sub-account, and a temporary password is provided in the invitation email for login through the login page of the ZEGOCLOUD Admin Console.
If you have one or more sub-accounts, you can manage the permissions on projects and functions for your sub-accounts.
The main account can configure project permissions and operation permissions for sub-accounts to assist the main account in managing projects.
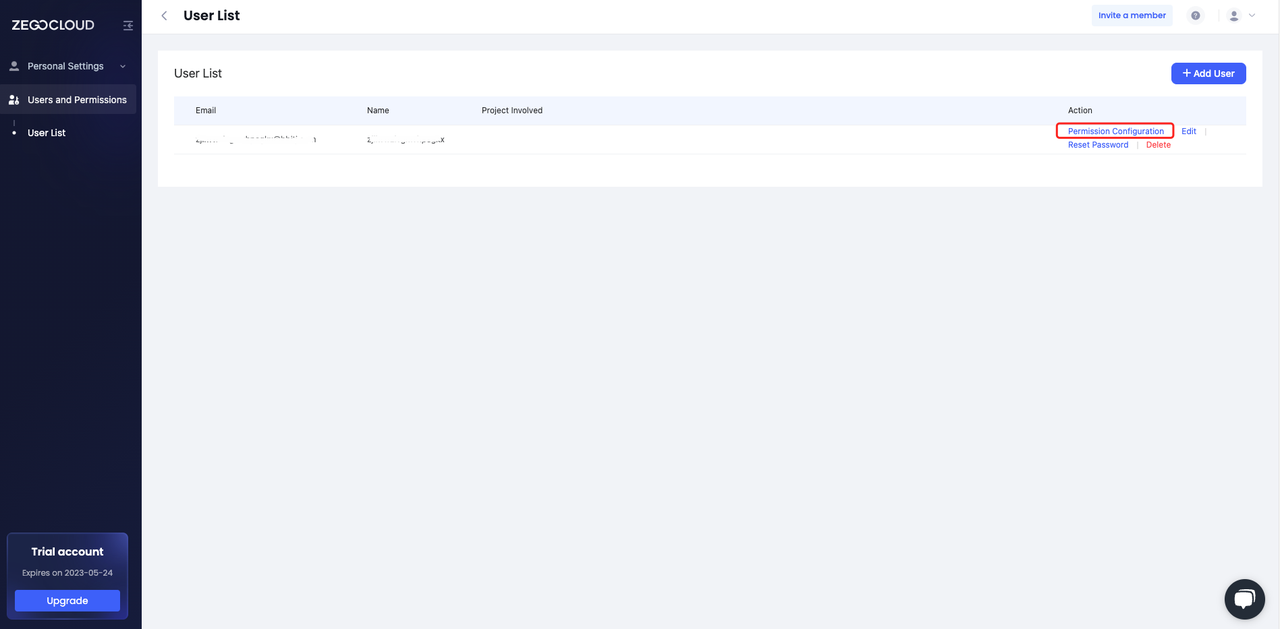
In the user list, click Permission Configuration in the Action column of the target sub-account to configure permissions.
)
The main account can set the projects that a sub-account can access by configuring the project permissions for the sub-account.
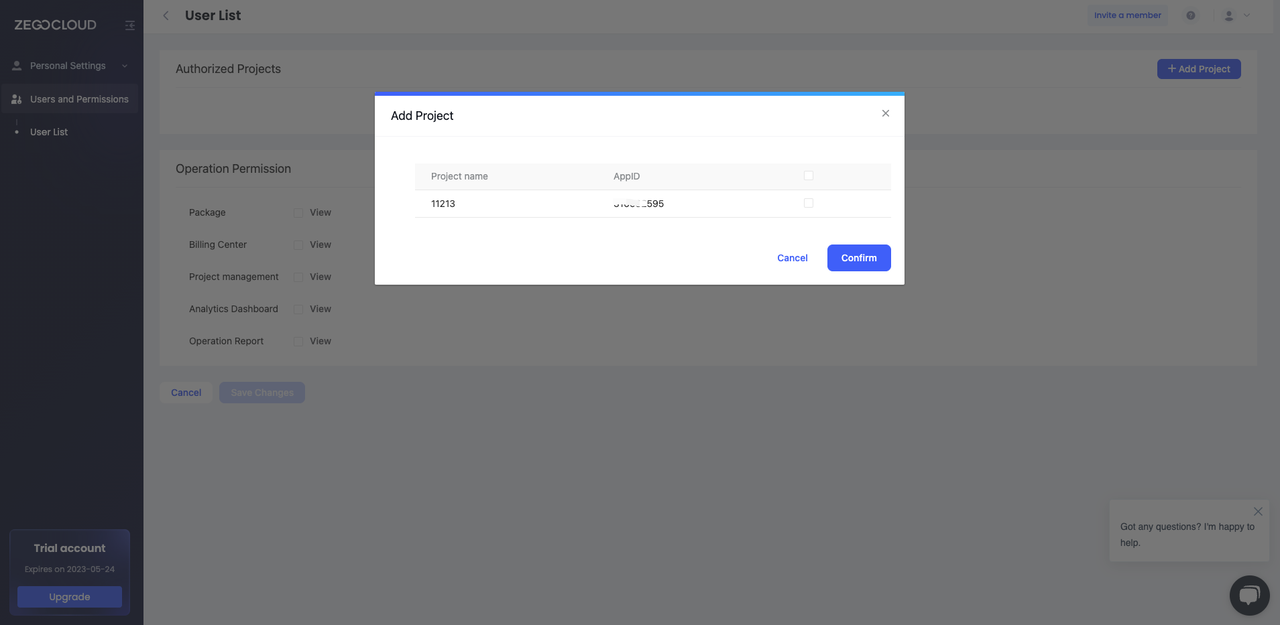
In the upper right corner of the Authorized Projects pane, click + Add Project. Select the target projects and click Confirm to add them.
)
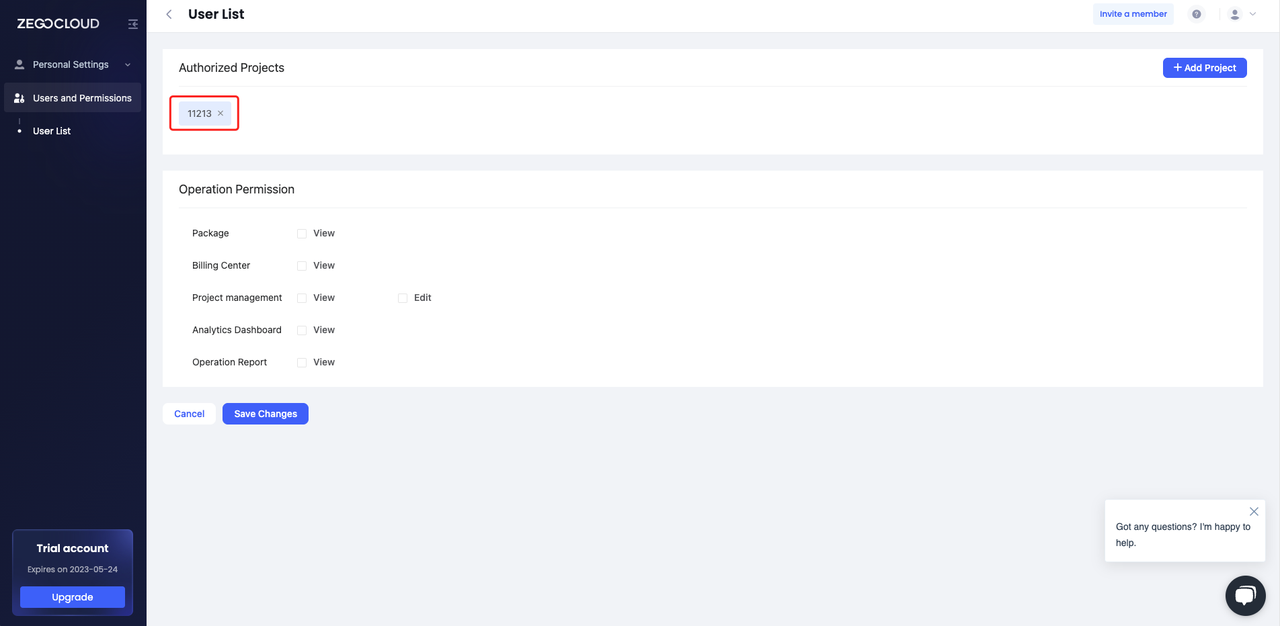
All projects that can be accessed by the sub-account are displayed in the Authorized Projects pane. You can click X on the right of the project to delete the project.
)
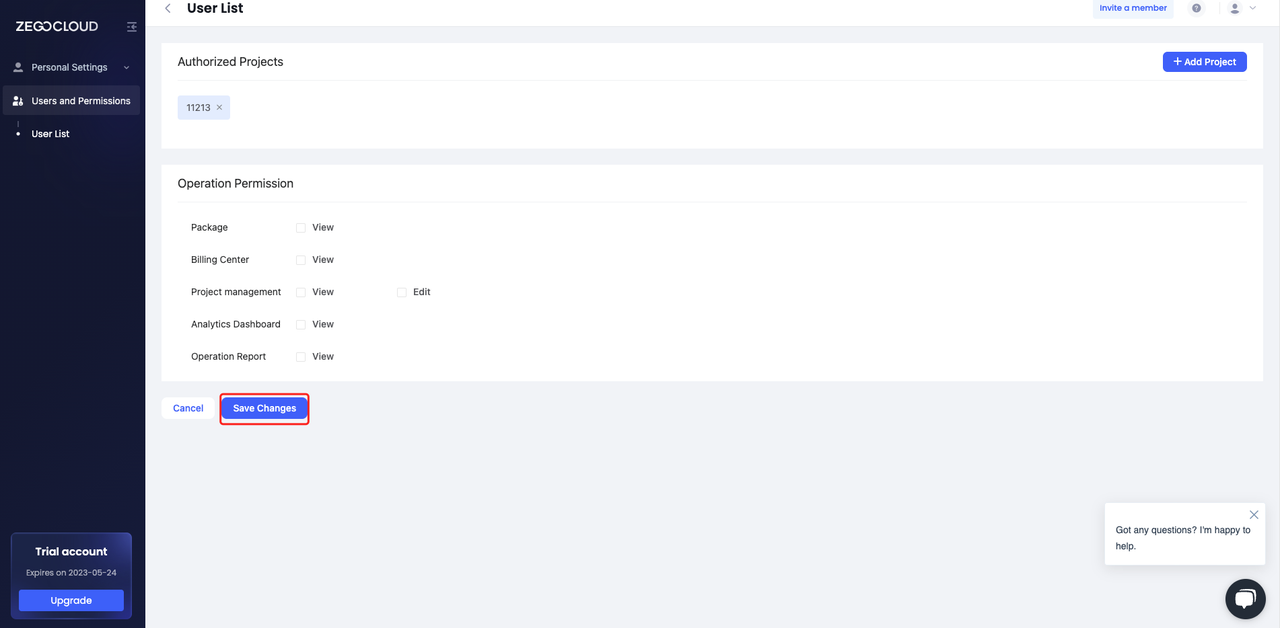
Click Save Changes at the bottom to save the permission configurations for the sub-account.
)
If you do not want to save the permission configurations for the sub-account, click Cancel at the bottom to go back to the User List page.
The main account can set the functions that a sub-account can use by configuring the operation permissions for the sub-account. The following table describes the permissions supported.
| Module | Function | Permission |
|---|---|---|
| Project management | View: view basic information about a project. | |
| Edit: create and edit a project, and manage services. | View, Edit | |
| Analytics Dashboard | Track the quality of audio and video calls, locate faults, and trace user experience. | View |
| Billing center | Obtain information for online top-up and transfer to corporate account, and query bills. | View |
| Package | Purchase packages and query the usage. | View |
| Operation report | Query the operation data. | View |
In the Operation Permission pane, you can select the operation permissions on corresponding modules for a sub-account. You can also deselect operation permissions to revoke the permissions.
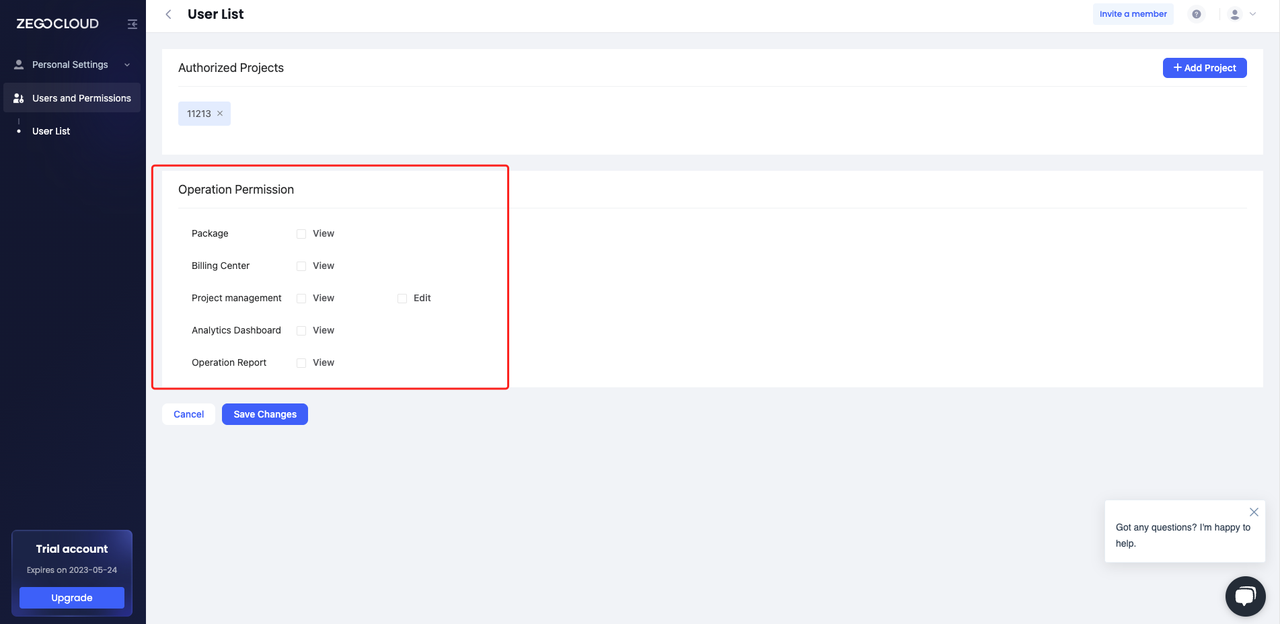)
Click Save Changes at the bottom to save the permission configurations for the sub-account.
Click Edit in the Action column of the target sub-account to edit the name of the sub-account.
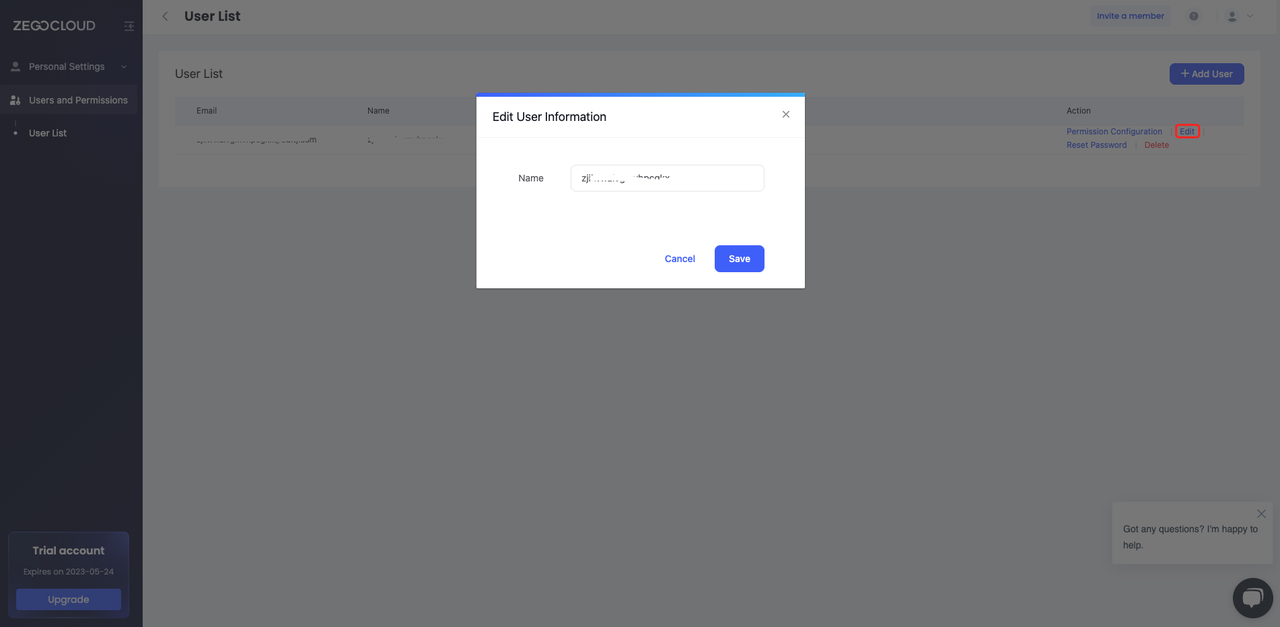)
Click Reset Password in the Action column of the target sub-account to reset the password. The sub-account will receive an account password resetting email.
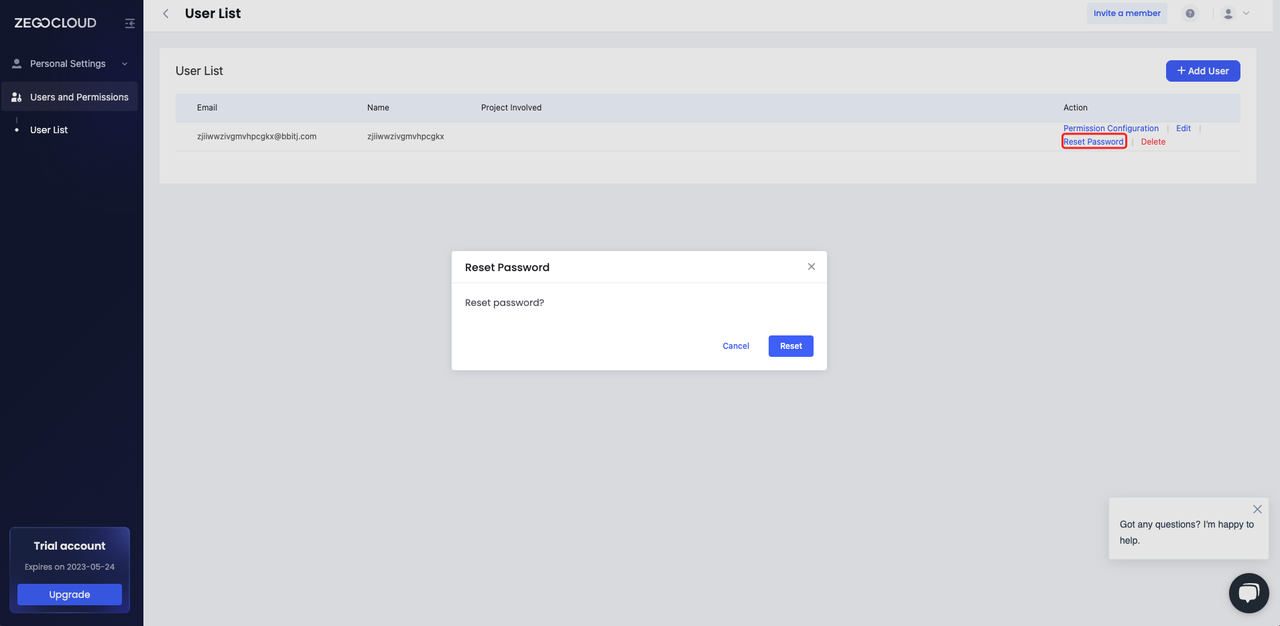)
Click Delete in the Action column of the target sub-account to delete the sub-account.
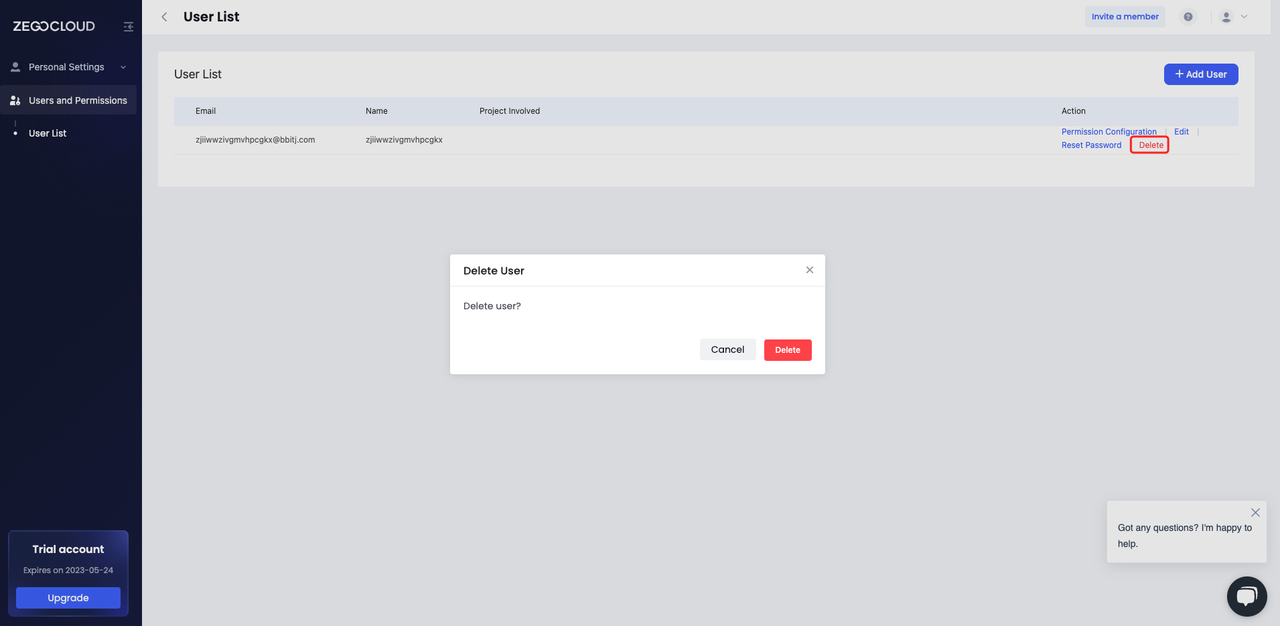)

